How to Integrate Apify MCP Server: Scrape Web Data with AI in 15 Minutes
A practical, step-by-step guide to connecting Apify MCP Server with AI clients like Claude Desktop and Cursor. Learn how to leverage natural language prompts to automate web scraping, extract structured data from platforms like Google Maps, and perform real-time web research—zero crawler code required.
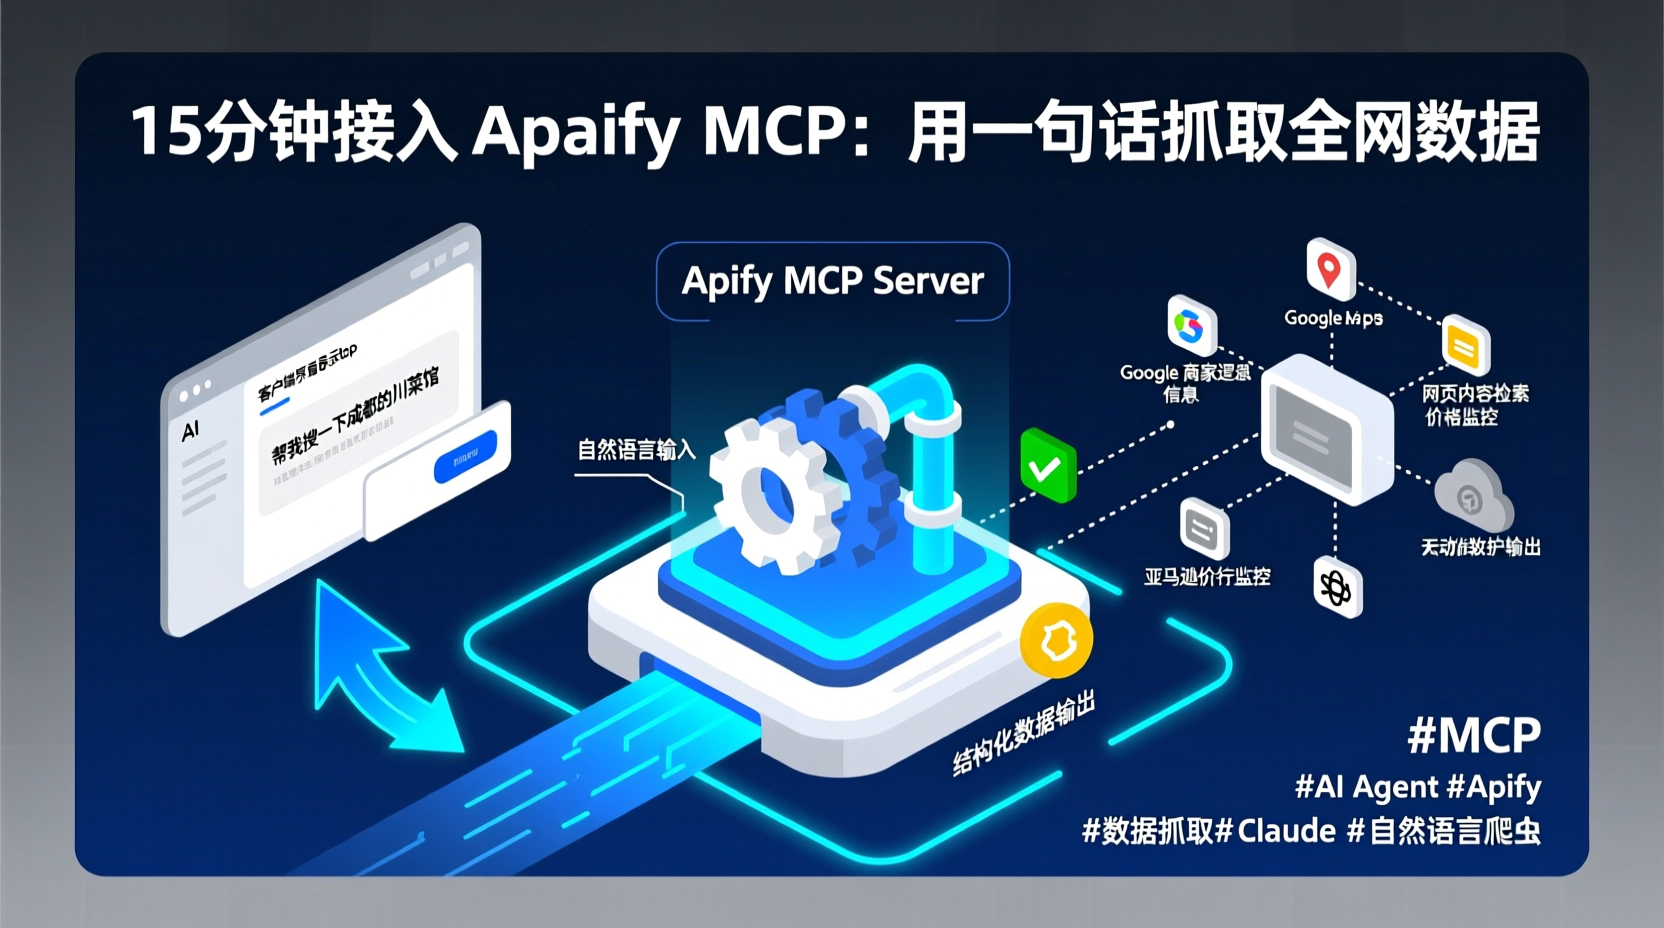
Let AI Handle the Dirty Work: Integrate Apify MCP in 15 Minutes to Scrape the Web with a Single Prompt
If you work with data regularly, you know the pain all too well. Your boss suddenly asks: "What are the latest competitor prices and ratings on Amazon?" or "Find me the top 10 highest-rated Sichuan restaurants in Chengdu, complete with phone numbers."
You definitely don't want to manually crawl dozens of pages, write hundreds of lines of scraping code, or spin up a full Scrapy stack for a one-off request. But if you don't, where does the data come from?
Today, I'll show you how to integrate the Apify MCP Server into your AI client (Claude Desktop, Cursor, etc.). Once set up, you simply say "Search for Sichuan restaurants in Chengdu," and the AI will automatically call ready-to-use cloud scrapers to deliver the data to you.
No writing scraper code. No managing proxy pools. No battling anti-bot measures. The entire setup takes just a few commands. Follow along, and you'll be up and running.
Prerequisites
Make sure you have the following before we start:
- Node.js v18+: Required for running
npxin your terminal. - Apify Account & API Token: Sign up for a free account at apify.com. Navigate to Settings → Integrations and copy your API Token.
- An MCP Client: I recommend Claude Desktop or Cursor. This guide will primarily use Claude Desktop for demonstrations.
The Apify free tier includes monthly platform credits, which are more than enough to complete the experiments in this tutorial.
Step 1: Configure Apify MCP in Claude Desktop
MCP (Model Context Protocol) essentially acts as a "plugin" system for AI. Once configured, your AI client gains direct access to 8,000+ ready-to-use data scraping tools on the Apify platform.
Open your Claude Desktop configuration file:
- macOS:
~/Library/Application Support/Claude/claude_desktop_config.json - Windows:
%APPDATA%\Claude\claude_desktop_config.json
Add the following configuration:
json
{
  "mcpServers": {
    "apify": {
      "command": "npx",
      "args": ["-y", "@apify/actors-mcp-server"],
      "env": {
        "APIFY_TOKEN": "your_apify_api_token"
      }
    }
  }
}
Why configure it this way? The command specifies npx to launch the service, while args tells it to download and run the @apify/actors-mcp-server package. The env field stores your Token, providing the authentication needed for AI tool calls. Save the file and restart Claude Desktop for the changes to take effect.
Alternative: Hosted URL Mode
If you're using Claude.ai (web version) or VS Code and don't need local stdio, you can skip the local setup. Simply add the server URLhttps://mcp.apify.comdirectly in your client's MCP configuration and authorize via OAuth. It's significantly more convenient.
Step 2: Verify the Connection
After restarting Claude Desktop, you should see new tool icons next to the chat input. Send a test message to verify:
"What Apify tools can you see?"
If the AI responds with a list of tools like search-actors, fetch-actor-details, call-actor, etc., the setup is successful. These are the "superpowers" your AI can now directly invoke.
By default, the following tools are loaded:
search-actors: Search the Apify Store for suitable scraping tools.fetch-actor-details: View detailed parameter documentation for a specific tool.call-actor: Execute a scraping task.apify/rag-web-browser: Web search and content fetching (pre-installed).get-dataset-items: Retrieve results from a completed scraping run.
Practical Use Case: Scrape Google Maps Business Data with One Prompt
Now that everything is configured, let's do something practical. Suppose you need competitive intelligence: the top 10 highest-rated cafes in Chengdu's High-Tech Zone, including names, addresses, ratings, and phone numbers.
Simply type this in the Claude chat:
"Help me scrape the top 10 highest-rated cafes in Chengdu High-Tech Zone from Google Maps, including name, address, rating, phone number, and website."
The AI will automatically execute this workflow:
- Call
search-actorsto find a suitable Google Maps scraping tool. - Use
fetch-actor-detailsto check the required input parameters. - Trigger the corresponding Google Maps Actor with your search criteria.
- Once a task ID is returned, call
get-dataset-itemsto fetch the results. - Format the structured data into a table for you to review.
You only need to provide a single prompt. The AI handles tool discovery, parameter mapping, and result retrieval automatically.
Why is it this smart? The MCP protocol exposes each Apify Actor's input parameter schema directly to the AI. This means the AI inherently knows what parameters to pass. You don't need to manually configure scraping rules.
Advanced: Targeted Information Retrieval with RAG Web Browser
Beyond structured data scraping, Apify comes pre-configured with the apify/rag-web-browser tool. It searches the web and returns cleaned, readable content, making it perfect for technical research or news aggregation.
Try this prompt:
"Help me search for the latest technical articles on the MCP protocol and summarize the core takeaways."
The AI will invoke the RAG Web Browser to search the web, scrape the top N pages, and automatically generate a summary for you. It essentially gives your AI real-time, live internet search capabilities.
You can also limit the results and specify the output format:
"Use the RAG Web Browser to search for 'AI Agent development best practices'. Return a maximum of 3 results, and provide the raw Markdown content."
Troubleshooting & Common Pitfalls
1. Claude Desktop connects but doesn't show any tools?
Verify the configuration file path and ensure your APIFY_TOKEN is valid. You can first run npx -y @apify/actors-mcp-server --help in your terminal to confirm the package downloads and runs correctly. Also, note that the legacy SSE endpoint is deprecated. If you previously configured https://mcp.apify.com/sse, remove the /sse suffix.
2. Calling an Actor only returns a summary, no actual data?
This is by design. Apify Actor calls return run metadata and a datasetId, not the raw data items. You need to instruct the AI to call the get-dataset-items tool, passing the datasetId to fetch the actual records. The AI will typically follow the nextStep prompt to handle this automatically.
3. Is the free tier enough?
The Apify free plan includes a monthly allowance of platform credits. Discovery operations like search-actors and fetch-actor-details are free. Credits are only consumed when actually running Actors. Small-scale scraping tasks used in this tutorial will easily fit within the free limits.
4. I don't want to use Claude Desktop. Can I use Cursor instead?
The configuration logic is identical. Add the same stdio configuration in Cursor's MCP settings, or use the hosted URL https://mcp.apify.com (Cursor supports URL mode). Apify also provides a one-click configuration generator at mcp.apify.com where you can select your client and copy the pre-formatted config.
5. How do I disable telemetry data collection?
Add --telemetry-enabled=false to the startup arguments, or set the environment variable TELEMETRY_ENABLED=false.
Summary
Today, we covered three key milestones:
- Obtained an Apify API Token and configured the MCP Server in Claude Desktop.
- Verified that the AI can automatically discover and utilize Apify's scraping tools.
- Completed two practical tasks via natural language: Google Maps business data extraction and targeted web research.
The core takeaway is simple: You don't need to write scrapers. Just tell the AI what you need, and it will automatically find the right Actor, map the parameters, and retrieve the data.
Next Steps:
- Visit the online configurator at mcp.apify.com to explore setup methods for other clients.
- Experiment with popular Actors like Instagram Scraper or Google Search Results Scraper.
- For setup guides tailored to Cursor or VS Code, refer to the official documentation.
What kind of data do you need to scrape? Drop a comment below, and I'll help you figure out the most efficient Actor for the job.