How to Build a Stateful, Multi-Step AI Agent from Scratch with LangGraph
Stop writing rigid `if-else` chains. This hands-on tutorial walks you through building a dynamic, state-driven AI agent with LangGraph, covering state management, conditional routing, loop control, and persistence. Perfect for backend developers and AI engineers.
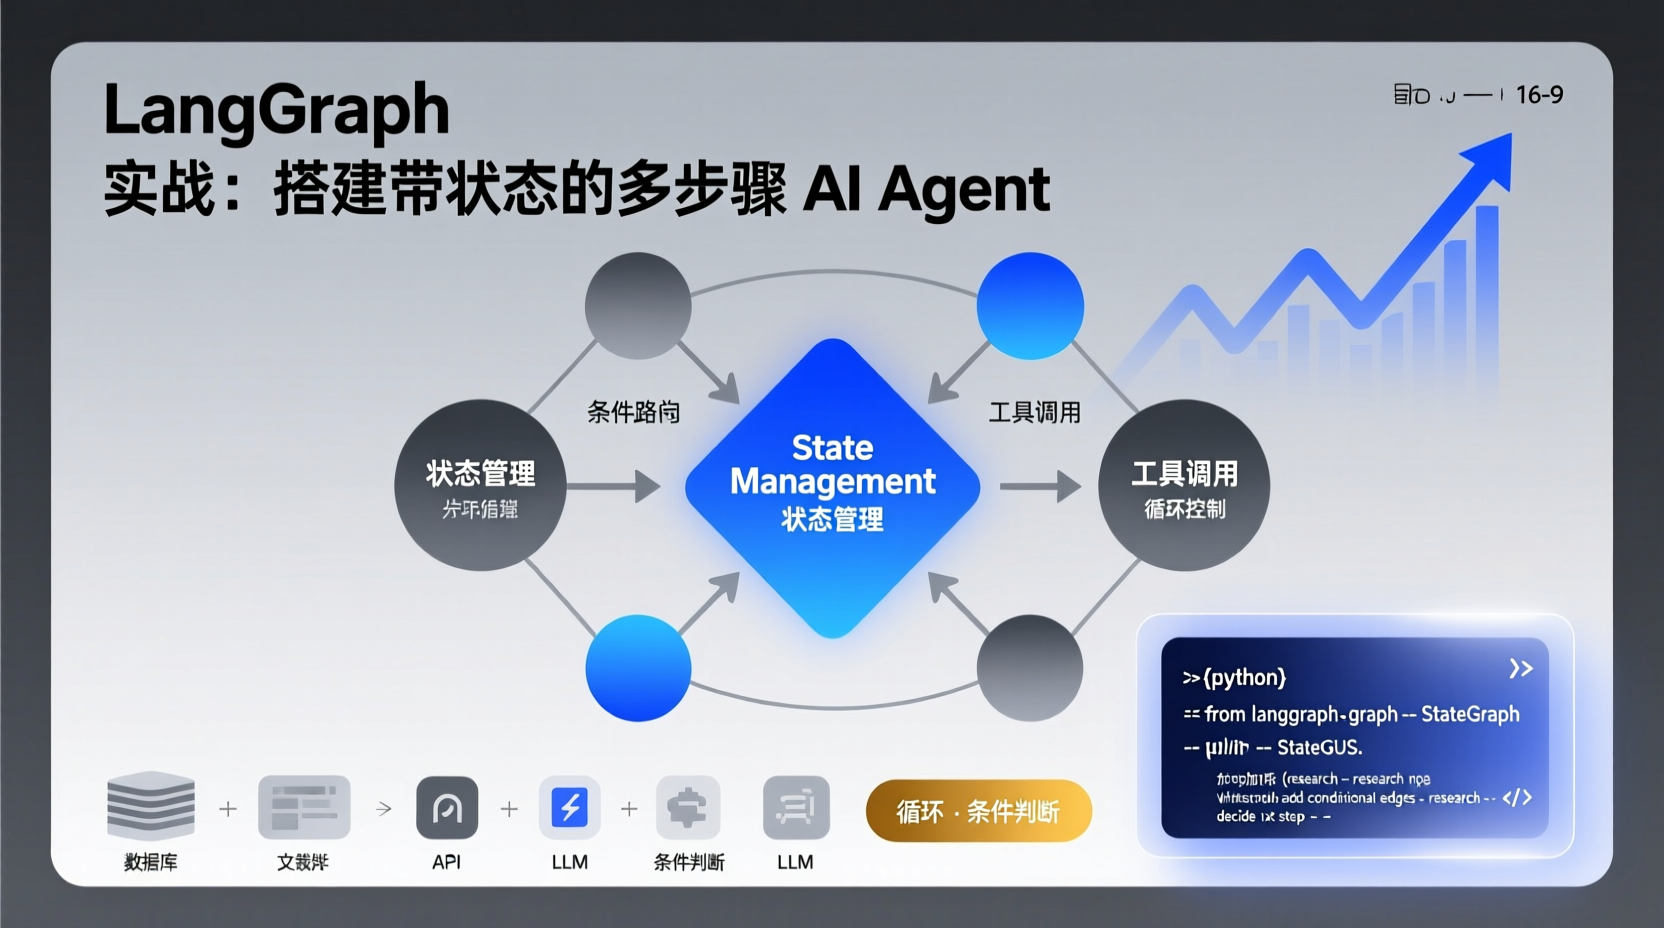
Stop Writing Spaghetti if-else: Build a Self-Driving AI Agent Step-by-Step with LangGraph
The Pain Point You’ve All Faced
Recently, while discussing AI application implementation with my team, many hit the exact same wall: "How do I make an Agent dynamically decide its next step based on user input, instead of hardcoding a chain of if-else statements?"
Take a research assistant as an example. A user asks "Compare Kafka and RabbitMQ". You want it to:
- First, fetch docs and gather features for both.
- Decide if it needs the latest community data.
- If yes, call a search tool; if no, compile directly.
- Finally, summarize and output.
You could hack this together with a basic prompt chain. But once the workflow grows complex—requiring loops, conditional jumps, or remembering intermediate states—your code quickly turns into spaghetti. State floats everywhere, debugging relies on print(), and adding a new branch means rewriting huge chunks of logic.
This is exactly what LangGraph solves.
LangGraph is a framework by the LangChain team designed to express AI Agent logic as a Graph: your functions are nodes, edges define routing conditions, and state automatically flows between nodes. With 18.5k+ stars on GitHub, the community has already validated this approach.
Today, I’ll guide you from zero to building an autonomous, stateful, loop-capable multi-step Agent with LangGraph. Not a toy demo, but a real, runnable, debuggable, and extensible workflow.
Prerequisites
- Python 3.9+ (I’m using 3.11; newer versions are recommended)
- A valid LLM API Key (OpenAI, Zhipu, Tongyi, etc. work. This guide uses OpenAI)
- Basic familiarity with Python async (
async/await) is helpful but not required. LangGraph fully supports synchronous syntax.
No need to read LangGraph’s source code or be an AI expert. Backend engineers transitioning to AI development will pick it up quickly by following along.
Step 1: Environment Setup & Installation
LangGraph is a lightweight library that relies on langchain-core under the hood. We’ll use a virtual environment to keep dependencies isolated.
bash
## Create virtual environment
python -m venv .venv
source .venv/bin/activate  # On Windows: .venv\Scripts\activate

## Install core libraries
pip install langgraph langchain-openai

## (Optional) If you plan to use search tools:
pip install duckduckgo-search
Why install them separately?
langgraphonly handles graph definition and state management. Actual LLM calls require Chat Model implementations likelangchain-openai. This separation means you can switch models (e.g., from GPT to Qwen) without touching a single line of your graph logic.
Set your environment variables to ensure the API Key is active:
bash
export OPENAI_API_KEY="sk-your-key-here"Step 2: Core Concepts - The StateGraph
Before writing code, let’s clarify two core LangGraph concepts:
- State: A
TypedDictthat holds all intermediate results in your workflow. Examples: the user’s original query, fetched research, current step flags, etc. State is the only bridge for communication between nodes. - Node: A standard Python function that takes the current state and returns a partial state update. LangGraph automatically merges these updates.
- Edge: Determines the next node. Can be a fixed edge (unconditional) or a conditional edge (routing based on return values).
Grasp these three, and you already understand 80% of LangGraph.
Step 3: Quick Start - Defining a Minimal Runnable Graph
Let’s start with the simplest possible graph: one node, one edge, one state. We’ll get it running before adding complexity.
python
from typing import TypedDict
from langgraph.graph import StateGraph, END

## 1. Define State
class AgentState(TypedDict):
    question: str
    answer: str

## 2. Define Node: A function that takes state and returns state updates
def answer_node(state: AgentState):
    q = state["question"]
    # In real projects, you'd call an LLM here
    return {"answer": f"[Mock Answer] Your question was: {q}"}

## 3. Build Graph
graph = StateGraph(AgentState)
graph.add_node("answer", answer_node)
graph.set_entry_point("answer")   # Entry point
graph.add_edge("answer", END)     # Unconditionally route to END
compiled = graph.compile()

## 4. Run
result = compiled.invoke({"question": "Which is better for backend: Python or Java?"})
print(result["answer"])
Run it, and you’ll see [Mock Answer] Your question was: Which is better for backend: Python or Java?
Why structure it this way? Node functions only return the fields they want to update. Everything else remains untouched. This partial update mechanism makes state management predictable and prevents one node from accidentally overwriting another’s data.
Step 4: Hands-on - Building a "Looping Research Assistant"
The minimal graph is neat, but let’s add real capabilities:
- Call an LLM
- Decide whether to trigger a search based on logic
- Cap loops at 3 iterations to prevent deadlocks
- Generate a final comprehensive response
4.1 Complete Code
python
import os
from typing import TypedDict, Annotated
from langgraph.graph import StateGraph, END
from langchain_openai import ChatOpenAI
from langchain_core.messages import HumanMessage, AIMessage
from duckduckgo_search import DDGS

## --- State Definition ---
class ResearchState(TypedDict):
    messages: list
    search_count: int
    final_answer: str

## --- Tool Function ---
def web_search(query: str) -> str:
    """Search via DuckDuckGo and return top 3 summaries"""
    results = DDGS().text(query, max_results=3)
    return "\n".join([f"- {r['title']}: {r['body']}" for r in results])

## --- Node 1: Decide Next Step ---
def decide_next(state: ResearchState) -> str:
    # If searched 3 times, move to summarize
    if state.get("search_count", 0) >= 3:
        return "summarize"
    # Otherwise, continue searching
    return "search"

## --- Node 2: Execute Search ---
def search_node(state: ResearchState) -> dict:
    last_msg = state["messages"][-1].content
    results = web_search(last_msg)
    return {
        "messages": [AIMessage(content=f"[Search Results]\n{results}")],
        "search_count": state.get("search_count", 0) + 1
    }

## --- Node 3: Generate Final Answer ---
def summarize_node(state: ResearchState) -> dict:
    llm = ChatOpenAI(model="gpt-4o-mini")
    prompt = "Generate a structured comparison summary based on the following search results:\n" + state["messages"][-1].content
    response = llm.invoke([HumanMessage(content=prompt)])
    return {"final_answer": response.content}

## --- Build Graph ---
graph = StateGraph(ResearchState)
graph.add_node("search", search_node)
graph.add_node("summarize", summarize_node)
graph.set_entry_point("search")

## Conditional Routing
graph.add_conditional_edges("search", decide_next, {
    "search": "search",
    "summarize": "summarize"
})
graph.add_edge("summarize", END)

workflow = graph.compile()

## --- Run ---
result = workflow.invoke({
    "messages": [HumanMessage(content="Compare the core differences between Kafka and RabbitMQ")],
    "search_count": 0,
    "final_answer": ""
})
print(result["final_answer"])
4.2 Breaking Down Key Concepts
Conditional Edges: add_conditional_edges allows a node to dynamically decide the next step based on its return value. This is far cleaner than a chain of if-else because routing logic is completely decoupled from business logic.
Loop Control: We manually track loops using search_count, routing to summarize after 3 iterations. LangGraph also has a built-in recursion_limit parameter, but I prefer explicit counting. It lets you log the exact iteration count, making debugging much easier.
State Merging: Each node only returns the fields it modifies. messages is a list, and LangGraph defaults to appending rather than overwriting. This means conversation history is preserved natively—you don’t need to manually write state["messages"].append().
Common Issues & Pitfalls
1. Recursion limit exceeded error
LangGraph’s default max recursion depth is 25. If you forget a base case or invert a condition, this safeguard triggers. Solution: Double-check your conditional edge return values to ensure a path to END always exists. Alternatively, increase the limit during compilation: checkpointer=None, recursion_limit=50.
2. State fields disappearing
Common cause: Mutating the state object directly inside a node (e.g., state["x"] = 1) without returning it. Remember: Nodes must return a dict. Even an empty {} must be returned, otherwise the graph assumes the node produced zero updates.
3. Unstable LLM Output Formatting
If you need JSON or strict formats from the LLM, use an output_parser or enable response_format={"type": "json_object"}. Don’t pray the prompt will enforce structure; use structured output mechanisms.
What’s Next?
Once you’ve got this demo running, you can expand it in several directions:
- Add a Checkpointer (Persistence): Save state to SQLite/PostgreSQL to support chatbot session resumption.
- Implement Human-in-the-loop: Pause at critical nodes for user approval before proceeding.
- Integrate Real Business Systems: Swap
web_searchwith your internal APIs and embed the Agent into ticket approval or customer support workflows.
LangGraph’s real value isn’t just "drawing graphs". It unifies AI workflow state, routing, loops, and pauses into a testable, debuggable abstraction. No more hacking together global variables and callbacks.
If you run into issues following along, or want to see a full case study integrating internal systems, drop a comment on where you got stuck. I’ll gladly write a follow-up.