How to Set Up Your Local AI Dev Workbench in 15 Minutes with cc-haha
A step-by-step practical guide for backend and full-stack developers to install the cc-haha desktop app, connect AI models, safely review AI-generated code using isolated Git worktrees, and relay sessions to IM platforms for remote workflow.
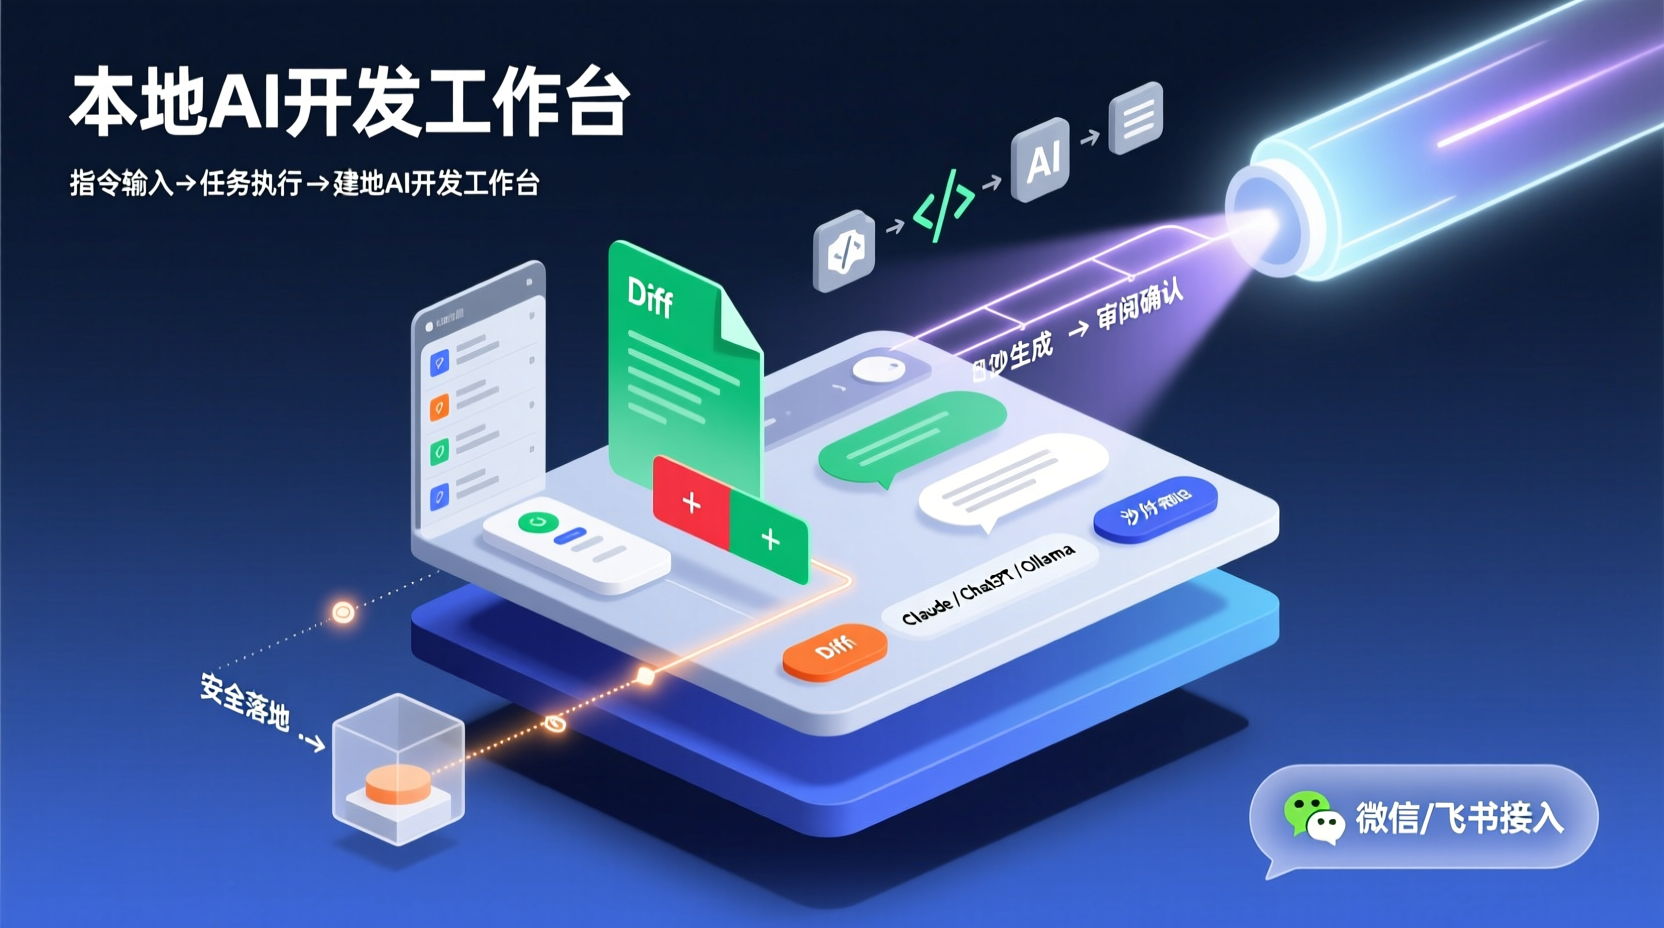
How to Set Up Your Local AI Dev Workbench in 15 Minutes with cc-haha
As backend developers, we've all been there: running Claude Code or a ChatGPT CLI in a terminal, typing commands, and staring at a black window waiting for results. Need to check what files AI modified? You have to switch to your editor to dig through diffs. Want it to run tasks in the background while you do something else? Close the terminal, and the task dies. Need to remotely approve a risky call from your phone? Nearly impossible.
I hit all these pain points until I started using cc-haha (Claude Code Haha). Put simply, it wraps Claude Code into a desktop workbench. All sessions, code diffs, permission approvals, and model switching are visualized, and you can even relay sessions to messaging apps like WeChat, Feishu (Lark), or Telegram. I spent an afternoon getting it running, and this guide will walk you through setting it up from scratch and completing a real development task in just 15 minutes.
Prerequisites
Before we begin, make sure you have the following:
- OS: macOS, Windows, or Linux. This guide uses macOS for demonstration. Windows users can follow similar steps; installers are available on the Releases page.
- Bun Runtime (Optional): Only required if you plan to launch the CLI from source. Desktop users can skip this and just download the installer.
- An AI Model API Key: Officially supports Claude, ChatGPT, Grok, DeepSeek, Kimi, and Zhipu GLM. Also supports local models via Ollama/LM Studio. This guide uses Claude as an example, but any model with an API Key works.
- A Local Git Repository: Any project will do, preferably one you're familiar with for easier follow-along.
Alternative: Launch CLI from Source
If you prefer debugging at a lower level or running the CLI directly, you can build from source:
bashgit clone https://github.com/NanmiCoder/cc-haha.git cd cc-haha bun install cp .env.example .env # Edit .env to fill in your ANTHROPIC_API_KEY ./bin/claude-haha
Step 1: Download and Install the Desktop App
Head to the project's Releases page and download the installer for your OS: .dmg for macOS, .exe for Windows, and .AppImage or .deb for Linux.
First Launch on macOS
Official releases require code signing and notarization. If you download a draft or unsigned build, macOS may warn that the developer cannot be verified. Right-click the installer → Open → click Open Anyway in the prompt. For seamless experience, wait for the official public release.
First Launch on Windows
Unsigned installers may trigger a blue SmartScreen warning. Click More Info → Run Anyway. This is standard Windows behavior, not an issue with the software.
Once installed and launched, you'll see the main interface: an IDE-like tabbed workbench. The left pane handles session management and project switching, while the right pane is the conversation area. Just type a prompt, and it handles the rest.
Step 2: Connect Your AI Model
After launching the desktop app, go to Settings (gear icon at the bottom left) and navigate to the Model Configuration section. This is a required step; without it, the workbench cannot communicate with any AI.
Connecting Claude (Official Example):
- Click Add Provider → Select Anthropic / Claude
- Enter your API Key (from console.anthropic.com)
- Choose a default model, e.g.,
claude-sonnet-4-20250514(cost-effective) orclaude-opus-4-20250514(best for complex tasks) - Click Save and Test Connection
The same steps apply to OpenAI, DeepSeek, or third-party platforms (like ShengSuan Cloud or TeamoRouter)—just fill in the API Base URL and Key. For local Ollama models, set the Base URL to http://localhost:11434.
Why configure here instead of the CLI? The desktop advantage is "configure once, share globally." No need to pass environment variables every time you open a terminal, and switching models is just a dropdown away—no more editing .env files.
Step 3: Run Your First Session + Review Diffs
Once your model is connected, click the "+" icon at the top left to start a new session and select your local Git project. Pay attention to the Startup Mode option: choose either Current Working Tree or Isolated Worktree.
💡 Recommendation: For your first run, always select Isolated Worktree. This forces AI to modify code in an independent Git worktree, keeping your main branch completely untouched. You can safely review changes and merge them only after approval.
Try this prompt:
Replace all
console.logstatements in this project with structured logger calls that include timestamps and log levels.
The AI will analyze the codebase and modify files one by one. Watch the right panel: the workspace panel lists every modified file, and clicking one reveals a syntax-highlighted Diff. You can:
- Review changes file by file
- Click Revert on specific files to undo AI changes
- Accept or Reject the entire batch
This is the core value of the desktop app: AI code generation is no longer a black box. You retain full control over what gets merged.
Practical Example: Adding a REST API to a Spring Boot Project
Let's walk through a real-world scenario. Assume you have a Spring Boot user service and need to add a /api/users/{id} query endpoint.
Step-by-Step Workflow:
- Create a new session, select the project directory, and check Isolated Worktree.
- Enter the following prompt in the chat:
Add a findById method in com.example.UserService, and a GET /api/users/{id} endpoint in UserController. Follow these requirements: - Repository layer uses JPA findById - Service layer handles Optional nulls and throws ResourceNotFoundException - Controller layer returns ResponseEntity - Add Swagger/OpenAPI annotations to the endpoint - Include Chinese comments in all new code - Wait for the AI to run (typically 30s–2m), then check the Diff panel on the right.
- Review each file carefully to ensure no existing logic was accidentally altered.
- Click Accept Changes → AI automatically executes a
git commit. - Verify the endpoint using your browser or API client.
- If satisfied, run
git worktree mergeto integrate into the main branch. If not, simply rungit branch -Dto discard it.
Throughout this process, I didn't need to type a single git diff or jump between windows. For backend development, this "conversation-as-requirement, review-as-delivery" workflow is vastly smoother than a pure terminal CLI.
Advanced: Relay Sessions to Mobile (H5 + IM)
What if you're in a meeting or grabbing lunch, but the AI task is still running? cc-haha supports two remote access methods:
H5 Remote Access
Click the phone icon in the bottom status bar to generate a QR code. Scan it with your mobile browser to access the current session. Locking your phone or switching apps won't interrupt the running task—perfect for quick progress checks.
IM Integration (WeChat, Feishu, Telegram, etc.)
If you want to chat with the AI, approve permissions, or switch projects directly via messaging apps, configure IM integration in Settings. Using Feishu as an example:
- Create a custom app on the Feishu Open Platform and obtain the App ID & App Secret.
- In cc-haha Settings → IM Integration, select Feishu and enter the credentials.
- Configure the Callback URL (the desktop app provides it automatically).
- Once paired, messaging the bot in Feishu will control the desktop session.
WeChat and DingTalk follow a similar flow via their respective developer platforms. Step-by-step visual guides are available at cchaha.ai.
Common Pitfalls & Tips
After several test runs, here are a few gotchas to watch out for:
- Unfamiliar with Git Worktrees: Isolated Worktrees essentially run
git worktree add. Remember to merge or clean them up when done, or your local disk will accumulate directories. The app has a built-in merge button; otherwise,git worktree pruneclears leftovers. - Wrong Permission Mode: Five levels range from "Ask Everything" to "Skip All". Strongly recommend starting with "Ask" for your first sessions. Lower the restriction only after you're comfortable, to prevent unintended destructive actions.
- Unexpected Token Usage: Complex tasks (especially Computer Use) consume tokens quickly. Monitor the token trend in the session activity panel and switch to a more cost-effective model if needed.
- macOS Gatekeeper: As noted earlier, unsigned/draft builds require manual approval. This isn't a bug—it's Apple's strict security policy.
Summary
Today, we successfully:
- ✅ Downloaded and installed the cc-haha desktop app
- ✅ Connected an AI model and verified the connection
- ✅ Executed a real dev request (adding a REST API) using an isolated Worktree
- ✅ Safely reviewed AI code changes via the Diff panel
- ✅ Explored H5 remote access and IM session relay
The core philosophy of this workflow is: Let AI work in a sandbox while you focus on reviewing and decision-making. For daily development, the biggest efficiency gain comes from eliminating tedious manual searching, replacing, and diffing.
Next Steps: Explore the built-in Skill Market to install community presets (e.g., "Database Schema Analysis", "Regex Testing"), or try the Computer Use feature to let AI control local applications. Full documentation is at cchaha.ai.
Have questions or want to share your AI-assisted coding workflow? Visit the GitHub Issues or scan the QR code to join the Feishu community group. Drop a comment below and let's learn from each other!