How to Securely Free Up 5-20GB of Disk Space with MangoDisk: A Step-by-Step Guide
A practical, 15-minute tutorial on using the open-source Rust-based tool MangoDisk to safely analyze disk usage, clean developer caches, remove duplicate files, and optimize startup items across macOS, Windows, and Linux.
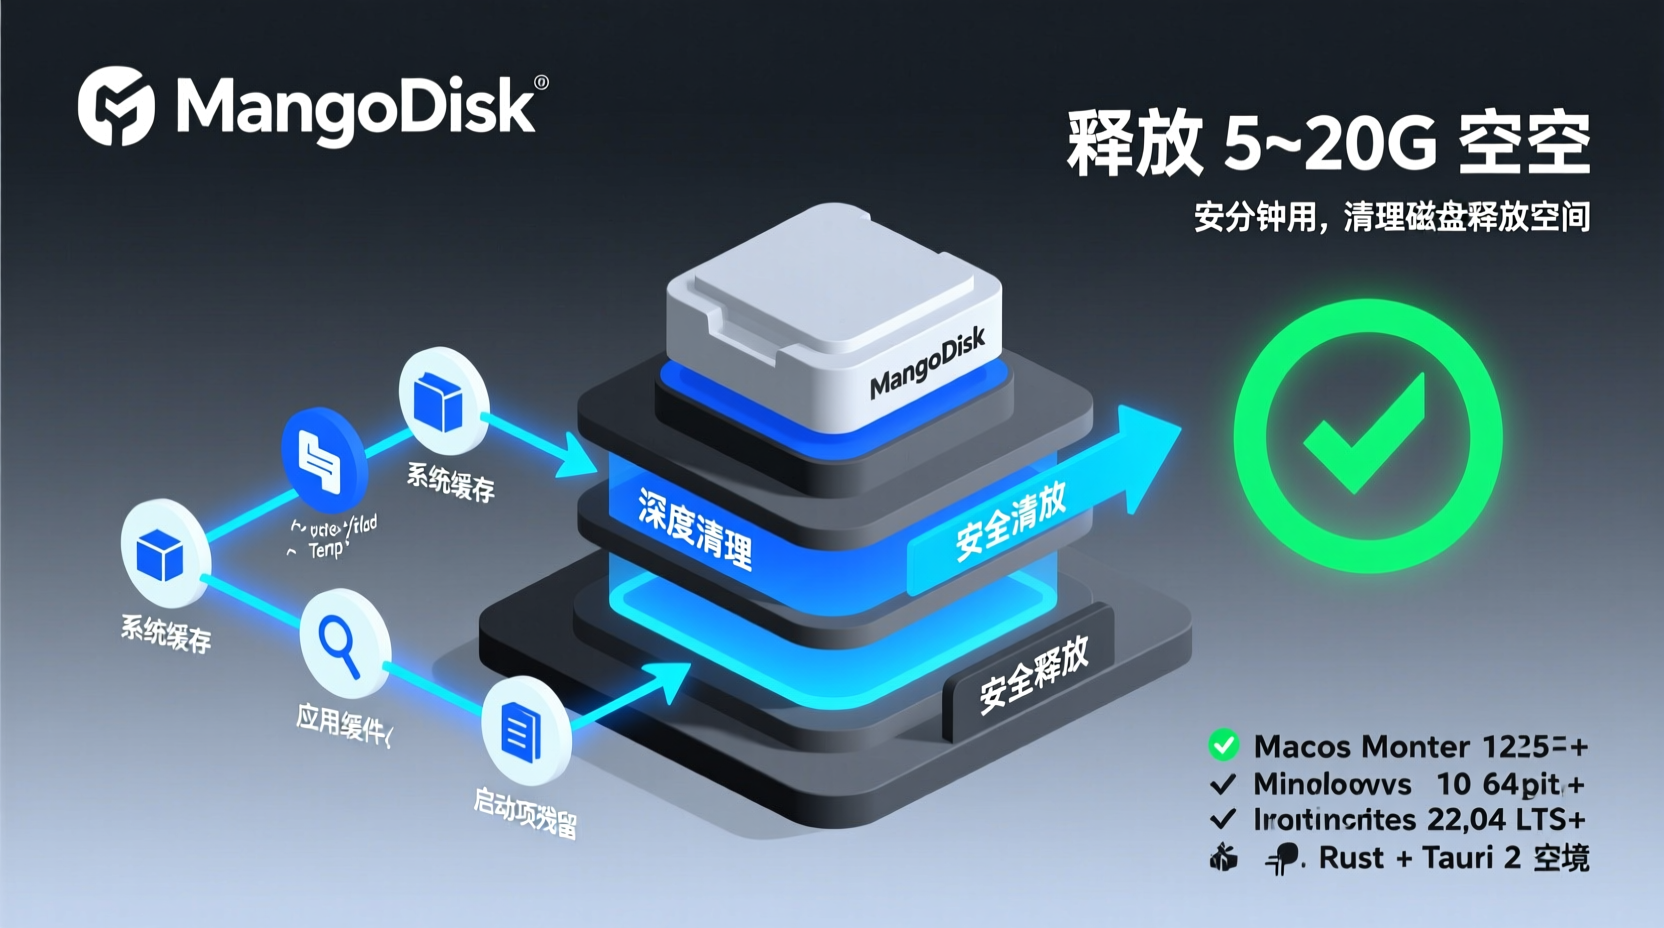
How to Securely Free Up 5-20GB of Disk Space with MangoDisk: A Step-by-Step Guide
Opening: Where Does Your Disk Space Go?
Have you ever faced the dreaded "Disk Space Almost Full" warning? You panic, delete a few large videos, free up 10-20GB, and then two weeks later, it's full again. You dig through Finder or File Explorer, only to find developer "old friends" like node_modules, ~/.gradle, and ~/.cache taking up half your drive. But you're afraid to delete them, worried it might break your development environment.
After 8 years of backend development, migrating projects between machines has always been a headache. The tipping point for me was my MacBook 256GB drive dropping to just 3GB remaining—Xcode builds crashed, and system updates refused to install.
In this tutorial, I'll walk you through a complete disk cleanup workflow using an open-source tool called MangoDisk. In just 10-15 minutes, you'll learn how to:
- Safely scan and clear system, application, and developer caches & temp files with one click.
- Visually identify the largest files/folders and make informed decisions on what to remove.
- Clean duplicate files and uninstall residues to reclaim wasted space.
- Manage startup items for noticeably faster boot times.
- Most importantly: do all this safely without accidentally deleting critical data.
MangoDisk is a cross-platform disk cleanup utility built with Rust + Tauri 2, supporting macOS, Windows, and Linux. Its core philosophy is "Safety First"—all cleanup rules and system optimizations are defined within safe boundaries and verified on real machines, so it won't tamper with your registry or critical system files.
Prerequisites
Before starting, ensure your environment meets the following requirements:
| Platform | Minimum Version |
|---|---|
| macOS | Monterey 12.5+ |
| Windows | 64-bit Windows 10+ |
| Linux | Ubuntu 22.04 LTS+ (Recommended) |
Basic requirement: You know how to open a terminal/command prompt and navigate folders. No programming background needed.
Why Rust/Tauri? You don't need to compile it yourself; just download the installer. Rust guarantees high-performance scanning and cleanup (no freezing on large directories), while Tauri 2 makes it significantly lighter than Electron apps, using minimal memory.
Quick Start: Installation & First Scan
Step 1: Install MangoDisk
Choose the installation method for your OS:
macOS (Recommended via Homebrew):
sh
## Desktop Application
brew install --cask harry0703/tap/mangodisk

## CLI Version (optional, for scripts/terminal users)
brew install harry0703/tap/mangodisk-cli

## Verify installation
mangodisk --version
If you don't use Homebrew, download the DMG from mangodisk.app/download, open it, and drag the app to your Applications folder.
Why Homebrew? It handles future updates automatically, saving you from manual downloads. Developers value efficiency, right?
Windows (PowerShell):
powershell
irm https://get.mangodisk.app | iexWindows (WinGet):
powershell
winget install --id MangoDisk.MangoDisk --exact --source wingetLinux (Debian/Ubuntu):
sh
curl -fsSL https://get.mangodisk.app/linux | bashStep 2: Launch & Grant Permissions
After installation, open MangoDisk for the first time. macOS users will see a "Full Disk Access" prompt—you must allow it, otherwise the tool cannot scan user caches and system temp files under ~/Library, severely limiting cleanup effectiveness.
Windows users will be prompted to run as Administrator if system-level optimizations are required. Just agree.
Step 3: Run a "Deep Cleanup" Scan
Once inside, click Deep Cleanup in the left navigation, then hit Scan.
What does this do? MangoDisk scans your entire drive in read-only mode and aggregates the following categories:
- System Caches: macOS
/private/var/folders, Windows Temp directories - App Caches: Logs, temp files, and update packages accumulated by various software
- Browser Data: Caches & temp files from Chrome, Edge, Firefox, etc.
- Developer Tools: Homebrew cache, Maven/Gradle repos, npm/pip caches, Xcode DerivedData
- Container Caches: Inactive Docker build caches
- Project Build Artifacts: node_modules caches, target, .gradle,
__pycache__, etc. - AI Model Caches: Locally downloaded LLM models, Stable Diffusion weights, etc. (Often a huge space hog)
After scanning, you'll see reclaimable space estimates per category. Note: Scanning is safe—it only reads, never deletes. You can inspect each category and decide what to keep or remove.
Practical Walkthrough: 15 Minutes to Reclaim Dev Environment Space
Let's walk through a real-world scenario. You're a backend developer running Java/Node.js/Python projects, using Docker, and your disk is alerting you of low space.
Phase 1: Space Analysis – Find the Culprits
Don't delete blindly. Open Disk Space Analysis. It offers two views:
- Treemap: Rectangle size represents disk usage. Instantly spot the largest folders.
- Sunburst Chart: Shows folder hierarchy from inside out. Great for exploring overall distribution.
I recommend starting with the Treemap. Select your main drive and set the hierarchy depth to 3-4 layers. You'll quickly spot folders like ~/.gradle/caches or ~/Library/Developer/Xcode/DerivedData taking up 10+ GB.
Why it's safe to remove: Gradle caches dependencies per version, and Xcode generates full artifacts per build. These can be safely regenerated—deleting them won't break your projects, it just means your next build will take a bit longer to re-download/recompile.
Phase 2: Execute Deep Cleanup
Head back to Deep Cleanup. You'll see categorized cleanup items. Key tips:
- Select Carefully: Don't check "Select All"! Review each category's description and space estimate. System, browser, and dev tool caches are usually safe.
- Use the AI Assistant: For uncertain items, click the AI explanation button (daily free quota included, or connect your own AI service). It explains the file's purpose and deletion risks.
- Confirm & Clean: Check your selected items and click Clean. MangoDisk asks for a final confirmation to prevent accidental clicks.
Based on my experience, a dev machine used for 1-2 years typically frees up 5-15GB here.
Phase 3: Duplicate File Cleanup
Open Duplicate File Cleanup. MangoDisk doesn't rely on filenames; it uses content hashing to:
- Precisely identify files with identical content.
- Intelligently recommend retention strategies (usually keep one original, mark others for cleanup).
This is perfect for removing repeatedly downloaded installers or duplicate exported reports. I reclaimed another 2-3GB with this.
Phase 4: App Uninstall & Residue Removal
Open Application Uninstall. Many don't realize that dragging an app to the trash ≠ complete uninstall. On macOS, configs, caches, and logs linger in ~/Library. Windows registry entries also remain.
In MangoDisk, you can view installed apps, select one to remove, and MangoDisk will clean up related cache and config files automatically. This is far more thorough than built-in uninstallers.
Phase 5 (Optional): Manage Startup Items for Faster Boot
Go to Startup Item Management. You'll see all auto-launching programs. Disable unnecessary ones (like rarely used chat apps or cloud sync tools) for a noticeable boot speed boost.
Note: Don't disable antivirus software or critical system services. Use the AI explanation feature if unsure.
CLI Mode: Ready for Automation & Scripts
For sysadmins or terminal lovers, MangoDisk offers a CLI version. Installation is similar, just a different package name:
sh
## macOS CLI
brew install harry0703/tap/mangodisk-cli

## Verify installation
mangodisk --version
Common commands:
sh
## Scan only, make no changes (Safe Preview)
mangodisk clean

## Apply smart recommendations to clean up
mangodisk clean --apply

## Preview all options without deleting
mangodisk clean --apply --selection all --dry-run

## Output results in JSON format (ideal for CI/automation scripts)
mangodisk clean --format json --no-progress

## Explicit confirmation for non-interactive environments
mangodisk clean --apply --yes

## View all available options
mangodisk clean --help
Critical Reminder:
mangodisk cleandefaults to scanning only. In non-interactive environments, you must explicitly pass--yesto execute cleanup. This design prevents accidental data loss.
Common Issues & Pitfalls
- An app won't open after cleanup? In rare cases, cleaning dev tool caches (like npm/pip) means your next build will re-download dependencies. This isn't a bug, just a time cost. Always back up important data.
- Will system optimization break my computer? MangoDisk's optimizations only use verified, built-in rules. It never executes arbitrary registry edits or terminal commands. However, some tweaks may affect battery life, privacy policies, or update behavior. Spend 30 seconds reading each rule's description, and skip anything you're unsure about.
- Large directory scanning is slow? The Rust-based engine is already highly optimized. But on mechanical drives or mounted NAS shares, the first full scan may take a few minutes. Subsequent scans leverage caching for much faster performance.
- No pre-built Linux CLI? Currently, the Linux CLI requires building from source. Check the repo's "Build from Source" guide.
- Does AI explanation cost money? The built-in version offers daily free credits. If you have your own OpenAI-compatible API, configure it in Settings to remove limits.
Summary
Today, we walked through a complete disk cleanup workflow with MangoDisk:
- Install: One command.
- Deep Scan: Safely locate cleanable caches & temp files.
- Space Analysis: Use Treemap to quickly spot space hogs.
- Duplicate Cleanup: Reclaim redundant storage.
- App Uninstall: Thorough removal without leftovers.
- Startup Management: Faster boot times.
The whole process takes ~15 minutes, typically freeing 5-20GB, and every step is safe & reversible (logged in Operation History).
Next Steps: Schedule MangoDisk to run monthly and make proactive disk management a habit. If you're a developer, check out its Cleanup Rules Library and consider contributing custom rules to the community.
Disk space is like cash in your wallet. A regular tidy-up keeps things running smoothly. Hope this tutorial helps!