How to Bypass Synology's Hard Drive Whitelist in 10 Minutes
A step-by-step guide to using the open-source Synology_HDD_db script to unlock third-party HDDs, SSDs, and NVMe drives on your Synology NAS. Learn how to install the script via SSH, run it with the right parameters, and set it to auto-execute on boot to survive DSM updates.
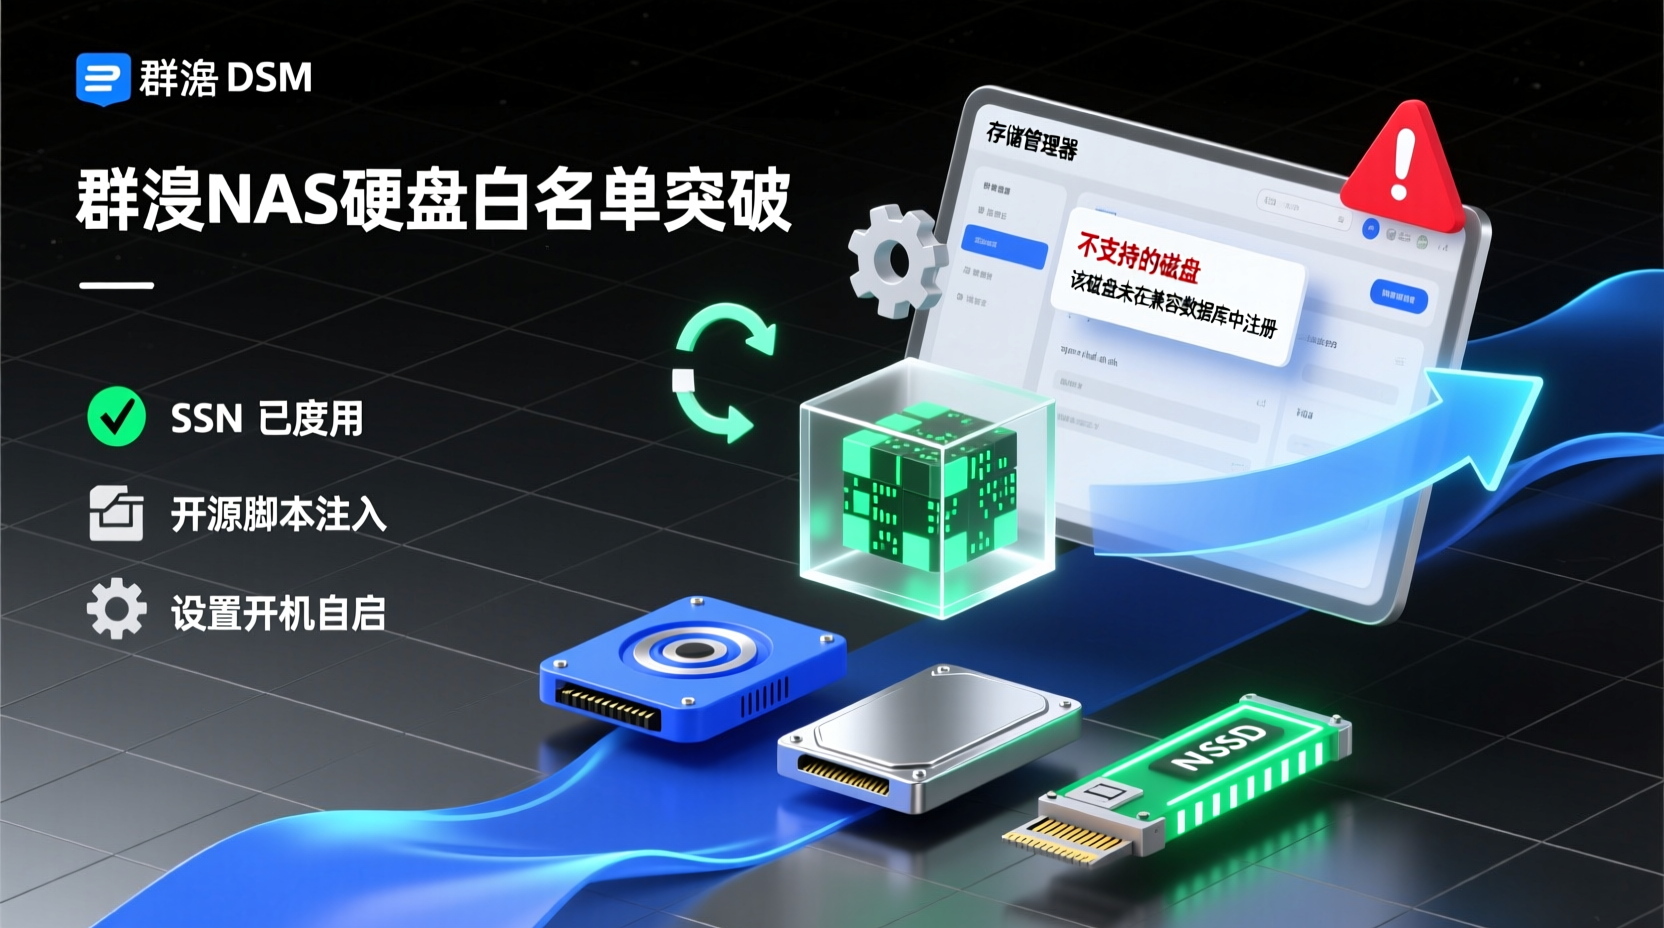
Is Synology's Hard Drive Whitelist Holding You Back? Unlock Your NAS in 10 Minutes
Why This Tutorial?
Last month, I upgraded my DS920+ by picking up a highly cost-effective Zhitai NVMe SSD. After installing it into the M.2 slot and opening Storage Manager, I was greeted with an "Unsupported Disk" warning. The reason was simple: the drive wasn't on Synology's official compatibility list.
This isn't an isolated case. Synology's Hard Drive Compatibility Database (HDD DB) has long frustrated NAS enthusiasts: officially certified drives are often overpriced and limited in selection. Many high-performance, affordable drives on the market are blocked by DSM simply because they aren't on the whitelist, sometimes even preventing you from creating storage pools.
The open-source project Synology_HDD_db solves this exact problem. It's a simple Shell script that adds your HDDs, SSDs, and NVMe drives directly to Synology's compatibility database. It supports both DSM 6 and DSM 7.x, and has nearly 6000 stars on GitHub.
By following this guide, you'll completely free your Synology NAS from the official whitelist restrictions and configure the script to run automatically on boot, giving you a one-and-done solution. Let's get straight to the point.
Prerequisites
Before you begin, make sure you have the following:
- A Synology NAS running DSM 6.x or DSM 7.x (verified on DSM 7.0 ~ 7.4)
- SSH enabled: Control Panel > Terminal & SNMP > Check "Enable SSH service" (default port 22)
- Basic SSH & Linux command knowledge: You should be comfortable connecting via terminal and using basic commands like
cdandchmod - The drives already installed in your NAS (SATA or M.2 NVMe)
- A backup of important data: While the script itself won't touch your data, modifying system databases always warrants caution.
Quick Start: Get It Running in 3 Steps
Step 1: Download the Script to Your NAS
Skip downloading to your computer and transferring it over. We'll pull it directly via SSH to avoid file encoding issues.
SSH into your Synology NAS (use your regular username, root isn't needed for this step):
bash
ssh your_username@your_nas_ipOnce logged in, run these commands to download and extract the latest script:
bash
cd $HOME
wget https://github.com/007revad/Synology_HDD_db/archive/refs/heads/main.zip -O syno_hdd_db.zip
7z x syno_hdd_db.zip
cd Synology_HDD_db-main && ls -ali
Why do it this way? Downloading directly to the NAS $HOME directory (usually /var/services/homes/your_username) ensures clean Unix line endings. After extracting with 7z, you'll see the main syno_hdd_db.sh script and the accompanying syno_hdd_vendor_ids.txt file.
Note: If you get
7z: command not found, you may need to install it first viasudo synopkg install 7z, or extract the zip on your computer and upload the files to any shared folder on the NAS.
Step 2: Grant Execution Permissions
The downloaded script needs executable permissions:
bash
chmod +x /var/services/homes/your_username/Synology_HDD_db-main/syno_hdd_db.shStep 3: Run the Script as Root
This is the crucial step. We'll switch to root privileges using sudo -s and run the script with essential parameters:
bash
sudo -s /var/services/homes/your_username/Synology_HDD_db-main/syno_hdd_db.sh -nrParameter breakdown:
-nor--noupdate: Prevents DSM from automatically overwriting the compatibility database. Adding this ensures DSM won't revert our changes silently. Highly recommended to keep this on unless you explicitly need to update official Synology drive firmware later.-ror--ram: Disables RAM compatibility checks (DSM 7.x only). If you've installed non-certified RAM, this stops the "Unsupported Memory" warning.
The script will automatically:
- Detect your NAS model and DSM version
- Scan all installed drives for model and firmware info
- Back up the original database file (only once)
- Identify missing drivers and add them to the database
- Prompt you to reboot if necessary (often required for M.2 NVMe)
Once finished, open Storage Manager. Your previously "unsupported" drives should now appear normally.
Full Walkthrough: From Installation to Storage Pool Creation
Let's assume you just installed a third-party M.2 NVMe SSD in your DS920+ and want to use it for primary storage rather than just caching. Follow along:
1. Enable SSH & Connect
Go to Control Panel > Terminal & SNMP > Enable SSH > Apply.
From your Mac/Linux terminal:
bash
ssh admin@192.168.1.100 -p 222. Download & Execute the Script
bash
cd /volume1/homes/admin
wget https://github.com/007revad/Synology_HDD_db/archive/refs/heads/main.zip -O syno_hdd_db.zip
7z x syno_hdd_db.zip
chmod +x Synology_HDD_db-main/syno_hdd_db.sh
sudo -s Synology_HDD_db-main/syno_hdd_db.sh -nr
3. Review the Changes (Optional)
To see exactly what the script modified, use the --showedits flag:
bash
sudo -s Synology_HDD_db-main/syno_hdd_db.sh -nr --showeditsThis outputs the exact additions/removals made to the <model>_host.db file for verification.
4. Reboot the NAS
For M.2 NVMe SSDs, a reboot is usually required for changes to take effect. Restart via Control Panel or run:
bash
sudo reboot5. Create a Storage Pool
After rebooting, open Storage Manager in DSM:
- Go to Storage Pool > Create
- Your third-party NVMe SSD should now appear in the available disk list
- Follow the wizard to create the storage pool and volume
Once complete, you can deploy Docker containers, VMs, or any I/O-intensive services directly on this new volume.
6. Set Up Auto-Execution on Boot (Highly Recommended)
DSM updates can overwrite the compatibility database. The safest approach is to configure the script to run automatically every time the NAS boots.
- Open Task Scheduler in DSM
- Click Create > Scheduled Task > User-defined script
- General Settings:
- Task name:
Synology HDD DB Auto Update - User:
root - Check Enabled
- Task name:
- Schedule Settings:
- Run frequency: On Boot-up
- Task Settings > Run command:
bash
#!/bin/bash
/volume1/homes/admin/Synology_HDD_db-main/syno_hdd_db.sh -nr -e
The -e flag disables colored output, preventing garbled characters if the task scheduler emails you logs.
FAQ & Troubleshooting
Issue 1: /usr/bin/env: 'bash\r': No such file or directory
Cause: The script has Windows/Mac line endings (CRLF) instead of Unix (LF).
Fix: Always download the .zip from the GitHub Releases page, not by copying webpage text. If already downloaded incorrectly, re-download the zip and extract it. The author confirms Releases zips are pre-formatted correctly.
Issue 2: No such file or directory
Check the following:
- Ensure the zip was downloaded directly to the NAS, not transferred from a PC.
- Verify you're executing
syno_hdd_db.sh, not the folder itself. - If your path contains spaces, wrap it in quotes:
bash
sudo -s "/volume1/my scripts/syno_hdd_db.sh -n"Issue 3: NVMe Drives Recognized but TRIM Won't Enable
The script allows TRIM on third-party SSDs by default. Important: In RAID 5, RAID 6, or SHR (3+ SSDs) environments, enabling TRIM with "TRIM Method 2" can cause data loss. Officially supported SSDs use the safer Method 1.
If unsure about your SSD's TRIM method, do not enable TRIM on RAID 5/6/SHR. It's perfectly safe for single drives or non-RAID setups.
Warning: Avoid using the -f (--force) parameter, as it will simultaneously disable data deduplication and official Synology drive firmware updates.
Issue 4: Western Drives Showing a 3-Year "Lifespan Warning"
This is caused by Western Digital Device Analytics (WDDA). Use the -w parameter to disable it:
bash
sudo -s /path-to-script/syno_hdd_db.sh -nrwNote: DSM 7.2.1+ has WDDA disabled natively. Skip
-wif you're on a newer DSM version.
Issue 5: M.2 Drives Still Can't Create Pools via PCIe Adapter Cards
If you're using M2D20, M2D18, or similar PCIe adapters on DSM 7.2+, add the -p parameter:
bash
sudo -s syno_hdd_db.sh -nrpAgain, setting this to auto-run on boot is highly recommended, as PCIe adapter drivers also need re-identification after DSM updates.
Summary
Here's what we accomplished:
- Connected via SSH, downloaded, and extracted the script.
- Granted permissions and ran it with
-nrflags. - Verified drive recognition and created a storage pool.
- Configured auto-execution to survive future DSM updates.
The entire process takes under 10 minutes. From now on, you won't need to cross-reference Synology's compatibility list when buying drives—just plug and play.
Next Steps:
- If you're mixing SSDs and HDDs, experiment with the
--ssd=DRIVEparameter to force DSM to prioritize SSD reads for faster system responsiveness. - Keep an eye on the project's GitHub Releases for hardware and DSM updates.
- If you've built an NVMe RAID array, research the two TRIM methods to ensure optimal data safety.
Have questions or successfully unlocked your NAS? Share your experience in the comments. Happy homelabbing!