How to Build a Local AI Video Highlighting Workbench with AutoClip
A step-by-step tutorial on deploying AutoClip locally, configuring AI analysis with Qwen API, and automating video highlight extraction and clipping for content creators and developers.
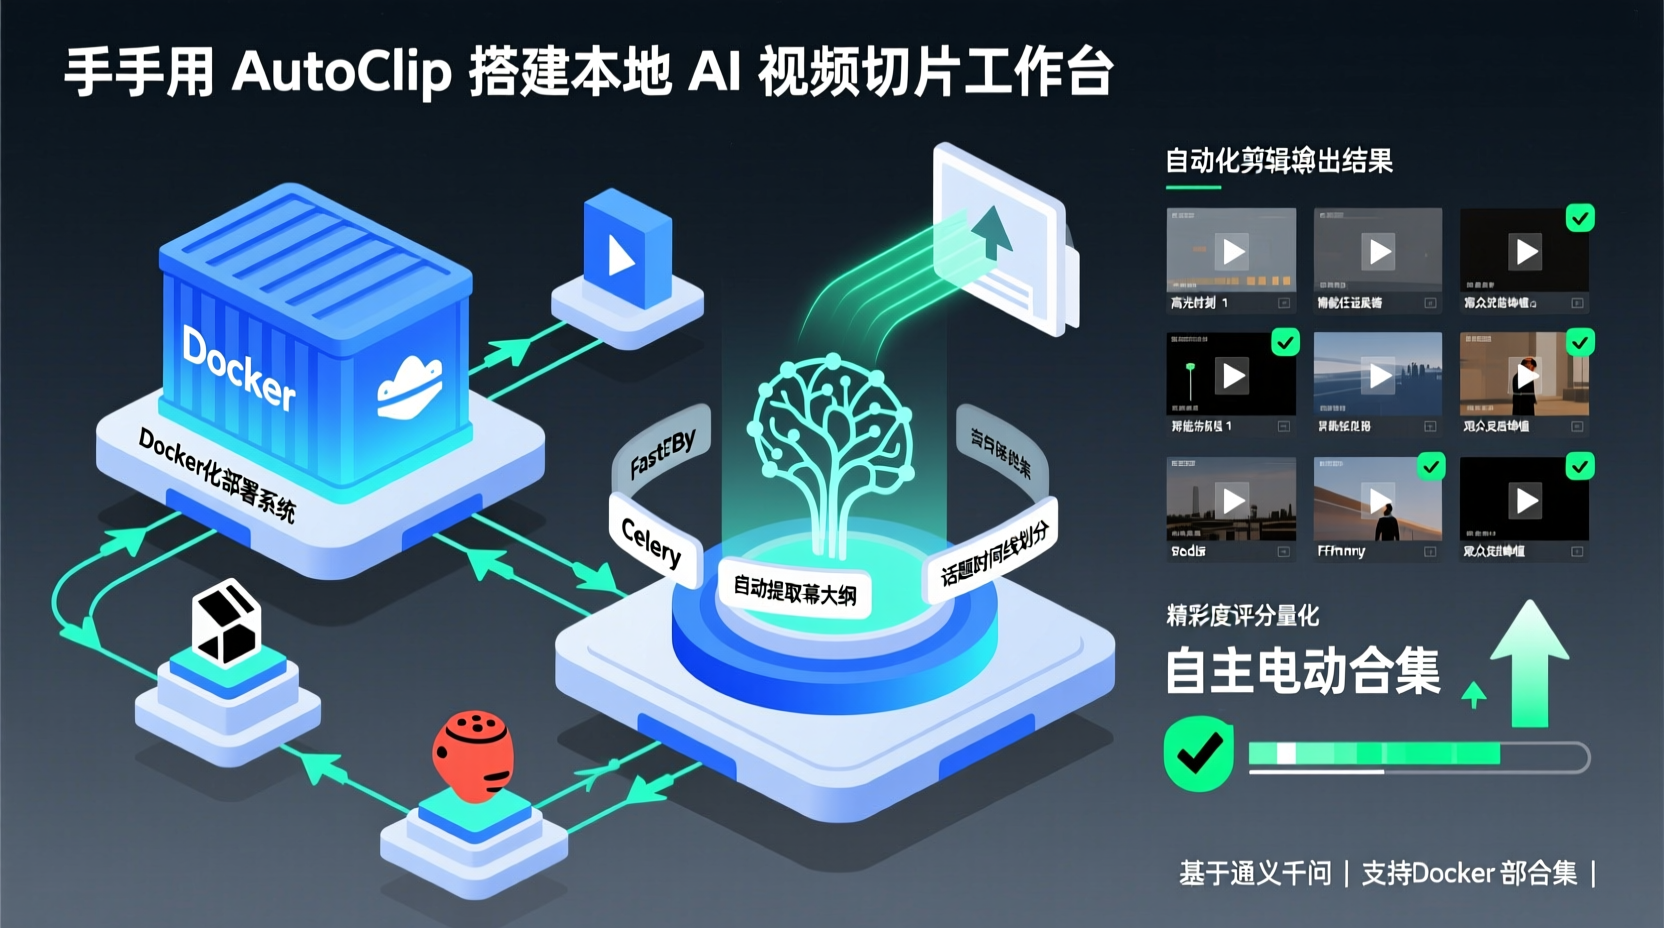
How to Build a Local AI Video Highlighting Workbench with AutoClip
Introduction: Who Hasn't Lost Their Mind Looking for Highlights?
Last week, I helped a friend process a 40-minute live stream recording for short-form video creation. He needed to pick out 5 standout moments. Watching manually, noting timestamps, and trimming clips took him nearly two hours. I asked him: "Do you spend more time finding highlights than actually editing?" He smiled wearily and said about the same.
This is a classic pain point. We aren't short on editing tools; we lack the ability to automatically tell us what's worth cutting.
That's exactly what AutoClip solves today. It supports local video uploads, integrates with the Qwen large language model for content understanding, automatically identifies highlight segments, and clips them. Once the workflow runs, you only need one click, and the AI handles the rest.
By the end of this guide, you will:
- Deploy AutoClip locally with a single command
- Configure the API key required for AI analysis
- Upload a local video, let the AI analyze it, and generate clips automatically
- Review and manage the results via the Web UI
No code modification needed. Just follow along to get it running.
Step 1: Prepare the Environment & One-Click Launch
AutoClip supports both Docker and local deployment. I highly recommend Docker—it bundles all dependencies (FastAPI backend, Redis, Celery Worker, and frontend) so you don't have to juggle Redis, FFmpeg, and Node.js installations on your host machine.
bash
## 1. Clone the repository
git clone https://github.com/zhouxiaoka/autoclip.git
cd autoclip

## 2. Configure environment variables (AI key is mandatory)
cp env.example .env
Open the newly created .env file and fill in the following critical fields:
bash
## AI API Configuration — This step is crucial. Without it, AI analysis won't run.
API_DASHSCOPE_API_KEY=your_qwen_api_key_here
API_MODEL_NAME=qwen-plus

## Storage paths (defaults are fine)
UPLOAD_DIR=./data/uploads
PROJECT_DIR=./data/projects
Where to get API_DASHSCOPE_API_KEY? Go to the Alibaba Cloud DashScope Console, enable the Qwen service, and create an API Key. This key enables the AI to understand your video content. Without it, the system will only handle downloads and storage, skipping intelligent analysis.
Once filled, launch everything with one command:
bash
./docker-start.shAfter all containers start, open your browser and visit http://localhost:3000. If you see the homepage, the service is ready.
Why Docker? This project has a long dependency chain (FastAPI + Celery + Redis + yt-dlp + FFmpeg). Manual installation often misses components or runs into version conflicts. Docker guarantees an environment identical to the author's setup, saving you hours of debugging.
Step 2: Upload a Local Video & Submit for Processing
With the service running, let's test it with a local video. You could use a recorded lecture, a podcast replay, or gameplay footage.
- Go back to the homepage and click "New Project"
- Select "File Upload"
- Drag in your video file (if you have an accompanying SRT subtitle file, upload it too—subtitles significantly improve AI analysis accuracy)
- Click "Start Processing"
You'll see a progress bar appear. Here's what happens in the background:
- Asset Preparation: Validates the video file and extracts basic metadata.
- Content Analysis: If subtitles exist, the AI reads the transcript to extract an outline.
- Timeline Extraction: Identifies time ranges for different topics. For example, in a podcast, the AI can pinpoint
00:03:15 - 00:08:42covers a specific discussion. - Highlight Scoring: Scores each segment to indicate which ones are worth clipping.
- Title Generation: Automatically generates titles for each highlight clip.
- Video Generation: Uses FFmpeg to physically cut the clips.
The entire process is asynchronous. After clicking "Start Processing", you can browse other pages. The system pushes progress updates via WebSocket, and you can view the results on the project detail page once finished.
Step 3: Review Clips & Create Collections
Once processing completes, navigate to the project detail page to see:
- A list of generated video clips (with thumbnails and highlight scores)
- AI-generated titles
- Start and end timestamps for each segment
You can manually edit titles, reorder clips, or use the AI-recommended "Collections" feature—the system automatically groups related clips together. For instance, if you uploaded a meeting recording, AutoClip might generate collections like "Technical Discussion" or "Product Decision Making".
Select the clips you want, click download, and you'll get ready-to-use MP4 files.
Troubleshooting: 3 Common Pitfalls I Encountered
1. Invalid API Key Stalls AI Analysis
This is the most frequent issue. If API_DASHSCOPE_API_KEY in .env is incorrect or expired, the UI won't throw an error; it will just freeze indefinitely. Fix: Check backend logs with tail -f logs/backend.log. If you see 401 or 403 errors from the AI API, your Key is invalid.
2. Port Conflicts Prevent Service Startup
If port 8000 (backend) or 3000 (frontend) is occupied, the startup script will fail. Fix:
bash
lsof -i :8000  # Check what's using the port
kill -9 <PID>  # Terminate the process and restart
3. Redis Connection Fails, Task Queue Piles Up
AutoClip relies on Celery + Redis for async task scheduling. If Redis isn't running or is unreachable, clicking "Start Processing" will queue tasks that never execute. Check: Run redis-cli ping. It should return PONG.
Conclusion: What's Next?
You've now completed the end-to-end workflow: Deploy → Upload → AI Analysis → Get Clips. The real value of AutoClip is offloading the repetitive "watch-and-find-highlights" task to AI, freeing up your time for creative work like pacing, copywriting, and distribution.
Want to go further?
- Tune the AI Model: Switch
API_MODEL_NAMEin.envtoqwen-turbo(faster, cheaper) orqwen-max(slower, more accurate) based on your video type. - Batch Processing: Upload multiple videos at once and let the Celery queue process them sequentially.
- Connect to YouTube/Bilibili: Paste links directly to download and process remote assets—perfect for cross-platform content creation.
Features like one-click Bilibili upload and visual subtitle editing are currently in development. I'll cover those in a future guide once they mature. For now, get this local clipping workbench running, and you'll immediately feel the efficiency boost AI brings to your workflow.
Give it a try. Drop a comment if you hit any snags, and I'll help you troubleshoot.