How to Build Your Own Private Search Engine in 30 Minutes: Index Browser History & Local Files
Stop scrolling through browser history. This tutorial shows you how to deploy Hister, a zero-config, open-source private search engine, to index your web browsing and local documents. Learn to set up browser extensions, ingest local files, and master advanced query syntax for precise information retrieval.
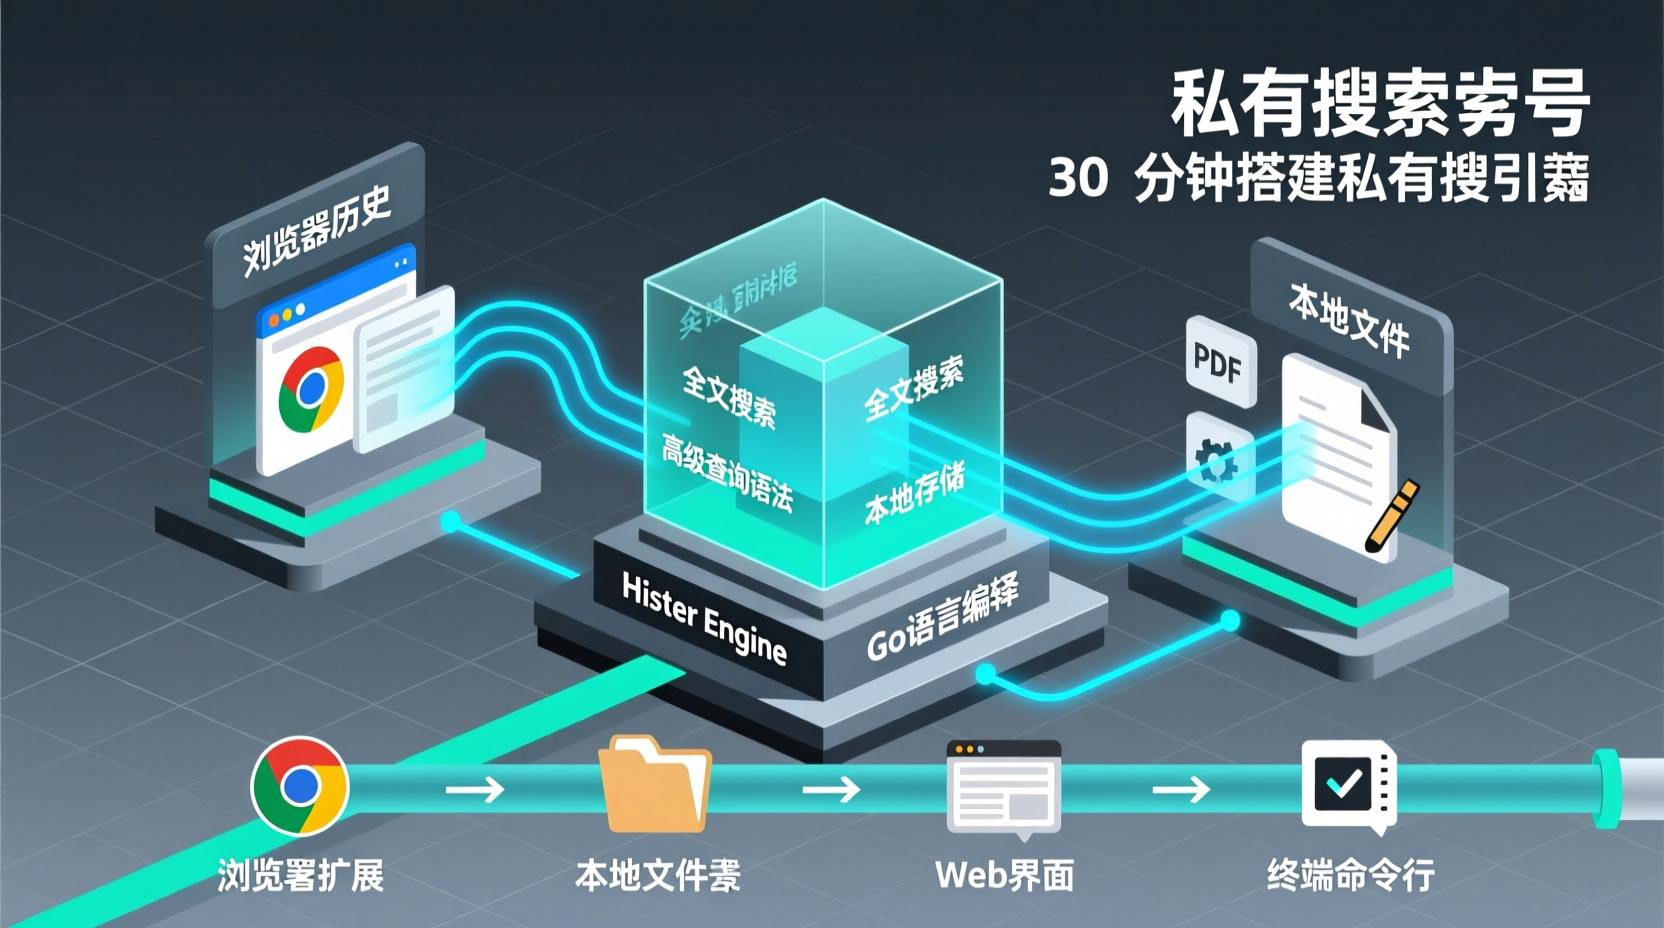
How to Build Your Own Private Search Engine in 30 Minutes: Index Browser History & Local Files
Have you ever experienced this: last week you read a technical solution, and now you want to find it again, but scrolling through 20 lines of browser history gets you nowhere? Or maybe you have a pile of locally saved PDFs and notes, and searching them just comes down to guessing filenames—you have no idea what's actually inside them.
Public search engines can't index your private data, and built-in browser history only matches titles and URLs, which falls short. Today, I'm introducing Hister, a private search engine that runs right on your own machine. It builds a full-text index of the web pages you visit and the local files you save. Later, you can instantly retrieve information via a web UI, terminal, or even an AI assistant.
By the end of this tutorial, you will have a fully functional, privacy-controlled personal search engine. Let's dive in step-by-step.
1. Prerequisites
You only need two things:
- A Linux/macOS/Windows machine (local or server, 2 cores & 4GB RAM recommended)
- A browser with GitHub access (use a proxy if network restrictions apply)
Hister is distributed as precompiled binaries, so you don't need to install a Go runtime locally. It's ready to use out of the box. If you're a developer wanting to compile from source, you'll need Go 1.26+, npm, and a C compiler.
2. Installation & Startup (5-Minute Setup)
2.1 Download the Binary
Go to the Hister Latest Release Page and download the binary for your platform. After downloading, rename the file to hister (hister.exe on Windows).
2.2 Grant Execution Permissions
On Linux/macOS, you must add execute permissions before running:
bash
chmod +x histerWhy is this necessary? Linux and macOS security models prevent downloaded binaries from executing by default. You must manually grant permission first.
2.3 Start the Service
bash
./hister listenIn Windows PowerShell, run .\hister.exe listen.
The listen subcommand starts an HTTP service in the background, defaulting to 127.0.0.1:4433. Open your browser and navigate to http://127.0.0.1:4433 to instantly access Hister's web search interface.
Out of the box, no configuration is required. Hister runs in local single-user mode by default. All data (indices and documents) is stored locally on your disk, with zero information sent to the cloud.
3. Hands-On: Import Data & Experience Search
A search engine needs data to work. Next, we'll do two practical exercises: importing browser history and indexing local files.
3.1 Install the Browser Extension to Auto-Index History
Hister provides official browser extensions for both Firefox and Chrome. Once installed, every page you visit is automatically pushed to Hister for indexing.
- Firefox: Search for "Hister" in the Add-ons store to install.
- Chrome: Search for "Hister" in the Chrome Web Store to install.
After installation, point the extension to your Hister service address (default: http://127.0.0.1:4433). Then, just browse normally. Hister will silently index the full text of visited pages in the background—not just titles and URLs, but the actual page content.
3.2 Manually Index Local Files
Sometimes you want to search through PDFs, Markdown notes, or code files. Hister doesn't have a direct CLI import command, but you can feed it local files via:
- Document Import API: Submit document content via API to build an index.
- Crawler Feature: Configure Hister's crawler to point to a local file server or specific URLs for batch ingestion.
Here's a minimal, practical approach: if you have a batch of HTML-formatted notes, spin up a temporary HTTP server and let Hister crawl it:
bash
## Start a temporary web server in your notes directory
python3 -m http.server 8080

## Then add this address as a crawl source in Hister's configuration
## See https://hister.org/docs/configuration for specifics
3.3 Try Advanced Query Syntax
Hister's query syntax is powerful, supporting field filtering, phrase matching, wildcards, negation, and result prioritization. Here are a few high-frequency examples I use daily:
text
## Full-text keyword search
k8s configmap

## Field filter (title contains a word)
title:kubernetes

## Exact phrase match (space-separated words)
"system design"

## Negation (exclude pages containing a word)
docker -tutorial

## Combined usage
title:go golang -beginner
Why emphasize these? Once you index hundreds or thousands of pages, basic keyword searches return noise. Field filters and negation let you precisely hit exactly what you need. This is Hister's killer advantage over basic browser search.
4. FAQs & Pitfall Alerts
Q1: I can't access 127.0.0.1:4433 after starting?
Verify the port isn't occupied and your firewall isn't blocking it. If deploying on a server, add port 4433 to your security group, or start with --bind 0.0.0.0:4433 to bind to all network interfaces.
Q2: Indexing is taking up too much disk space?
Hister stores indices and source text locally by default. You can limit the indexing scope in the configuration (e.g., restrict to specific domains, exclude certain MIME types) and regularly purge old data.
Q3: Can I use this for a team?
Yes. Hister natively supports multi-user mode, isolating each user's documents and search results. Enable it in the config file. It's ideal for small-team internal knowledge retrieval.
Q4: How does Semantic Search work?
Hister supports semantic search (matching by meaning instead of keywords) via external Embedding endpoints. You'll need to specify a compatible vector service URL in the config, like Ollama or an OpenAI-compatible Embedding API. Note that semantic search sends document text to the endpoint, so evaluate privacy implications before enabling it.
5. Summary
Let's recap what we accomplished today:
- Downloaded & launched the Hister binary with a single command.
- Installed the browser extension to automatically turn browsing history into a searchable index.
- Mastered advanced queries using field filters and negation for precise recall.
- Explored local file indexing, multi-user support, and semantic search extensions.
Hister's AGPLv3 license means you can safely use it for personal or internal scenarios, keeping all data strictly on your own machine. If you want to dive deeper, check the official docs for Crawler configuration and MCP integration—the latter lets you connect Hister to an AI Agent, allowing AI to directly search your private knowledge base.
Give it a try. Building your own search engine is easier than you think.