How to Handle Images in PHP: Compression, Watermarking & Format Conversion in 20 Minutes
A practical step-by-step guide to using Intervention/image in PHP 8.3+. Master image scaling, watermarking, and WebP compression with production-ready code. Ideal for backend and full-stack developers.
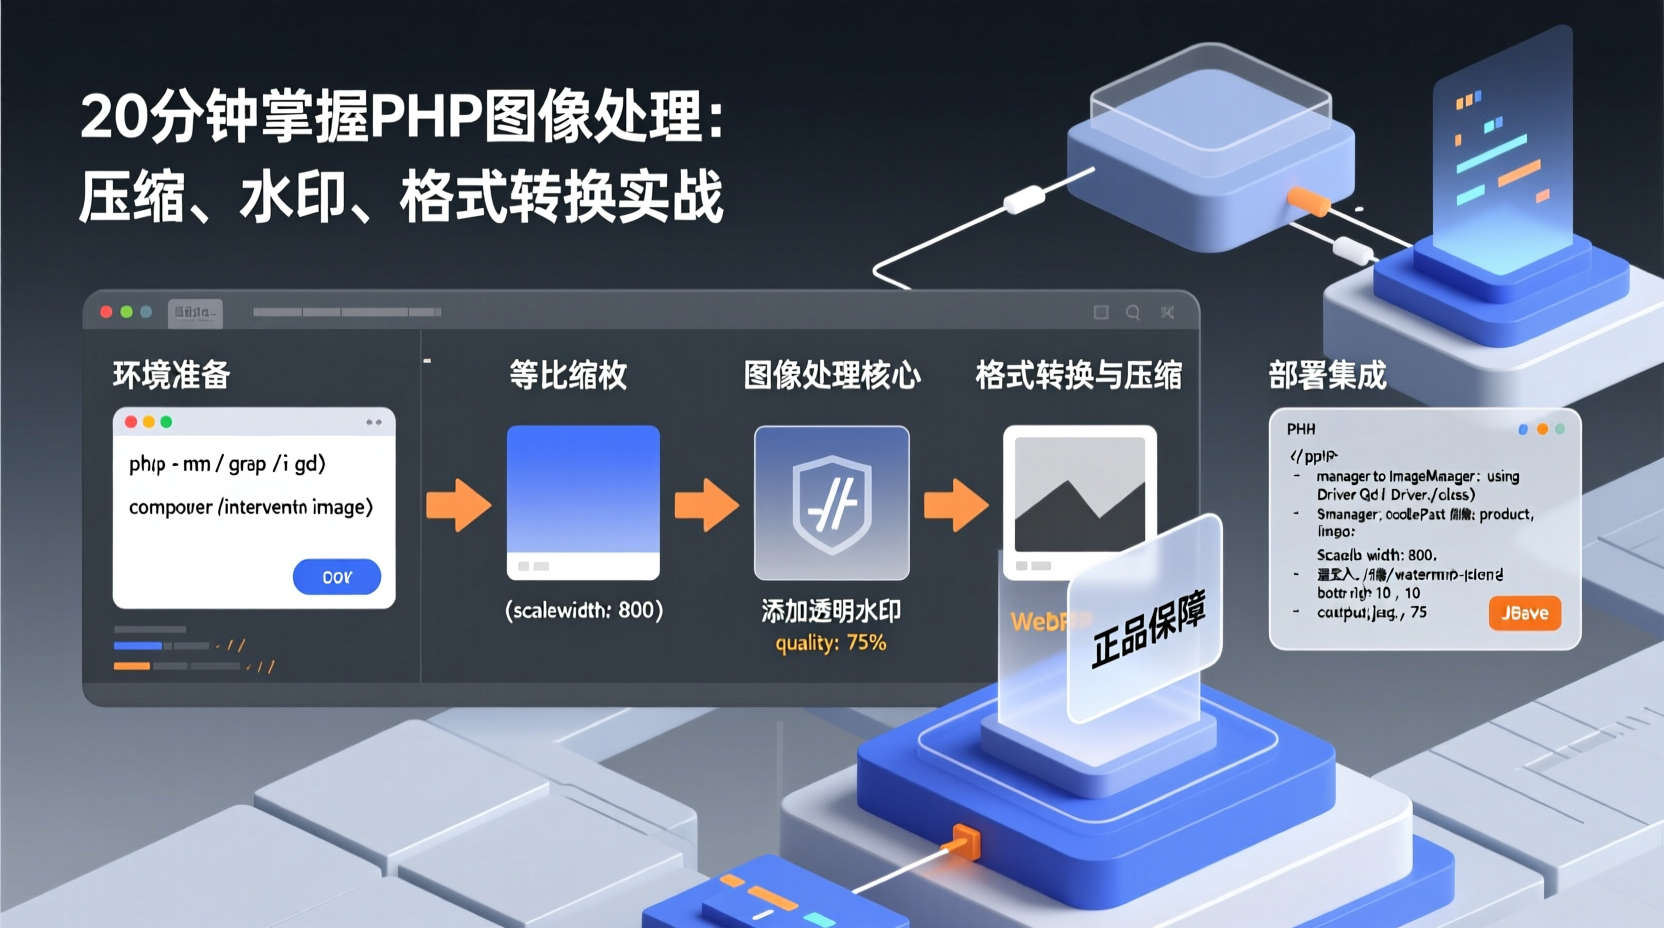
Last week, while helping a colleague tweak an e-commerce admin panel, I ran into a classic scenario: operators were uploading product images hovering around 5MB each, making page loads painfully slow. On top of that, they kept complaining about how tedious it was to manually add a "Genuine Guarantee" badge to every image. If you've ever dealt with uncontrolled image sizes, inefficient manual watermarking, or needing multiple sizes for different contexts—this guide is for you.
In this tutorial, I'll walk you through setting up a local environment from scratch, then spend 20 minutes tackling three high-frequency tasks: proportional scaling & compression, adding semi-transparent watermarks, and converting/compressing formats like WebP. By the end, you'll have production-ready code you can drop straight into your web projects.
Prerequisites
Before we begin, ensure your environment meets these requirements to avoid common pitfalls:
- PHP >= 8.3 – This is a hard requirement for Intervention/image v4. (Stick to v3 only if upgrading is impossible, but upgrading is highly recommended.)
- Composer installed – PHP's standard package manager. If you don't have it, grab it from getcomposer.org.
- At least one image processing extension: GD, Imagick, or libvips. Most cloud servers come with GD pre-installed. Verify with
php -m | grep -i gd. For high-performance needs (e.g., processing large batches of HD images), Imagick or libvips is recommended. - Basic PHP OOP knowledge – You'll see class instantiation and method chaining. Familiarity is enough.
Getting Started
Step 1: Install via Composer
Run this in your project root:
bash
composer require intervention/imageThis pulls the library into your vendor directory and handles dependencies automatically. Why use Composer? Intervention/image relies on specific underlying extension versions. Manually copying files often leads to autoloader failures. Composer manages this smoothly and makes future upgrades a single command away.
Step 2: Create an ImageManager Instance
All operations start with the ImageManager class. You need to specify the underlying driver:
php
use Intervention\Image\ImageManager;
use Intervention\Image\Drivers\Gd\Driver as GdDriver;

$manager = ImageManager::usingDriver(GdDriver::class);
GD is chosen here because it works out-of-the-box with zero configuration. If your server has Imagick installed, simply swap GdDriver::class for ImagickDriver::class. The upper-layer API remains completely unchanged. This driver abstraction means switching from GD to libvips later for performance boosts only requires changing one line.
Step 3: Load an Image
Place a test image in your project's images/ directory, then:
php
$image = $manager->decodePath('images/product.jpg');
echo sprintf("Original size: %dx%d, Format: %s\n",
    $image->width(), $image->height(), $image->format());
decodePath automatically detects the format (JPEG, PNG, WebP, etc.), so no manual specification is needed. Once you have the $image object, you're ready to manipulate it.
Practical Example: Processing an E-commerce Main Image in Three Steps
Let's combine several operations to simulate a real-world workflow: take a user-uploaded HD product image, compress it to an 800px-wide WebP format, and stamp a brand watermark in the bottom-right corner.
1. Proportional Scaling
Just set the width or height, and Intervention automatically maintains the aspect ratio:
php
$image->scale(width: 800);2. Adding a Watermark
Prepare a semi-transparent PNG watermark (watermark.png), then:
php
use Intervention\Image\Alignment;
$image->insert('images/watermark.png', alignment: Alignment::BOTTOM_RIGHT, offset: 10);
offset: 10 adds a 10px margin from the edge for better visual balance. If you need to resize the watermark itself, process it first with $manager->decodePath('watermark.png')->scale(width: 120) before inserting.
3. Encoding & Saving
Once processed, encode to WebP with a quality of 75 (the sweet spot between file size and visual quality):
php
use Intervention\Image\Format;

$encoded = $image->encodeUsingFormat(Format::WEBP, quality: 75);
$encoded->save('images/product_processed.webp');
Complete Runnable Script
Stringing it all together gives you a ready-to-use script:
php
<?php

require __DIR__ . '/vendor/autoload.php';

use Intervention\Image\ImageManager;
use Intervention\Image\Drivers\Gd\Driver as GdDriver;
use Intervention\Image\Alignment;
use Intervention\Image\Format;

$manager = ImageManager::usingDriver(GdDriver::class);

// 1. Read the original image
$image = $manager->decodePath('images/product.jpg');

// 2. Scale to 800px width (height auto-adjusts)
$image->scale(width: 800);

// 3. Add watermark to bottom-right
$image->insert('images/watermark.png', alignment: Alignment::BOTTOM_RIGHT, offset: 10);

// 4. Encode as WebP and save
$encoded = $image->encodeUsingFormat(Format::WEBP, quality: 75);
$encoded->save('images/product_processed.webp');

echo "Processing complete! Final size: {$image->width()}x{$image->height()}\n";
Run this script, and product_processed.webp will appear in your images/ folder. A typical 5MB JPEG usually compresses down to ~200KB with virtually no visible quality loss.
Common Pitfalls & Pro Tips
Class "Intervention\Image\ImageManager" not found: Verify you rancomposer installand that your script starts withrequire __DIR__ . '/vendor/autoload.php';. Beginners often forget this line.- GD doesn't support WebP encoding: PHP 8.1+ GD supports WebP by default. If your PHP was compiled from source without the
--with-webpflag, it will fail. Check withphp -i | grep -i webp. - Watermark not showing: Double-check the watermark path and ensure the PNG has an alpha channel. If it's fully transparent, you might be using the wrong format (e.g., JPEG instead of PNG).
- Out of Memory (OOM): Processing massive images (e.g., 20000x15000 camera RAWs) can exhaust memory. Recommended split strategy: use Imagick/libvips for large previews, and GD for standard business workflows.
- Chained calls mutate the original: Intervention/image operations are mutable by default. If you need to preserve the original, clone it before modifying:
$copy = clone $image;.
Summary
Today we completed a full workflow from installation to production:
- One-command installation via Composer
ImageManager::usingDriver()instantiation (seamlessly switchable between GD/Imagick/libvips)- Combined
scale/insert/encodeUsingFormatfor resizing + watermarking + format conversion - Persisted results with
save
What's next? Try using PHP's glob to iterate through folders and wrap the logic in a loop to process an entire product catalog at once. For Laravel integration, the official intervention/laravel package lets you use the Image:: facade directly after configuration—highly convenient.
Image processing is inevitable in web development. Instead of constantly copying scattered snippets, spend 20 minutes integrating a mature library into your toolkit. If you run into issues during implementation, drop a comment below and I'll do my best to help.