How to Build Self-Healing Browser Automation with LLMs and browser-harness
A practical guide to setting up browser-harness, connecting it to your real browser via CDP, and using AI coding agents to automate browser tasks with built-in self-healing capabilities.
Last month, I took on a task: scrape public data from three different platforms daily and compile it into a spreadsheet. I initially wrote a Selenium script, but two weeks later, one platform tweaked its layout—and my script broke instantly. Debugging, patching, and re-testing took me two hours. If you've done browser automation, you know this pain: "One layout change, and your script is dead."
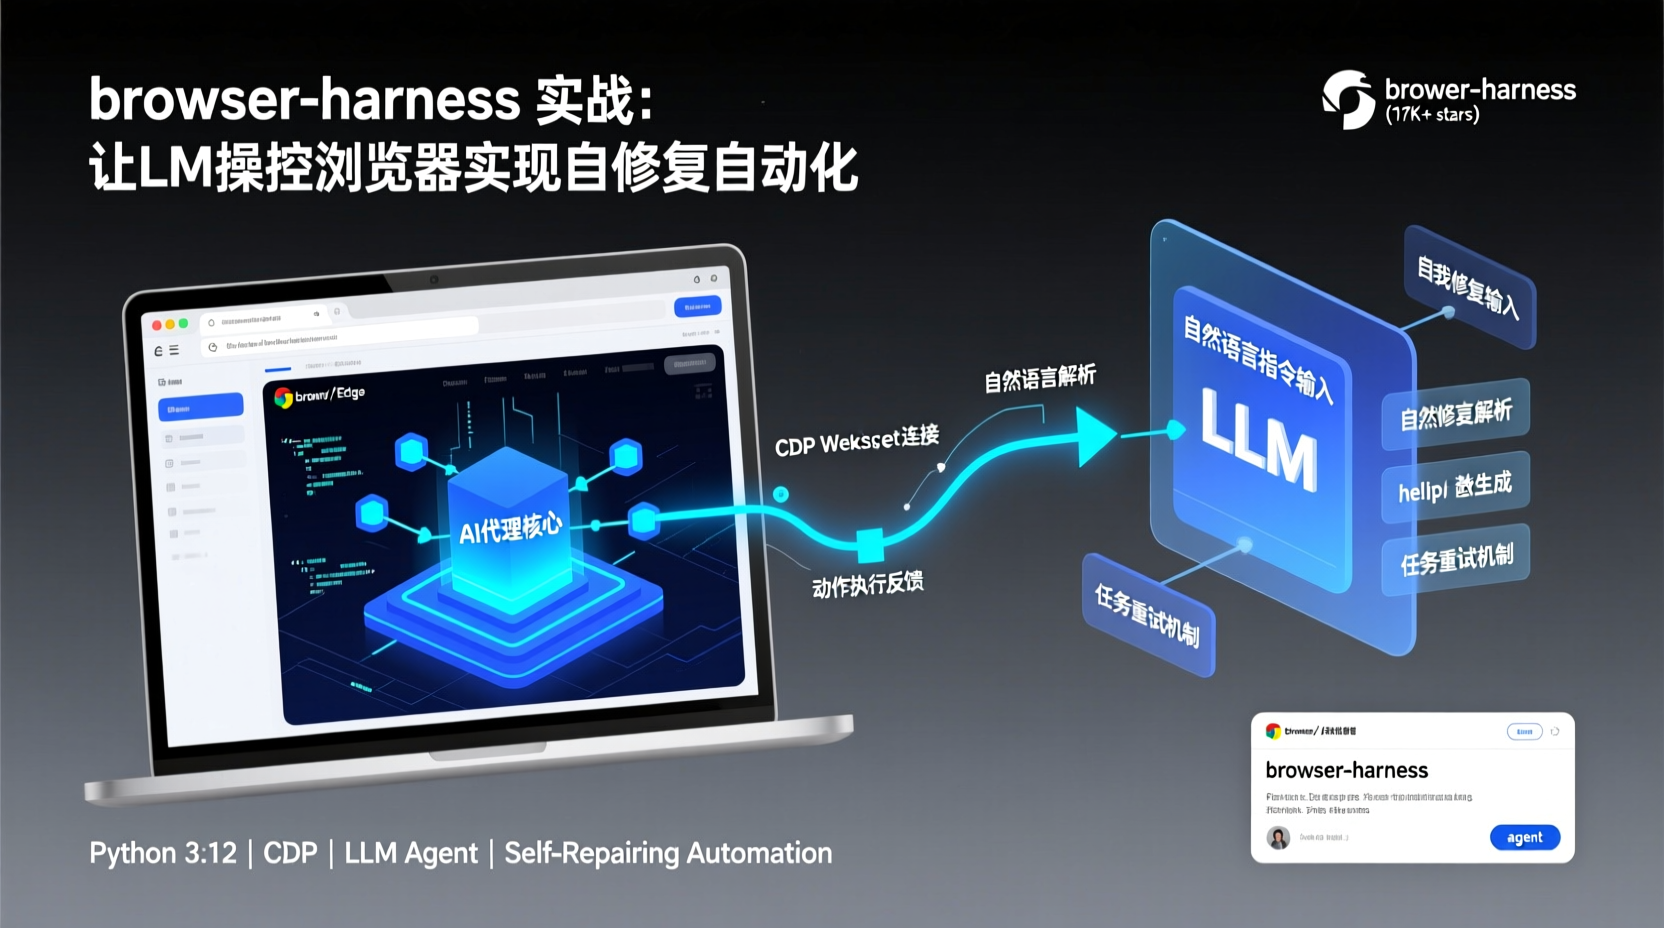
What if there was a way to let a Large Language Model (LLM) directly control your real browser, and when it encounters something it can't handle, it automatically writes helper functions to bridge the gap? Next time it faces a similar scenario, it just knows what to do. Sounds much more reliable, right?
Today, I'll walk you through browser-harness, an open-source project with over 17K stars. By the end of this tutorial, you'll have a complete environment set up on your machine. You'll be able to give the AI natural language instructions like "Open a specific site, log in, find the latest 20 videos, and download them," and watch it execute step-by-step in your actual browser.
Prerequisites
Before we start, make sure you meet these requirements:
- Python 3.12: The recommended version. Use
uvorvenvto isolate your environment. - Chrome / Edge Browser: Must be launched with a remote debugging port (covered later).
- LLM Environment: A coding agent like Claude Code or Codex, or any accessible LLM API.
- Basic Knowledge: Familiarity with Chrome DevTools Protocol (CDP). browser-harness connects your LLM to the browser via an editable CDP WebSocket.
I prefer using
uvfor Python virtual environments—it's significantly faster thanpip. The steps below will use it as the primary example.
Step 1: Install browser-harness
Create a virtual environment with uv and install the latest stable version:
bash
## If you haven't installed uv yet, get it first
curl -LsSf https://astral.sh/uv/install.sh | sh

## Create and enter the project directory
mkdir browser-auto-demo && cd browser-auto-demo

## Initialize Python 3.12 env and install browser-harness
uv init -p 3.12
uv pip install -e git+https://github.com/browser-use/browser-harness.git
Why use
-efor editable install? The agent needs to read and reference browser-harness's source code. An editable installation ensures the agent can access modules undersrc/browser_harness/, while also allowing you to inspect official skill files to understand the agent's workflow.
Step 2: Enable Chrome Remote Debugging
This is where many beginners stumble—you must expose the CDP port so the agent can connect.
Close all Chrome windows, then launch it via the command line:
bash
## macOS
/Applications/Google\ Chrome.app/Contents/MacOS/Google\ Chrome --remote-debugging-port=9222

## Windows
"C:\Program Files\Google\Chrome\Application\chrome.exe" --remote-debugging-port=9222
Once launched, type chrome://inspect/#remote-debugging in the address bar. You'll see a checkbox. Check it to allow the agent to connect via CDP.
This step essentially opens Chrome's DevTools Protocol remote debugging port. browser-harness's agent connects to your browser via the
ws://localhost:9222WebSocket. If you don't check the box, the agent won't be able to connect at all.
Step 3: Send the Setup Prompt to Your Coding Agent
The brilliance of browser-harness is that you don't need to write boilerplate code. Just paste the following prompt into Claude Code, Codex, or your preferred coding agent:
text
Install or upgrade browser-harness to the latest stable version with uv using Python 3.12,
register the skill from `browser-harness skill`, and connect it to my browser.
Ask whether I want local browser recordings enabled;
default to no and preserve my existing preference on upgrades.
Follow https://github.com/browser-use/browser-harness/blob/main/install.md if setup or connection fails.
This prompt will automatically trigger the agent to:
- Verify
browser-harnessis correctly installed. - Register its SKILL (defined in
SKILL.mdfor browser automation workflows). - Establish a connection to the Chrome remote debugging port.
- Confirm if you want local browser recordings enabled (defaults to off).
Once the agent finishes, you'll have a fully functional browser automation environment.
Practical Example: Let the Agent Automatically Download the Latest Videos from X
With the environment ready, let's do something useful.
Send this task instruction to your agent:
text
Open my X profile, find the latest 20 video posts, and download them all to a local `videos/` directory.Here's what you'll observe during the process:
- The agent opens the browser and navigates to your X Profile via CDP.
- The agent scrolls through the page, locating video posts and checking each one.
- When it encounters a missing download method, it will automatically generate a helper file in your workspace—e.g.,
agent_helpers.py—containing logic to extract video URLs and download them viacurlorrequests. - The next time a similar task arises, the agent will directly call this helper, skipping the trial-and-error phase.
This is the core selling point of browser-harness: Self-Healing. Instead of waiting idly when hitting a capability gap, the agent writes its own utility functions to bridge it. Your workspace essentially gets smarter with every task.
Troubleshooting & Tips
- Chrome must launch in debug mode: If you usually open Chrome by double-clicking the icon, remember to use the debug mode command instead. Otherwise, the agent can't connect.
- Port conflicts:
9222is the default. If it's occupied by another process, pick a different port and inform your agent. - Login state: Since the agent controls your real browser, your existing login sessions work seamlessly. However, for large-scale automation, consider using Browser Use Cloud's isolated browsers to avoid account security risks.
- Where are the agent's helpers stored?: By default, they go to
agent-workspace/agent_helpers.py. It's highly recommended to periodically review and organize them to prevent clutter.
Conclusion
Today, we walked through the complete setup and usage workflow of browser-harness:
- Installed browser-harness using
uv. - Launched Chrome with remote debugging and authorized the CDP connection.
- Sent a setup prompt to a coding agent to initialize the automation environment.
- Issued a natural language task and observed the agent complete it with self-healing capabilities.
Compared to traditional Selenium or Playwright setups, browser-harness fundamentally shifts your role: you state the goal, and the agent breaks it down, fills capability gaps, and executes. You go from "script writer" to "task director."
Next, try giving it more complex, multi-step workflows like "Fill out Form A, take a screenshot, extract data from it, and input it into Form B before submitting." You'll find AI agents incredibly effective for cross-page, multi-step scenarios.
Give it a try, and feel free to reach out if you run into any issues!