How to Turn a $30 TV Box into a High-Performance Home Linux Server: A Step-by-Step Armbian & Docker Guide
Transform an idle TV box into a powerful ARM-based home server or lightweight NAS. This practical guide walks you through flashing Armbian, writing to eMMC, setting up SSH, installing Docker, and deploying your first container service in under an hour.
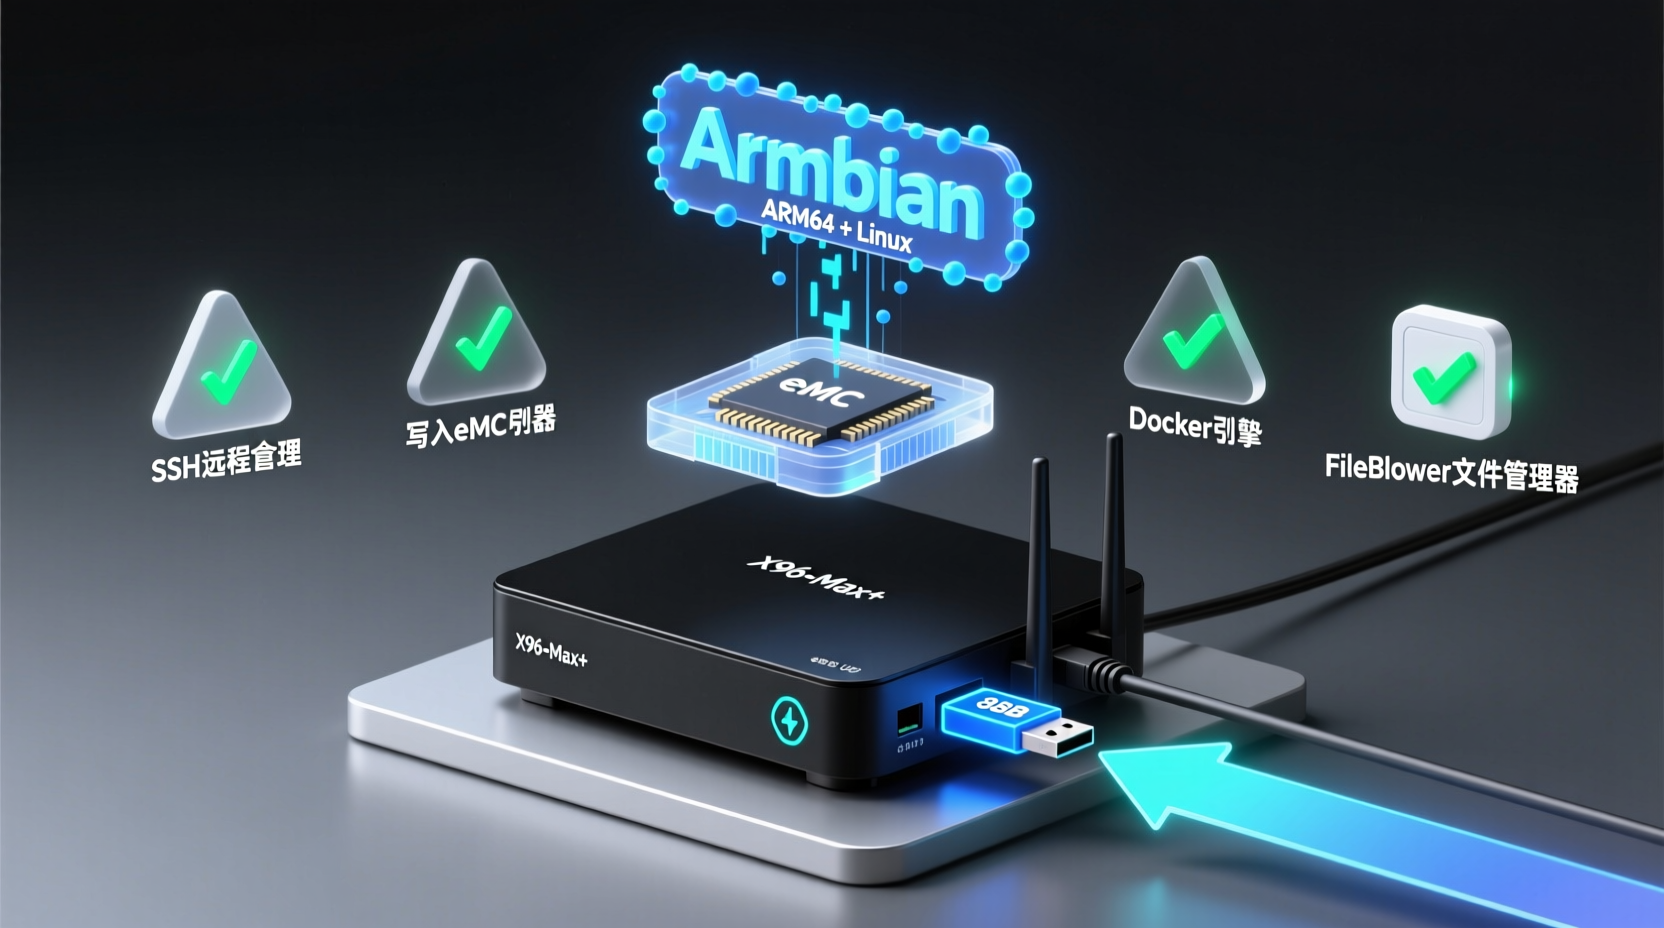
Have you ever considered that an idle Android TV box is actually a highly cost-effective ARM mini-host? While rummaging through my storage, I found a few gathering dust. A quick search revealed that their S905x3 chips benchmark surprisingly well, often matching entry-level Raspberry Pis. And on secondhand markets, you can grab one for just a few dozen bucks. Instead of letting them collect dust, why not flash a proper Linux distro, run Docker, set up a personal NAS, or host Home Assistant? It saves you hundreds compared to buying a dedicated ARM dev board.
In this guide, I'll walk you through the entire process: downloading the Armbian image → flashing it to a USB drive → booting from USB → writing to eMMC → SSH remote access → installing Docker → deploying your first container service. I'll explain the "why" behind each step so you can troubleshoot independently if something goes wrong.
Preparation & Prerequisites
Before we begin, make sure you have the following ready:
- An Armbian-supported TV box or dev board - This is the core. The project supports Amlogic (S905 series/S922x/A311d), Rockchip (RK3588/RK3568/RK3399, etc.), and Allwinner (H6/H618) platforms. If you're unsure about compatibility, search your box model in the project's Issues tab; you'll likely find a confirmation thread. I'm using an X96-Max+ (S905x3) with 4GB RAM and 32GB eMMC, which is perfect for a home server.
- An 8GB+ USB drive - Used for creating the initial bootable drive. Once written to eMMC, you can remove it.
- A computer - To download the image and flashing tools (Windows/Mac/Linux all work).
- An Ethernet cable - Highly recommended for the initial SSH setup. WiFi can be unreliable during the first configuration and cause unnecessary frustration.
- Flashing tool - I recommend Rufus (Windows) or balenaEtcher (cross-platform). Both are free and straightforward.
Why boot from USB first? Directly writing to eMMC is irreversible (though backups exist, it adds complexity). Booting from USB first lets you verify system stability before committing to internal storage, making the process much safer.
Step 1: Download & Flash the Armbian Image
Head to the project's Releases page and find the image matching your device's chip. Images usually follow the naming convention Armbian_xxx_xxx_S905x3_xxx.img.gz. Pick the one matching your chipset.
After downloading and extracting the .img file, open Rufus or balenaEtcher, select your USB drive, and click "Write". Once done, plug the drive into your TV box.
The only real pitfall here is ensuring the downloaded image strictly matches your chip model. DTB (Device Tree Blob) files differ between S905x3 and S905x2, for example. Flashing the wrong one will likely result in a black screen.
Step 2: Boot Armbian from USB
This is where many beginners get stuck. Plug the USB drive into your box's port (preferably the blue USB 3.0 port). Connect the Ethernet cable and plug in an HDMI monitor to track the boot process.
When you power on, the box might boot into Android first. You'll need to find the "Reset Pinhole" (usually a small round hole on the casing). Use a paperclip to press and hold it for a few seconds to trigger a reboot that attempts USB boot. The exact method varies by model. If it doesn't work, try:
- Unplug power, hold the reset button, plug power back in, hold for 3-5 seconds, then release.
- Some boxes require enabling "USB Debugging" or "Developer Options" within Android first.
- If all else fails, search "[Your Box Model] + Armbian"; you'll almost certainly find a guide.
Once you see the Armbian logo, you're good. The default login is root with password 1234. On first login, you'll be prompted to change it. Follow the prompts.
Step 3: SSH Remote Access & Writing to eMMC
After a successful boot, find the IP address assigned by your router. You can:
- Check your router's DHCP client list for a new device (hostname usually contains
armbian). - If connected to a monitor, run
ip addrin the terminal and check theeth0interface IP.
Once you have the IP, SSH in from your computer:
bash
ssh root@192.168.1.xxxEnter the password, and you now have full control of your ARM mini-host.
Next, if the system is running smoothly (can ping external sites, disks are recognized), write it to eMMC so you can boot without the USB drive:
bash
armbian-installThis command, bundled by the project author, automates partitioning (via ampart), bootloader writing, and other complex tasks. Default settings work perfectly for most. Press Enter to proceed. Once finished, run poweroff, unplug the USB drive, and power on. The box will now boot Armbian directly from eMMC.
Why write to eMMC? eMMC offers significantly better read/write speeds than cheap USB drives. Additionally, USB drives as permanent system drives tend to overheat. eMMC ensures greater stability and longevity.
Step 4: Set Up the Docker Environment
Getting the OS running is just step one. We need to run services. Docker on ARM is highly mature, and this project conveniently includes a one-click installation script:
bash
## Update local software center list
armbian-software -u
## Open interactive menu
armbian-software
The first command updates the local software center list. The second opens an interactive menu. Select the Docker option, and the script will handle Docker installation and basic configuration automatically.
Verify the installation:
bash
docker --version
docker compose version
If both return version numbers, your Docker environment is ready.
Why use
armbian-softwareinstead ofapt install? Manually installing Docker on ARM can sometimes hit outdated apt repositories or dependency conflicts. The project's script is pre-configured for specific boards and includes Docker Compose, saving you the hassle of configuring sources manually.
Practical Example: Deploy a Personal File Manager in 10 Minutes
Let's run a useful service via Docker. I'll use FileBrowser, a lightweight web-based file manager. Once set up, you can access and manage files on the box via a browser, making it perfect for a simple NAS.
Create a data directory in your home folder:
bash
mkdir -p ~/filebrowser/data
cd ~/filebrowser
Create a docker-compose.yml file:
yaml
version: '3'
services:
  filebrowser:
    image: hurlenko/filebrowser:latest
    container_name: filebrowser
    restart: always
    ports:
      - "8080:8080"
    volumes:
      - /data:/srv
Start the service:
bash
docker compose up -dOnce the image is pulled, open your browser and go to http://[BOX_IP]:8080. Default credentials are admin/admin. After logging in, you'll have a web-based file manager. Mount an external USB drive to /data, and you've got a mini NAS.
This is the beauty of Armbian + Docker: you don't need advanced Linux knowledge. One command spins up services. Want Home Assistant, qBittorrent, or AdGuard Home? Just modify the compose file and deploy.
Common Issues & Pitfalls
1. Can't Connect via SSH
- Check Ethernet connection and verify DHCP assigned an IP.
- Ensure both the box and your PC are on the same LAN.
- Default SSH port is 22. Ensure it's not blocked by a firewall.
2. Fails to Boot from USB
- Try a different USB drive. Cheap drives often have poor compatibility. Switching to Kingston or SanDisk usually fixes it.
- Try the black USB 2.0 port; some boxes struggle with USB 3.0 during boot.
- Verify you downloaded the correct chip-specific image.
3. Docker Containers Fail to Start
- ARM architecture requires specific images. Not all x86 images run on ARM. Look for
linux/arm64orlinux/arm/v7tags when pulling images. - Check "Supported architectures" on the Docker Hub page.
4. Running Out of Memory
TV boxes typically have 2-4GB RAM. Running multiple containers might strain it. The system provides a one-click swap command:
bash
armbian-swap 2This creates a 2GB virtual memory file on disk. Slower than RAM, but perfectly adequate for lightweight services.
5. System Fails to Boot After Kernel Update
If an update breaks boot, don't panic. Reboot from the original USB Armbian drive, SSH in, and run:
bash
armbian-update -sThis automatically rollbacks to the last working kernel. The project keeps backups of the last 3 kernel versions by default, so manual pre-update backups aren't necessary.
Conclusion
Let's recap today's workflow:
- Download chip-specific Armbian image → Flash to USB
- Boot from USB, verify system stability
- Run
armbian-installto write to eMMC, remove USB - SSH in, use
armbian-softwareto install Docker - Deploy your first service with
docker compose
The entire process takes 30-60 minutes and costs less than the price of a TV box (~$30). From here, you can continue experimenting: host a blog, run scrapers, deploy databases, or build a smart home hub. The possibilities are endless.
If you're interested in container orchestration, look into Portainer for GUI management. To turn the box into a full-fledged NAS, explore Samba/NFS shares and OpenMediaVault. If you run into issues, the project's Issues tab or GitHub Discussions are highly active and welcoming.
Happy hacking!