How to Give DeepSeek a Pair of Eyes: Enable Screenshot Understanding for Text-Only LLMs in 10 Minutes
A practical guide to installing and configuring ModLens, the first vision plugin for DeepSeek Harness. Learn how to transform pure-text LLMs like DeepSeek-V4 and GLM into multimodal-ready agents that automatically extract OCR text, layout analysis, and semantic context from screenshots without manual configuration.
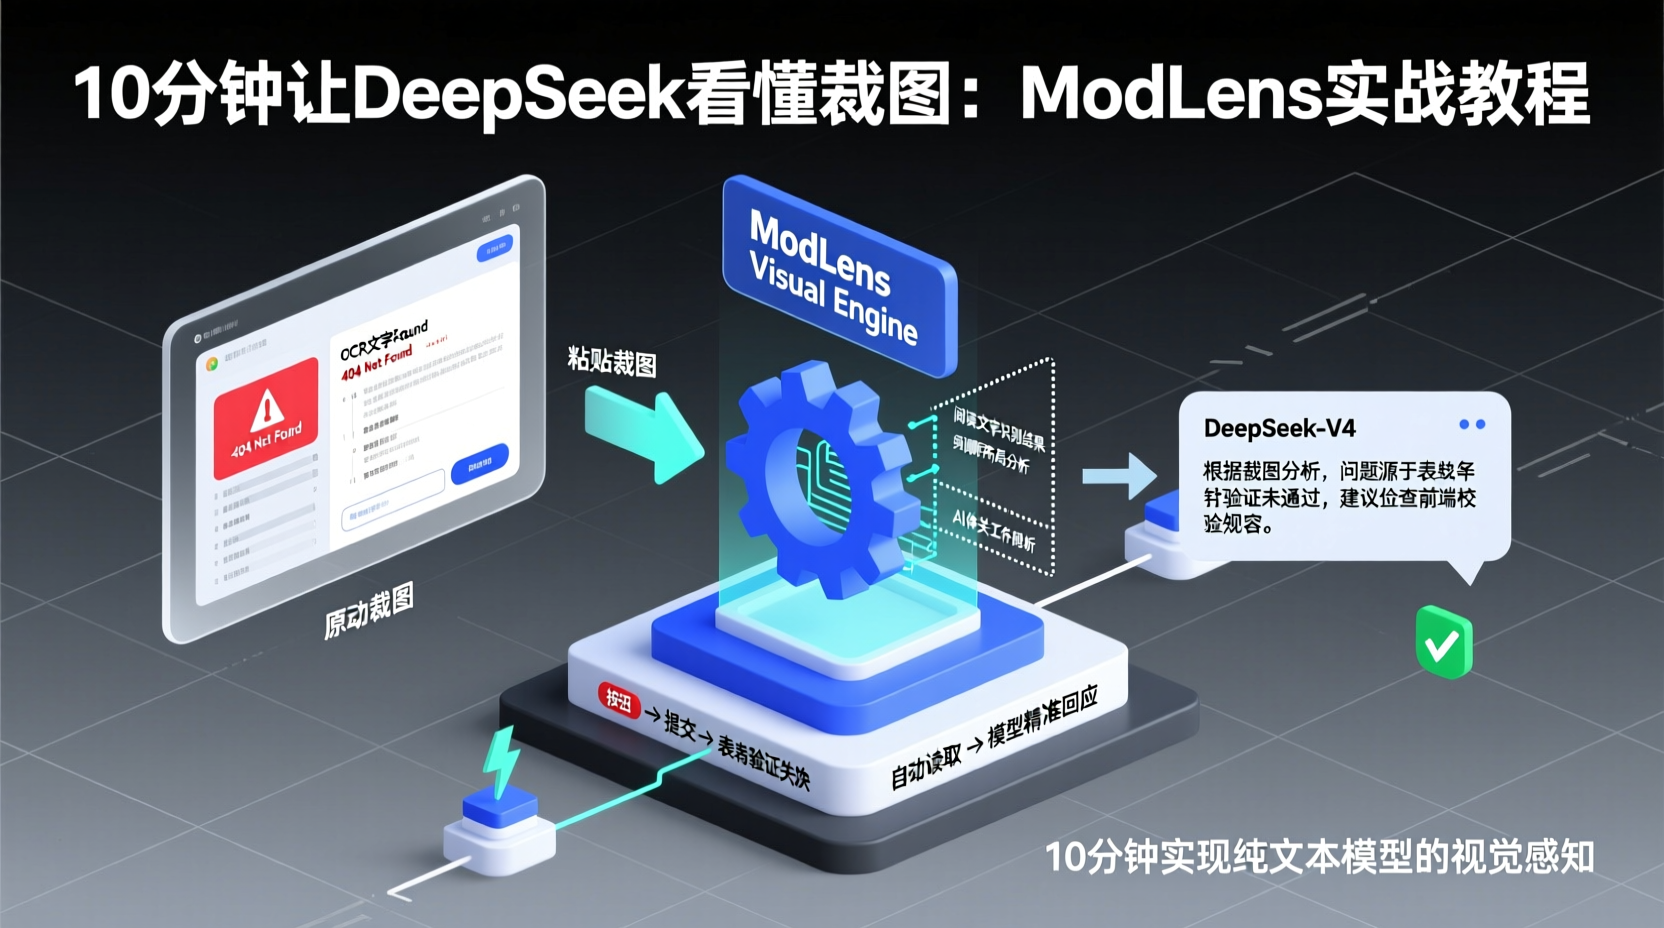
Give DeepSeek a Pair of Eyes: 10-Minute Guide to Screenshot Understanding for Text-Only LLMs
The Scenario & Pain Point
Last week, I asked DeepSeek to analyze a screenshot of a runtime error, and it replied: "Sorry, I can't view images." In 2026, that response still feels incredibly frustrating.
We rely on LLMs daily for interpreting UI mockups, debugging complex error screenshots, analyzing data charts, and understanding annotated product requirement images. Yet, flagship models like DeepSeek-V4 and GLM remain purely text-based. They literally cannot see any image you paste.
Is there a way to give these text-only models a pair of eyes? That's exactly what liustack/modlens does. As the first vision plugin for DeepSeek Harness (dsh), it currently has 1.9k stars. Once installed, when you paste a screenshot into a conversation, ModLens automatically reads the image, converts it into structured data (OCR text, reading-order layout, and entity-relationship lists), and feeds it to your text model. The model can then answer based on concrete visual evidence instead of guessing.
In this tutorial, I'll take you from zero to a fully working ModLens setup, enabling a seamless "Paste Screenshot → Auto-Extract → Accurate AI Response" workflow. Follow along, and you'll give your AI workflow a pair of eyes in under 10 minutes.
Prerequisites
Before we begin, ensure you have:
- Node.js 18+ (Required for npm/pnpm; most devs already have this)
- An AI coding terminal or chat interface: Claude Code, Codex, OpenCode, Pi, or ideally, DeepSeek Harness (dsh)
- A Vision Engine: ModLens supports multiple backends. The easiest is a free Gemini API Key (register at Google AI Studio, takes 3 minutes, no credit card). Alternatively, you can reuse an already logged-in Claude Code or Codex session.
If you don't have any accounts yet, I'll show you a zero-signup method using the Antigravity CLI later.
Step 1: Install the Plugin into Your AI Tool
ModLens follows a smart installation logic: "Detect your existing environment → Reuse existing logins → Install only what's missing." No manual config file editing required.
If you're using DeepSeek Harness (dsh), run in your terminal:
bash
npx -y @deepseek-ai/dsh plugin --profile web add @liustack/modlens@3.16.7Note on version pinning: Why use
@3.16.7instead of@latest? Because pnpm 11 caches versions released within the last 24 hours,@latestmight fail to resolve correctly. Specifying the exact version is the most reliable approach.
If you're using Claude Code / Codex / OpenCode / Pi, simply paste this prompt into your AI chat:
Install and configure the modlens skill following https://github.com/liustack/modlens/blob/main/INSTALL.md, then run the health check and tell me the result.Yes, just hand the installation link to the AI, and it will automatically run the setup and health check. This is the author-recommended approach—you don't need to manually parse the docs.
During installation, ModLens will scan for logged-in AI tools on your machine and ask if you want to reuse their vision capabilities. Simply agree.
Step 2: Configure the Vision Engine
This step determines "who reads the image." ModLens includes five built-in vision providers, but you only need to configure one to get started.
Recommended: Free Gemini API Key
This is the fastest and most reliable method (5–10 seconds per read):
- Visit Google AI Studio and log in with your Google account
- Generate an API Key (no credit card required)
- Configure ModLens:
bash
modlens config set gemini-api.apiKey <YOUR_API_KEY>Alternative: Reuse Your Claude Code / Codex Login
If you're already authenticated locally:
bash
## Allow reusing Claude Code's vision capabilities
modlens config set reuse.claude-cli true

## Or reuse Codex
modlens config set reuse.codex true

## Run health check to verify engine status
modlens doctor
The modlens doctor command is incredibly useful. It lists all detected and configurable vision engines. Whenever you hit a configuration issue, run this first.
Zero-Signup Option: Antigravity CLI
If you absolutely don't want to create any accounts:
bash
curl -fsSL https://antigravity.google/cli/install.sh | bash
agy   # Scan QR code in browser to log in, then exit
This method is slightly slower (15–45 seconds) but completely free and zero-barrier, ideal for quick tests or light usage.
Step 3: Core Mechanics – How It Actually Works
Before diving in, understanding ModLens's architecture will save you hours of troubleshooting later.
Two Ways to Paste Images:
-
Direct Paste: Paste an image directly into your text-only model. The image arrives as a temporary file path in the conversation. ModLens's
modlens_read_imagetool automatically detects and reads it, returning structured content. This aligns with the native paste behavior in OpenCode and Pi. -
Select the
(modlens vision)Variant: In your model selector, choose an entry with the(modlens vision)suffix (e.g.,DeepSeek-V4-Flash (modlens vision)). When you paste, the message retains the thumbnail, and the image is converted to structured evidence during the request. These variant entries are auto-generated upon successful installation.
Key Design: Failover Chain
When you don't specify a provider, all configured engines form an automatic fallback chain: API providers attempt first (5–10s), with Agent CLI tools as backup (15–45s). The first successful response wins. The meta.attempts field logs every attempt—so you always know which engine processed the image, with zero silent quota consumption.
Step 4: Real-World Test – Making DeepSeek Read a Complex Screenshot
Let's run a complete visual analysis.
Imagine you have a scatter plot comparing performance metrics across 128 AI models (high information density, completely unreadable for standard text models). Paste it into the DeepSeek-V4-Flash (modlens vision) dialog in DeepSeek Harness.
No extra prompts needed. Just paste and send. Here's what happens behind the scenes:
-
You paste the screenshot; it appears as a thumbnail in your message.
-
ModLens triggers your configured vision engine in the background.
-
The engine returns:
- Full OCR Transcription: Axis labels, legends, data point annotations
- Layout Analysis: Reading order, zone partitioning (X-axis, Y-axis, legends, data area)
- Entity & Relationship Lists: Mappings between model names and their metrics
- Uncertainty Flags: Blurry or cropped sections are explicitly marked as such
-
DeepSeek receives this structured evidence and delivers precise, grounded answers.
Example Prompt After Pasting:
"List all DeepSeek-series models in the image and their respective performance tiers."
The model will pinpoint exact locations and annotations from ModLens's output, even distinguishing highlighted areas marked with dashed lines.
This is the power of "paste-to-analyze." No file saving, no path typing, no manual OCR—you just paste, and the rest handles itself.
Configuring Alternative Vision Engines
ModLens's openai config is a universal endpoint. Any vision model supporting OpenAI-compatible APIs can be plugged in:
bash
## Connect Qwen-VL as a vision engine
modlens config set openai.baseUrl https://dashscope.aliyuncs.com/compatible-mode/v1
modlens config set openai.apiKey <YOUR_QWEN_KEY>
modlens config set openai.model qwen3-vl-plus
Similarly, GLM Open Platform, SiliconFlow, OpenRouter, or even self-hosted vLLM/Ollama models can be integrated using these three lines, provided they follow the OpenAI chat-completions protocol and accept image inputs. ModLens acts as a vision capability router, completely vendor-agnostic.
FAQ & Troubleshooting
Q: Nothing happens when I paste an image after installation?
Run modlens doctor first. The most common cause is an expired API Key or network block. Ensure at least one engine shows a ready status.
Q: Reading is extremely slow (takes 30+ seconds)?
This usually means ModLens fell back to the Agent CLI path (15–45s). If you've configured a Gemini API, run modlens config set provider gemini-api to set it as primary. API routes typically finish in 5–10s.
Q: Can I force a single engine without fallback?
Yes. Use the -p flag to specify a single provider:
bash
modlens -p gemini-apiQ: I'm behind a corporate proxy, API requests timeout?
ModLens supports proxy configuration via two methods:
bash
## Method 1: Environment variable
export HTTPS_PROXY=http://your-proxy:port

## Method 2: ModLens config
modlens config set proxy http://your-proxy:port
Q: Will ModLens silently consume my quotas?
No. Any quota reuse from other CLIs (Claude, Codex, etc.) is explicitly logged in the meta.warnings field. Every read operation is fully transparent and auditable.
Summary
Today, we walked through a complete ModLens setup and usage workflow:
- Installation: Via
dsh plugincommand or AI-assisted auto-install - Engine Configuration: Gemini API (recommended), existing account reuse, or zero-signup fallback
- Usage: Paste screenshots directly; models auto-extract and answer based on structured evidence
- Debugging: Use
modlens doctorfor status checks andmeta.attemptsto trace processing
ModLens shines because it's non-invasive and non-polluting: install a single skill folder or plugin, delete it to uninstall, and leave your host environment untouched. It effectively "borrows" vision capabilities for text-only models, transforming previously invisible screenshots, charts, and annotations into precisely referenceable structured data.
Next Steps: If you regularly process batches of screenshots, consider piping ModLens's JSON output into automation scripts. (Output Schema Docs). This opens up fascinating engineering possibilities for structured data parsing.
Found this useful? Give liustack/modlens a ⭐ on GitHub. Let's help more developers say goodbye to "Please describe this image" in 2026.