How to Master Local AI Image Upscaling in 10 Minutes: Replace Paid Online Services with Upscayl
A practical step-by-step guide to installing and using Upscayl for free local AI image upscaling. Covers single & batch processing, model selection (Real-ESRGAN, UltraSharp, etc.), hardware requirements, and common troubleshooting tips.
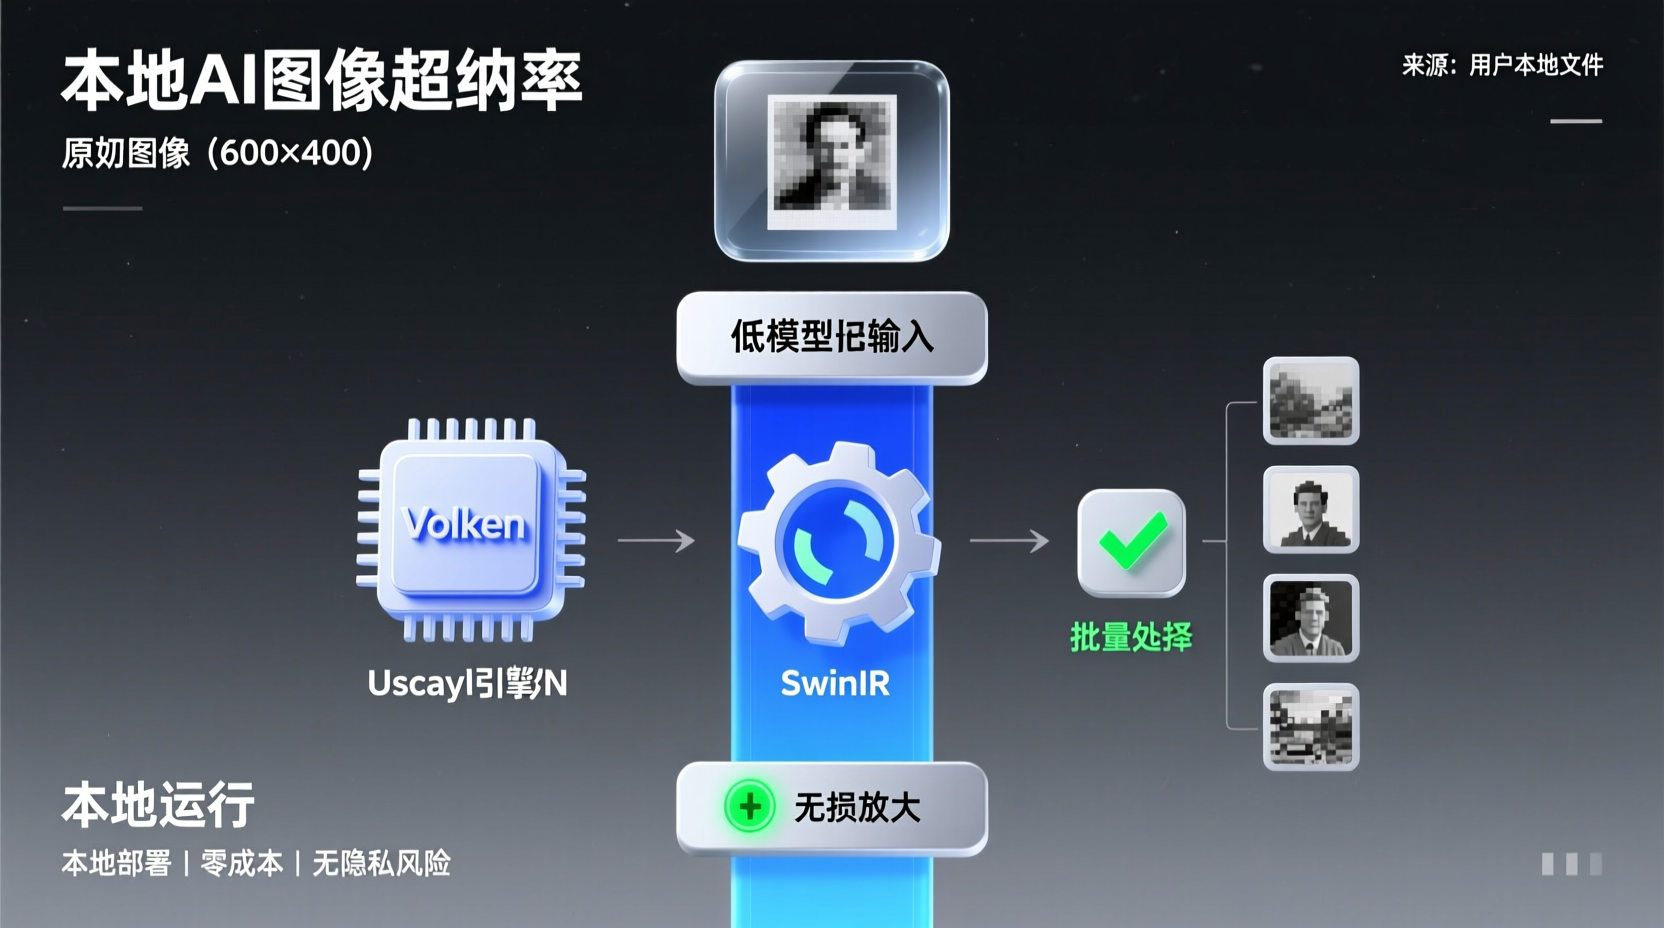
Say Goodbye to Paid Image Upscaling: My Go-To Free, Open-Source Local AI Tool
Have you ever run into this scenario? You have a perfectly clear screenshot or an old photo, but its resolution is only 600×400. When you try to stretch it for a blog cover or article, it turns into a pixelated mess. You search for online upscaling tools, but they either force you to sign up for a paid plan or slap a watermark on your image after upload. As a backend developer who constantly deals with content, I really don't want to pay for such basic functionality. After some tinkering, I found Upscayl.
After using it for a week, I recommended it to our team's visual designer. She spent just 10 minutes installing it and can now batch-process assets on her own, completely bypassing the design department queue.
This article is not a deep dive into the source code. Instead, it's a hands-on, step-by-step tutorial. By the end, you will be able to:
- Correctly install Upscayl (Linux / macOS / Windows support)
- Import a low-res image and choose the right AI model
- One-click upscale an image and compare before/after results
- Batch process an entire folder of images
- Understand GPU requirements and avoid common pitfalls
Let's dive right in.
Prerequisites: What You Need to Know Before Installing
1. GPU Requirements (The Most Critical Part)
Upscayl relies on a Vulkan-compatible GPU for inference acceleration. This means you need a dedicated graphics card that supports Vulkan. Most integrated graphics (iGPUs) are incompatible, though some community workarounds exist (results may vary). My setup uses an NVIDIA GTX 1650, and it runs flawlessly.
Why is this necessary? AI image super-resolution is highly compute-intensive. Relying solely on a CPU could take up to 10 minutes for a single 1080p image. A GPU compresses this to just a few seconds. That's why a Vulkan-compatible GPU is a hard requirement.
2. System Version
- Linux: Most mainstream distros work. Flatpak or AppImage is recommended.
- macOS: Requires macOS 12 or later.
- Windows: Requires Windows 10 or later.
3. Prepare Your Assets
Grab one or two low-resolution images that need upscaling (screenshots, old photos, etc.) and place them in an easily accessible folder. We'll use them for the demo.
Quick Start: Install and Run Your First Upscale in 10 Minutes
Step 1: Download & Install
The installation varies slightly by platform. Here are the most common methods:
macOS Users (Recommended via Homebrew):
If you have Homebrew installed, one command does it all:
bash
brew install --cask upscaylThis automatically downloads the latest .dmg and handles installation, saving you from manual website downloads. Once installed, open Finder → Applications to locate Upscayl.
macOS Manual Installation:
- Go to the GitHub Releases page or the official website
- Download
upscayl-x.x.x-mac.dmg - Double-click the
.dmgand drag the Upscayl icon into Applications - Open Finder → Applications → Right-click Upscayl → Select "Open"
- Click "Open" again in the security warning (standard macOS Gatekeeper behavior for non-App Store apps)
Windows Users:
- Download
upscayl-x.x.x-win.exe - Double-click to run
- If SmartScreen warns you → Click "More info" → "Run anyway", or click "Yes" on the unverified publisher dialog
- Follow the prompts to complete installation
Linux Users:
The easiest method is AppImage:
- Download
upscayl-x.x.x-linux.AppImage - Right-click → Properties → Permissions → Check "Allow executing file as program"
- Double-click to run
Alternatively, use Flatpak (Ubuntu/Fedora, etc.):
bash
flatpak install flathub org.upscayl.UpscaylStep 2: First Launch & UI Overview
Upon opening Upscayl, you'll see a clean, straightforward interface. Key areas include:
- Select Image / Select Folder: Left for single image, right for batch processing
- Upscale Factor: Choose 2x or 4x (default is 4x)
- AI Model Selection: The core of the upscaling quality (detailed later)
- Output Directory: Where upscaled images will be saved
- GPU ID: Select which GPU to use if you have multiple
The UI has a minimal learning curve. The real focus is on choosing the right model. We'll cover this as we go.
Step 3: Run Your First Single-Image Upscale
- Click "Select Image" and locate your prepared low-res image
- Keep the upscale factor at the default 4x
- Select
Real-ESRGANas the model (built-in, highly versatile) - Choose an output folder (keep it separate from the original for easy comparison)
- Click the UPSCAYL button
A progress bar will appear. On a dedicated GPU, a standard image takes about 5–15 seconds. Once done, open the output folder and place the original and upscaled images side-by-side.
Why does it look "guessed"? Upscayl uses Real-ESRGAN, which essentially makes "educated guesses". By training on massive pairs of low/high-res images, it learns what high-res details should look like. It intelligently reconstructs textures and edges, but this isn't true optical super-resolution.
Practical Example: Batch Processing a Set of Screenshots
Now that single images work, let's tackle a more realistic scenario.
Imagine you wrote a tech article and took a dozen screenshots of error messages or terminal outputs. Many are half-resolution captures from a Retina display, looking blurry when embedded in a blog. Let's upscale them all at once.
Steps
- Prepare a source folder: Put all screenshots in one directory, e.g.,
~/Pictures/blog-screenshots/raw/ - Create an output folder: Make a new folder, e.g.,
~/Pictures/blog-screenshots/upscaled/ - Open Upscayl and click "Select Folder" on the left, then pick the
rawfolder - Model Selection: For screenshots (text & code), I recommend
Real-ESRGANorUltraSharp. The former is balanced; the latter excels at edge sharpening, keeping text crisp after upscaling. - Set Output Directory to the
upscaledfolder - Confirm Upscale Factor: 2x is usually enough for screenshots (4x makes text overly large), though Upscayl currently defaults to 4x only.
- Click UPSCAYL and wait.
Important Note for Batch Processing
When in batch mode, if the current model doesn't support certain post-processing steps, Upscayl will run the AI inference for all images first, then handle compression/scaling afterward. In short—don't panic and close the app while the progress bar is still running. Force-closing it will leave post-processed images incomplete, resulting in wrong dimensions or corrupted formats.
Model Selection Guide
Upscayl comes with several built-in models. Pick based on your image type:
| Model | Best For | Description |
|---|---|---|
| Real-ESRGAN | General / Screenshots / Illustrations | Default recommendation, well-balanced results |
| UltraMix Balanced | Mixed scenarios | Strikes a balance between detail retention and noise reduction |
| UltraSharp | Text / Code screenshots | Strong edge sharpening, keeps text crisp |
| Remacri | Photos / Realistic imagery | Optimized for real-world photographs |
| High Fidelity | High-fidelity needs | Uses the HFA2k model, ideal for fine-grained assets |
How to choose? My rule of thumb: start with Real-ESRGAN. If text looks soft, switch to UltraSharp. For old photos, try Remacri. Since each image only takes a few seconds, trial-and-error costs nothing.
Want to load custom community models? The official custom-models repository has instructions. Just drop new models into Upscayl's model directory and restart. It even supports exporting your own trained models.
FAQ & Common Pitfalls
1. "GPU not found" or crashes on launch
Cause: Your GPU doesn't support Vulkan, or drivers are outdated.
Fix:
- Linux/macOS users: Check if your GPU is on the official compatibility list
- Windows users: Update your GPU drivers
- If you truly lack a compatible GPU, try the community workaround, but manage expectations.
2. Images look "barely different" after upscaling
Note that Upscayl isn't magic. It excels at upscaling low-res/pixelated images by adding plausible details. If your source image is blurry due to motion blur, poor focus, or camera shake, it cannot restore information that was never captured.
Rule of thumb: If the original is "sharp but low-res", results will be great. If it's "blurry", results will be limited.
3. Won't open on macOS after double-click
Standard macOS Gatekeeper behavior. Right-click → Open → Click "Open" again. It will bypass the prompt for future launches. Alternatively, install via Homebrew to auto-handle code signing.
4. Is there a CLI version?
Yes, it's called upscayl-ncnn. Perfect for scripting and automation. Usage mirrors the desktop version: specify input, output, and model. DevOps engineers can easily integrate it into CI/CD pipelines for image preprocessing.
5. Want to contribute or build from source?
Upscayl is built with Electron + TypeScript. Interested in contributing?
bash
git clone https://github.com/upscayl/upscayl
cd upscayl
npm install
npm run start  # Local dev mode, logs will print to the terminal
I recommend using Volta for Node.js version management. Package releases with npm run dist.
Summary & Next Steps
Let's recap what we've accomplished:
- ✅ Chose the right installation method for our OS
- ✅ Understood why a Vulkan-compatible GPU is a hard requirement
- ✅ Successfully upscaled a single image & learned model selection logic
- ✅ Batch-processed a folder of screenshots
- ✅ Troubleshot common GPU incompatibility & expectation issues
By switching from "search online → pay & queue → upload private images" to this local workflow, you only need to install it once. After that, zero cost, zero wait, zero uploads. All processing stays on your machine.
Next Steps to Try:
- Explore the official model repository for more community models
- Check out the Model Conversion Guide to import your own custom AI super-resolution models
- If it works well for you, consider supporting the project to keep development going
As a backend developer who rarely touches graphics tools, Upscayl left a strong impression: Good open-source software should just work—minimal friction, quick to learn, and genuinely useful. If you're looking for a local image upscaling solution, give it a try.