How to Set Up a Local TTS Service in 40 Minutes: Zero-Shot Voice Cloning & Emotion Control with IndexTTS-2.5
A practical guide to deploying IndexTTS-2.5 locally for text-to-speech, zero-shot voice cloning, emotion intensity adjustment, and speed control. Learn how to integrate industrial-grade TTS into your Python projects without relying on external APIs.
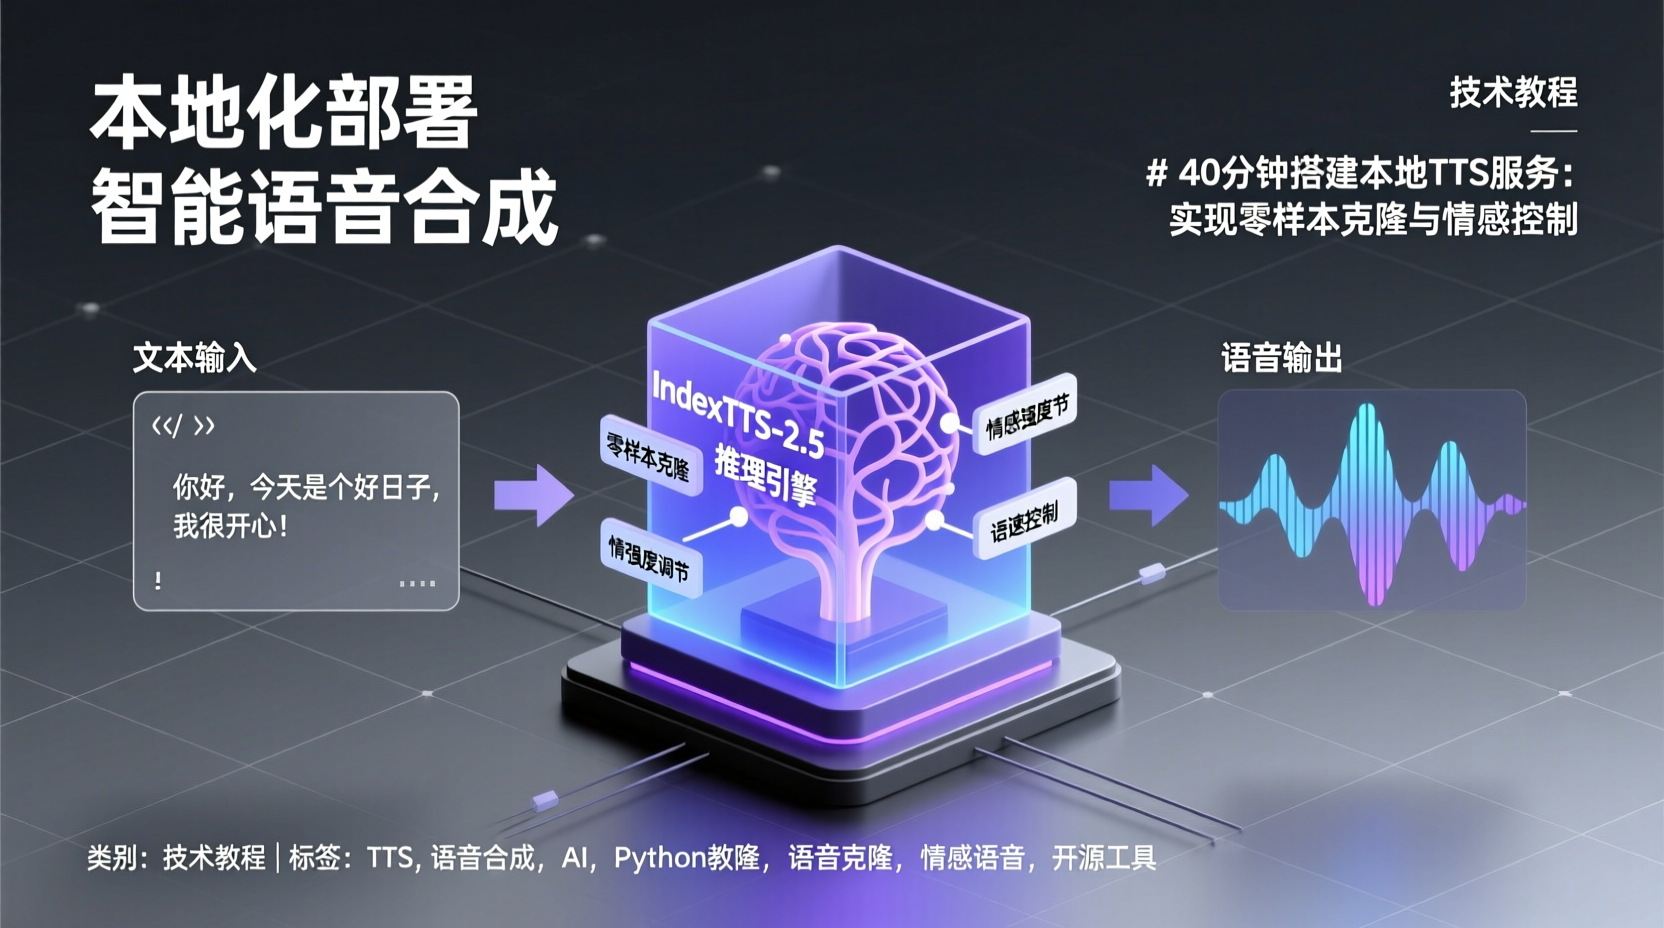
Last month, I received a request to add a "text-to-speech" feature to an internal tool. After trying several commercial APIs, I ran into the same issues: exorbitant per-call pricing, poor Chinese emotional expression, or latency too high for real-time interaction. Then I found IndexTTS-2.5 on GitHub, which recently skyrocketed to over 22,000 stars. It's an industrial-grade zero-shot voice synthesis system that clones voices from just a few seconds of reference audio, with fine-grained control over emotion, speech rate, and pronunciation.
In this guide, I will walk you through setting up IndexTTS-2.5 from scratch. By the end, you'll be able to:
- Deploy a local TTS inference service, removing dependency on external APIs.
- Clone any voice with just a short reference audio clip.
- Control output emotion, making the speech sound happy, sad, tense, etc.
- Adjust speech rate freely from 0.5x to 2.0x.
- Build a complete mini-project: generating emotional character dialogue from a novel excerpt.
Prerequisites
Before we begin, ensure your environment meets the following requirements:
- GPU Environment: An NVIDIA GPU with CUDA 12.8 or higher is highly recommended. You can run it on a CPU, but inference will be extremely slow (CPU takes dozens of seconds for a 20-character sentence vs. under 1 second on GPU).
- Python 3.10+: The project will automatically manage versions via
uv. - Disk Space: Approximately 5 GB for model weights.
- Basic CLI Experience: Familiarity with
git clone,uv run, and similar commands.
First, install two foundational tools:
bash
## Git - for cloning the repository
## uv - The next-generation Python package manager, significantly faster than pip+venv
pip install -U uv
Why
uvinstead ofpip? IndexTTS has numerous dependencies with strict version requirements.uvautomatically creates isolated environments and locks dependency versions, completely avoiding the "it works on my machine" problem.
Step 1: Clone the Repository & Install Dependencies
bash
git clone https://github.com/index-tts/index-tts.git && cd index-ttsNext, install all dependencies (including WebUI and DeepSpeed):
bash
uv sync --all-extrasIf you're in mainland China and downloading from PyPI is slow, use a mirror:
bash
uv sync --all-extras --default-index "https://mirrors.aliyun.com/pypi/simple"This command automatically creates a .venv virtual environment and installs everything. No need to manually create environments or install packages one by one. --all-extras enables all optional features. If your GPU isn't compatible with DeepSpeed, use uv sync --extra webui to install only the WebUI.
Note for Users in China
If you encounter timeouts downloading HuggingFace models later, set the mirror first:
bash
export HF_ENDPOINT="https://hf-mirror.com"Step 2: Download the Model
IndexTTS-2.5 is the latest version, supporting multiple languages and more precise pronunciation control. We'll download it to the checkpoints directory:
bash
## Install huggingface-hub CLI tool first
uv tool install "huggingface-hub"

## Download IndexTTS-2.5 model
hf download IndexTeam/IndexTTS-2.5 --local-dir=checkpoints
For users in China, ModelScope is an alternative:
bash
uv tool install "modelscope"
modelscope download --model IndexTeam/IndexTTS-2.5 --local_dir checkpoints
The model is about 3-4 GB. After downloading, the checkpoints directory should contain config.yaml and other configuration files. To verify the download is complete, check for both config and weight files in this directory.
Why place models in
checkpoints? The project's default inference path points to this directory, saving you from modifying paths in Python API calls later.
Download Example Audios
The project includes sample audios for testing. They download automatically when you launch the WebUI once. To download them manually without starting the WebUI:
bash
uv run python -c "from indextts.utils.examples_downloader import ensure_examples_available; ensure_examples_available()"After downloading, the examples/ directory will contain files like voice_01.wav, emo_sad.wav, etc.
Step 3: Verify GPU Environment
Before running inference, use the built-in tool to check your GPU:
bash
uv run tools/gpu_check.pyIf the output displays your NVIDIA GPU model and available VRAM, your environment is ready. If you get a CUDA error, ensure your system has CUDA Toolkit 12.8 or higher.
Step 4: Python API in Action
This is the core of the tutorial. We'll write a simple script to demonstrate IndexTTS-2.5's features step-by-step.
Basic Usage: Text-to-Speech + Voice Cloning
Create a file named demo.py and add the following code:
python
from indextts.infer_v2_5 import IndexTTS2

## Initialize the model
tts = IndexTTS2(
    cfg_path="checkpoints/config.yaml",
    model_dir="checkpoints",
    use_bf16=True       # BF16 half-precision: faster inference, halves VRAM usage, negligible quality loss
)

## Clone voice using a reference audio and generate speech for target text
text = "大家好,欢迎来到我的语音合成演示。"
tts.infer(
    spk_audio_prompt='examples/voice_01.wav',  # Reference audio: provides vocal characteristics
    text=text,
    lang="ZH",                                 # Specify language: ZH=Chinese, EN=English
    output_path="output_basic.wav",
    verbose=True
)
Run it:
bash
PYTHONPATH="$PYTHONPATH:." uv run demo.pyUpon success, output_basic.wav will be generated in the current directory. Open it with any media player to test.
Key Parameters Explained:
spk_audio_prompt: The core of "zero-shot cloning". Provide a few seconds of anyone's audio, and it will speak in their voice. No training or fine-tuning required.lang: Must match the input text language. UseZHfor Chinese,ENfor English. Mismatch causes severe pronunciation distortion.use_bf16: Half-precision inference. Cuts VRAM in half and significantly boosts speed. If your GPU doesn't support BF16 (e.g., RTX 30 series or older), set it toFalse.
Emotion Control: Add Feelings to Speech
IndexTTS-2.5 supports multiple emotion control methods. We'll start simple: use a "sad" reference audio to guide the emotion:
python
text = "这家店太让人失望了,等了快一个小时菜还没上。"
tts.infer(
    spk_audio_prompt='examples/voice_07.wav',
    text=text,
    lang="ZH",
    output_path="output_emo.wav",
    emo_audio_prompt="examples/emo_sad.wav",  # Emotion reference: determines the emotional tone
    verbose=True
)
Compare output_basic.wav and output_emo.wav. You'll clearly notice a lower, heavier tone in the latter. That's the power of emotion guidance.
Adjusting Emotion Intensity: Avoid Overacting
A common pitfall: maxing out emotion intensity often sounds unnatural or theatrical. Use emo_alpha to fine-tune the impact:
python
tts.infer(
    spk_audio_prompt='examples/voice_07.wav',
    text=text,
    lang="ZH",
    output_path="output_emo_subtle.wav",
    emo_audio_prompt="examples/emo_sad.wav",
    emo_alpha=0.5,       # 0.0 = ignore emotion reference, 1.0 = fully apply (default)
    verbose=True
)
In my experience, 0.5~0.7 yields the most natural results. 1.0 can sometimes overdo it, while 0.3 might be too subtle. It depends on your reference audio quality and target text.
Emotion Vectors: Precisely Specify Emotional Mix
If you lack emotion reference audios, you can pass an 8-dimensional vector directly, corresponding to: [happiness, anger, sadness, fear, disgust, melancholy, surprise, calmness].
python
text = "对不起嘛!我的记性真的不太好,但是和你在一起的事情,我都会努力记住的~"
tts.infer(
    spk_audio_prompt='examples/voice_09.wav',
    text=text,
    lang="ZH",
    output_path="output_vector.wav",
    emo_vector=[0, 0, 0.6, 0, 0, 0.2, 0, 0.2],  # 60% sadness + 20% melancholy + 20% surprise
    use_random=False,
    verbose=True
)
Note:
use_random=Trueintroduces randomness during inference, which may produce more natural variations but can reduce voice cloning fidelity. UseFalsefor production environments.
Speech Rate Control: Speed Up or Slow Down
The duration_factor parameter controls speech rate:
python
text = "大家好,欢迎来到IndexTTS的语速控制演示。"

## Slow down to 0.8x speed, ideal for tutorials
tts.infer(spk_audio_prompt='examples/voice_01.wav', text=text, lang="ZH",
          output_path="gen_slow.wav", duration_factor=1.2, verbose=True)

## Speed up to 1.25x, suitable for short video narration
tts.infer(spk_audio_prompt='examples/voice_01.wav', text=text, lang="ZH",
          output_path="gen_fast.wav", duration_factor=0.8, verbose=True)
Valid range: 0.5 ~ 2.0. Higher values = slower (longer duration), lower values = faster. It feels counterintuitive compared to the parameter name, but you'll get used to it.
Step 5: Complete Mini-Project — Audiobook Character Voicing
Running isolated demos isn't enough. Let's build a complete scenario: generating emotionally distinct voices for two characters from a novel excerpt.
Scenario: A suspense novel snippet. Character A is tense; Character B is calm.
python
from indextts.infer_v2_5 import IndexTTS2

## Initialize
print("正在加载模型...")
tts = IndexTTS2(
    cfg_path="checkpoints/config.yaml",
    model_dir="checkpoints",
    use_bf16=True
)
print("模型加载完成!")

## Character A: Tense and fearful tone
text_a = "快躲起来!是他要来了!他要来抓我们了!"
tts.infer(
    spk_audio_prompt='examples/voice_12.wav',
    text=text_a,
    lang="ZH",
    output_path="character_a_scared.wav",
    emo_alpha=0.6,
    use_emo_text=True,      # Let the model automatically infer emotion from text
    use_random=False,
    verbose=True
)

## Character B: Calm and composed tone
text_b = "别慌,先看看周围有没有出口,我们慢慢来。"
tts.infer(
    spk_audio_prompt='examples/voice_01.wav',
    text=text_b,
    lang="ZH",
    output_path="character_b_calm.wav",
    verbose=True
)

print("\n✅ 角色语音生成完成!")
print("- 角色A(紧张):character_a_scared.wav")
print("- 角色B(平静):character_b_calm.wav")
After running, you'll have two audio files. Stitch them together to create a mini audiobook scene. For bulk generation, encapsulate this logic into a loop or an async task queue.
Troubleshooting & Pitfalls
1. ModuleNotFoundError: indextts not found
Caused by incorrect Python path. Always run with PYTHONPATH="$PYTHONPATH:." uv run <file.py>, or add import sys; sys.path.append(".") at the top of your script.
2. CUDA Out of Memory (OOM)
Enable use_bf16=True to significantly reduce VRAM usage. If it's still insufficient, disable the CUDA kernel compilation by setting use_cuda_kernel=False during initialization. It will be slightly slower but consume less VRAM.
3. Generated Speech Contains Noise/Distortion
Usually two causes: ① Poor reference audio quality (high background noise, too short); ② lang parameter mismatches the text language. Start by trying a cleaner, clearer reference audio.
4. use_emo_text=True throws RuntimeError
IndexTTS-2.5 requires adding use_qwen_emo=True during initialization:
python
tts = IndexTTS2(cfg_path="...", model_dir="...", use_bf16=True, use_qwen_emo=True)IndexTTS-2 doesn't need this, but 2.5 does.
5. Cannot Access WebUI After Launch
By default, it listens on http://127.0.0.1:7860. For remote servers, change the bind address:
bash
uv run webui.py --server-name 0.0.0.0Conclusion
Starting from git clone, we've covered: environment setup → model download → basic speech generation → emotion control → speech rate adjustment → complete practical project. The real power of IndexTTS-2.5 is that it requires zero training or fine-tuning. Just one reference audio clip is enough to clone a voice, with precise control over emotion, speed, and pronunciation.
Next Steps to Explore:
- WebUI Interface: Run
uv run webui.pyfor a visual panel, perfect for parameter tuning. - Pronunciation Control: IndexTTS-2.5 supports pinyin/phoneme correction for polyphonic characters, e.g.,
<行|XING2>. - vLLM Deployment: For production, deploy high-concurrency inference services via vLLM.
- Batch Generation: Wrap
tts.inferinto FastAPI or Celery tasks to build a batch voice generation service.
Feel free to ask questions in the comments or join the official Discord / QQ group. See you next time!