How to Self-Host a Private Bookmark & Knowledge Management System in 15 Minutes
A step-by-step practical guide to deploying Linkwarden with Docker Compose. Learn how to centralize, annotate, search, and collaboratively manage your bookmarks in a fully self-hosted, private knowledge hub.
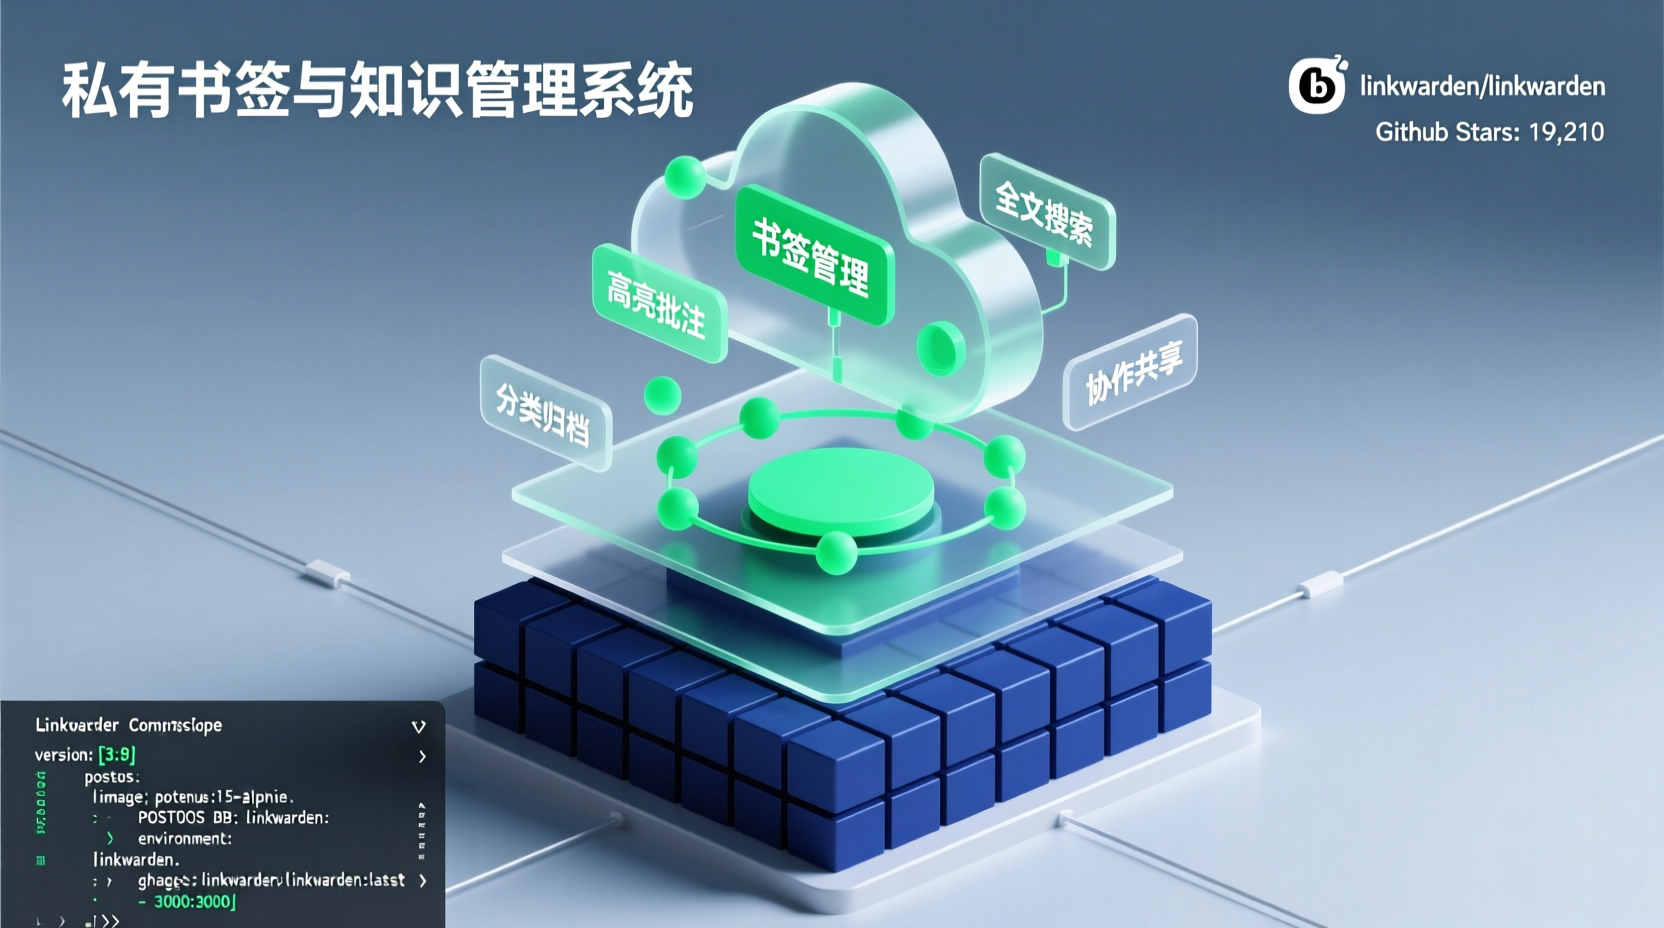
How to Self-Host a Private Bookmark & Knowledge Management System in 15 Minutes
Why You Need Your Own Bookmark System
Have you ever struggled with a browser bookmarks folder stuffed with hundreds of links, categorized purely by chance? You save a great technical article on a whim, but three months later you can't remember why you saved it or what problem it solves. Team members share resources via group chats, but links expire after a few days, leaving everyone wondering where the original source went.
What we lack isn't another bookmarking tool; it's a centralized, readable, annotatable, team-friendly, and fully private knowledge hub. Today, I'll walk you through deploying a self-hosted bookmark and knowledge management system from scratch: Linkwarden. This TypeScript-based open-source project has already amassed nearly 20k stars on GitHub, seamlessly combining bookmark collection, web reading, highlight annotations, full-text search, and collaborative sharing into one platform.
Follow along, and in just 15 minutes your server will host a dedicated knowledge management platform. Whether you're organizing personal tech stack references or building an internal documentation library for a small team, this setup is production-ready.
Prerequisites
Before we begin, ensure your environment meets the following requirements:
- A Linux server or local VM (Ubuntu/Debian/CentOS are fine; this guide uses Ubuntu)
- Docker and Docker Compose installed (
docker --versionanddocker compose versionshould return valid versions) - Basic Linux CLI proficiency (
cd,mkdir, editing files, viewing logs) - An available port (default is
3000; change it in the configuration if there's a conflict)
If you haven't installed Docker yet, the official script gets it set up in one line:
bash
curl -fsSL https://get.docker.com | sh
sudo systemctl enable --now docker
Quick Start: Launch with Docker Compose
Linkwarden relies on PostgreSQL as its underlying database. The most reliable and maintainable approach is to use Docker Compose to orchestrate both the database and the application service together.
Step 1: Create the Project Directory
bash
mkdir ~/linkwarden && cd ~/linkwardenPlacing it in your home directory makes daily maintenance straightforward. For production environments, you may prefer /opt or a dedicated data partition.
Step 2: Write docker-compose.yml
Create a new file named docker-compose.yml in your editor and paste the following configuration:
yaml
version: '3.8'
services:
  postgres:
    image: postgres:15-alpine
    restart: unless-stopped
    environment:
      POSTGRES_DB: linkwarden
      POSTGRES_USER: linkwarden
      POSTGRES_PASSWORD: your_secure_password_here  # MUST be changed to a secure value
    volumes:
      - pgdata:/var/lib/postgresql/data
    healthcheck:
      test: ['CMD-SHELL', 'pg_isready -U linkwarden -d linkwarden']
      interval: 10s
      timeout: 5s
      retries: 5

  linkwarden:
    image: ghcr.io/linkwarden/linkwarden:latest
    restart: unless-stopped
    ports:
      - '3000:3000'
    environment:
      DATABASE_URL: postgresql://linkwarden:your_secure_password_here@postgres:5432/linkwarden
      NEXTAUTH_SECRET: your_nextauth_secret_here  # MUST be replaced (generate via: openssl rand -base64 32)
      NEXTAUTH_URL: http://your-server-ip:3000  # Replace with your server IP or domain
    depends_on:
      postgres:
        condition: service_healthy
    volumes:
      - data:/data

volumes:
  pgdata:
  data:
Key Configuration Notes:
DATABASE_URL: The connection string for Linkwarden. Format is fixed aspostgresql://username:password@host:port/dbname. The host is set topostgreshere because Docker's internal DNS resolves service names automatically.NEXTAUTH_SECRET: Used to encrypt authentication sessions. In production, you must replace the placeholder. Never leave it empty or default.NEXTAUTH_URL: Determines OAuth callback and redirect URLs. Usehttp://IP:3000for direct IP access, orhttps://your-domain.comif behind Nginx with TLS.volumes: Named volumes ensure data persistence. Even if containers are rebuilt, your database and uploaded files remain intact.
Step 3: Start the Services
bash
docker compose up -dMonitor the logs to confirm both containers are running smoothly:
bash
docker compose logs -fWhen you see output similar to Linkwarden is listening on port 3000, open your browser and navigate to http://YOUR_SERVER_IP:3000 to access the registration page.
Step 4: Complete Initial Setup
On your first visit, you'll be prompted to create an admin account. After setting your email and password, the system will automatically provision your first Workspace. At this point, the base deployment is complete.
Practical Example: Building a Personal Tech Knowledge Base
Let's walk through a real-world workflow. Imagine you're a Java backend developer looking to centralize technical articles, official docs, and troubleshooting notes.
1. Add Your First Bookmarks
After logging in, click Add Link and paste a URL. Linkwarden doesn't just save the link; it fetches the page content and generates a snapshot. This means if the original link goes 404, you still retain the content at the time of saving. It also supports batch importing browser-exported HTML bookmark files, allowing you to migrate years of saved links in one go.
2. Organize with Collections
On the left sidebar of your Workspace, click New Collection. I recommend structuring folders by tech stack:
Spring EcosystemDistributed Systems & MicroservicesDatabase TuningDevOps in Practice
Drag or move bookmarks into their respective Collections. This organizational efficiency dwarfs flat browser bookmark folders.
3. Read & Annotate
Click any bookmark to enter the reading view. It behaves much like a modern note-taking app:
- Select text with your mouse to highlight and add comments
- View all annotations in the sidebar for quick reference and review
- Toggle dark/light mode to suit your environment
For lengthy documentation, this feature helps you quickly pinpoint core concepts instead of re-reading everything from scratch next time.
4. Full-Text Search
The top search bar supports fuzzy matching across titles, URLs, annotations, and even the full archived text. Looking for that "Spring Boot startup optimization" article you read last month? Just type the keyword. No more digging through folders from memory.
5. Collaborative Sharing (Team Workflow)
Leading a team? Invite members to your Workspace and assign read-only or editor permissions. Share a "New Hire Onboarding Reading List" or "Project Standard Index" directly within the platform. It's far more reliable than scattering files across chat apps or email threads.
FAQ & Troubleshooting
Q1: Can't access port 3000 after starting the service?
First, verify your firewall or cloud security group allows traffic on port 3000: sudo ufw allow 3000. Next, check container status: docker compose ps. If the Linkwarden container keeps restarting, it's usually due to the database not being ready yet, or an incorrect NEXTAUTH_URL.
Q2: What if I forget my password?
Linkwarden currently lacks a built-in password reset email service, but you can reset it directly via the database:
bash
docker compose exec postgres psql -U linkwarden -d linkwarden
-- Then execute the appropriate password reset SQL commands in the interactive prompt
Pro tip: Store your initial credentials in a password manager like Bitwarden or 1Password right after setup.
Q3: How do I set up an Nginx reverse proxy for HTTPS?
A standard Nginx configuration works perfectly:
nginx
server {
    listen 80;
    server_name your-domain.com;
    location / {
        proxy_pass http://127.0.0.1:3000;
        proxy_set_header Host $host;
        proxy_set_header X-Real-IP $remote_addr;
        proxy_set_header X-Forwarded-For $proxy_add_x_forwarded_for;
        proxy_set_header X-Forwarded-Proto $scheme;
    }
}
Pair this with Certbot to obtain a free TLS certificate. Remember to update your NEXTAUTH_URL environment variable to https://your-domain.com after configuring HTTPS.
Summary & Next Steps
Let's recap today's workflow: Prepare Environment → Write docker-compose.yml → Start Services → Initialize Account → Import Bookmarks & Create Collections → Read & Annotate → Search & Collaborate. If you're comfortable with Docker, the entire process takes about 10 minutes.
With this system in place, your scattered resources finally have a unified entry point: bookmark, read, annotate, search, and share. Next steps to explore:
- Install the official browser extension for one-click saving
- Dive into the RESTful API to integrate Linkwarden into your custom automation workflows or scripts
- Experiment with AI tools to auto-generate summaries and tags for archived content
If this guide helped you or if you run into any unexpected hurdles during setup, feel free to share your experience in the comments. Here's to finally escaping bookmark chaos and building a well-organized personal knowledge base.