Tired of Configuring YAML? Build Your Own Vercel in 30 Minutes
A practical guide to setting up a zero-config, self-hosted deployment platform with push-to-deploy CI/CD. Install OpenShip on your Linux server and ship Node.js/Python apps in minutes without writing a single YAML file.
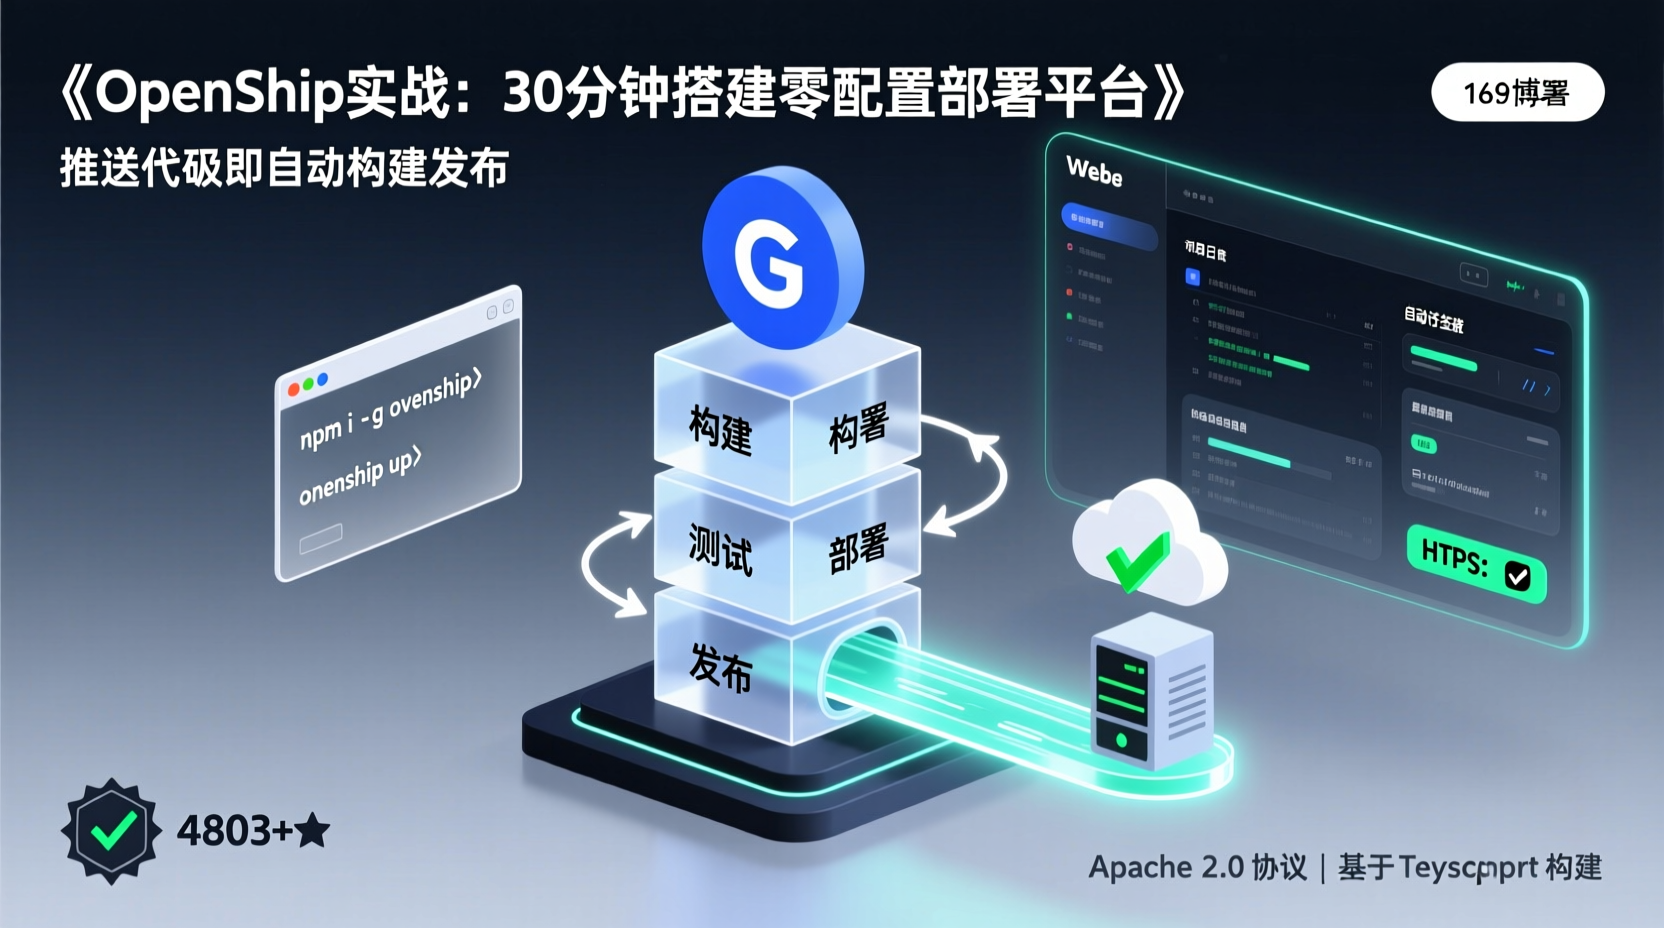
Tired of Configuring YAML? Build Your Own Vercel in 30 Minutes
The Scenario: Every Deployment Feels Like Defusing a Bomb
You have a Node.js backend project, or a small tool written in Flask/FastAPI. Everything works fine during development, but the deployment stage gives you a headache:
- How to configure Nginx reverse proxy? Forgot to renew the Let's Encrypt certificate, and the website shows a red cross.
- GitHub Actions or Jenkins for CI/CD? Wrote a bunch of YAML pipelines, but have to rewrite them for every new project.
- Database backups rely on manual
scp, and one day the server crashes only to realize there's been no backup for three days. - A new team member asks "how to deploy?" — you just hand them a 5000-word internal document.
If you're nodding along, this article is for you. By the end, you'll have a ready-to-use deployment platform running on your own Linux server — pushing code triggers automatic builds and releases, automatic SSL provisioning, built-in monitoring and backups, with an experience close to Vercel or Netlify, but fully under your control.
The tool we're using is OpenShip, an open-source self-hosted deployment platform with built-in CI/CD. Zero configuration files, zero pipeline YAML. 4,800+ stars, Apache 2.0 license.
Prerequisites
Before we start, make sure you have:
- A Linux server: Ubuntu 20.04+, Debian 11+, or CentOS 8+. Minimum 2C2G, recommended 4C4G+ for running multiple apps.
- Node.js 18+ and npm installed: Not required if using the Docker deployment method, but still recommended for deploying Node projects later.
- A domain pointing to your server: For automatic SSL certificate provisioning (A record pointing to your server IP).
- Git and basic Linux skills: You should be comfortable with SSH login,
cd,mkdir,cat, etc.
Quick Start: Install OpenShip on Your Server
OpenShip offers several installation methods. We'll use the simplest one — global npm installation, then run it as a system service.
Step 1: Install OpenShip CLI
bash
npm i -g openshipWhy install it globally? Because OpenShip's core workflow is entirely CLI-driven — initializing projects, triggering deployments, managing service start/stop. Once installed globally, you can call the openship command from any directory.
If your network is slow, you can also use the official one-liner script:
bash
curl -fsSL https://get.openship.io | shStep 2: Start the Service
bash
openship upThis command does three things:
- Pulls up the OpenShip service on your server
- Registers it as a system service with auto-start on boot
- Automatically restarts the service if it crashes
If you want to see the logs to confirm everything is running correctly, you can use the --foreground flag:
bash
openship up --foregroundStep 3: Open the Web Panel
bash
openship openIf you're working from a local machine and the server is remote, you can also access it directly in your browser at http://<your-server-IP>:<port> (the default port is assigned automatically during installation, and the terminal will prompt you with the access URL).
At this point, OpenShip is running in the background. Next, let's deploy a real project on it.
Practical Example: Deploy a FastAPI Blog Backend
Let's use a minimal FastAPI project as an example and walk through the complete workflow: initialize → push → auto-deploy → go live.
1. Prepare a Sample Project
bash
mkdir my-fastapi-app && cd my-fastapi-app

## Create app code
cat > main.py << 'EOF'
from fastapi import FastAPI
import os

app = FastAPI(title="My Blog API")

@app.get("/")
def home():
    return {"message": "Hello from OpenShip!", "env": os.getenv("NODE_ENV", "production")}

@app.get("/health")
def health():
    return {"status": "ok"}
EOF

## Create dependency declaration
cat > requirements.txt << 'EOF'
fastapi>=0.104.0
uvicorn>=0.24.0
EOF

## Initialize Git repository
git init
git add .
git commit -m "init: fastapi blog api"
2. Bind the Project to OpenShip
bash
openship initThis step marks the current directory as a "project manageable by OpenShip". openship scans your project structure and automatically detects the tech stack — when it sees requirements.txt, it knows this is a Python project.
3. Push Code and Trigger Deployment
If you've already pushed your code to GitHub, you can link the repository in the OpenShip panel. Alternatively, you can deploy the current directory directly via CLI:
bash
openship deployOpenShip will automatically:
- Detect the Python environment
- Install dependencies from
requirements.txt - Start the service with uvicorn
- Orchestrate the containers and assign a port
Open the Web panel (openship open) and you'll see real-time build logs and container resource usage. Once the build completes, visit the assigned URL to see the "Hello from OpenShip!" output.
4. Connect Domain and SSL
In the Web panel:
- Find your newly deployed app
- Go to Domains / SSL settings
- Enter your domain (e.g.,
api.example.com) - Click save
OpenShip will automatically call Let's Encrypt to provision the certificate and configure HTTPS. No need to manually touch cerbot or Nginx configuration. Certificate renewal is also automatic.
5. Experience Push-to-Deploy
Modify the code, commit and push:
bash
cat >> main.py << 'EOF'

@app.get("/version")
def version():
    return {"version": "0.2.0", "deployed_by": "openship"}
EOF

git add .
git commit -m "feat: add version endpoint"
git push origin main
If you've linked the Git repository in the panel, OpenShip will detect the push event, automatically pull the latest code, rebuild the image, and perform a rolling release — the entire process requires no SSH commands on your server.
Common Issues and Troubleshooting
Port Conflicts
If Nginx/Apache is already running on your server and occupying port 80 or 443, OpenShip may fail to start. Solution: Either stop the existing service and let OpenShip take over, or change the port in OpenShip's configuration.
Slow npm Install
npm install may hang on dependency downloads due to network issues. Solution: Switch the registry first with npm config set registry https://registry.npmmirror.com, then proceed with the global installation.
Docker Deployment Method
If you prefer Docker, OpenShip also supports one-command startup via compose:
bash
git clone https://github.com/oblien/openship.git && cd openship
cp .env.example .env
docker compose up -d
This method is suitable for teams already familiar with Docker workflows, but note that some CLI shortcut commands may not be available after compose deployment.
Monitoring Resources
The OpenShip panel provides real-time visibility into CPU, memory, and container status. If an app's memory spikes, you can directly limit container resources or roll back to a previous stable version from the panel.
Summary
Here's what we accomplished today:
- Installed OpenShip globally on a Linux server via npm
- Started the background service with
openship up, enabling auto-start on boot and automatic restarts - Initialized a FastAPI project and completed the first deployment
- Connected a domain with automatic HTTPS provisioning
- Experienced the complete CI/CD workflow with push-to-deploy automation
The entire process required zero YAML configuration, no Nginx setup, no manual certificate signing — OpenShip handled all the dirty work for you.
Next steps to explore:
- Try integrating PostgreSQL/Redis database services and managing persistent storage
- Configure staging/prod multi-environment deployment pipelines
- Test the built-in backup feature: scheduled backups of databases and file volumes with one-click restore
- Explore the REST API and MCP protocol to let AI agents automate operations for you
Once you have your own deployment infrastructure, you no longer need to set up a deployment pipeline from scratch for every project. Set up the infrastructure once, then focus on writing code and pushing — that's the real joy of building your own CI/CD platform.
Feel free to discuss in the comments, or check out the complete documentation at openship.io/docs.