How to Build an AI Customer Service Chatbot in 30 Minutes with Langflow: A Zero-Code Guide
A step-by-step guide to setting up Langflow, building a visual LLM workflow from scratch, and deploying a RAG-powered customer service chatbot with built-in conversation memory and a one-click REST API export.
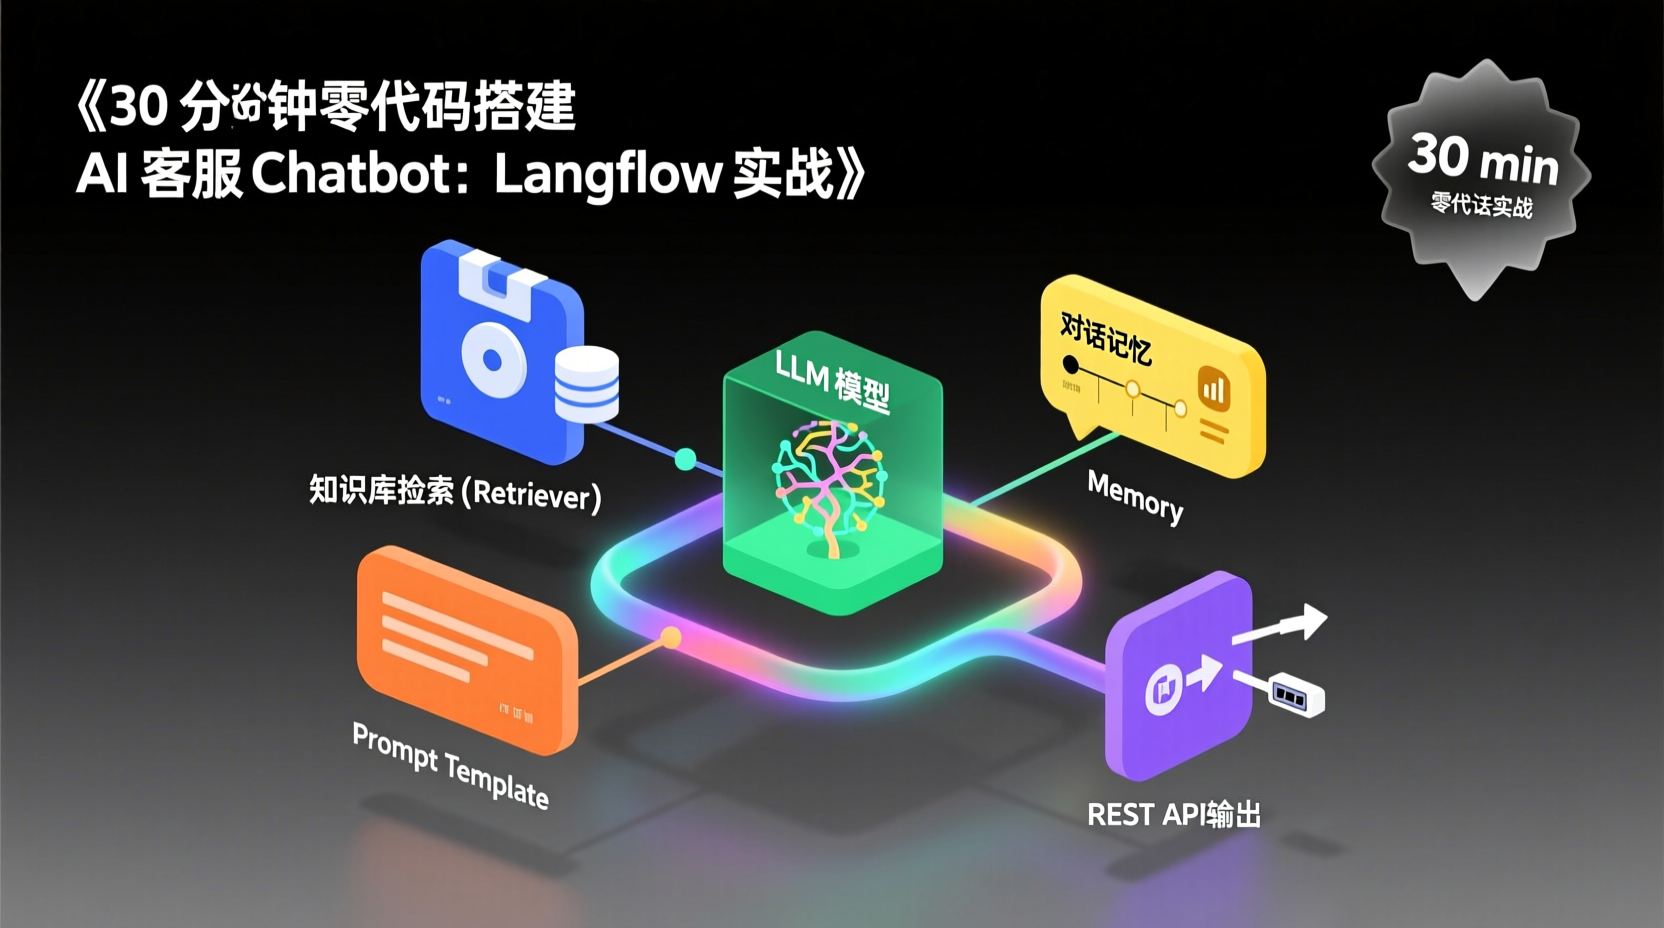
Build an AI Customer Service Chatbot in 30 Minutes: A Zero-Code Langflow Tutorial
Hi, I'm Zhou Xiaoma. Last week, our team got a request: the product team wanted to quickly validate a customer service chatbot with a knowledge base, but didn't want to spend two weeks tweaking Python code and prompt templates. Honestly, if we did it the traditional way—crafting chains with LangChain, managing conversation memory manually, and wrapping it in Flask/FastAPI—three days would be the fastest. But Langflow changed my perspective: just drag and drop, and it's built.
Langflow (38k+ GitHub stars) is a visual LLM application development framework. It encapsulates concepts like "LLM", "Prompt Template", "Retriever", and "Memory" into visual node components. You connect them in the browser, and you have a fully functional app. No chain-calling code, no manual state management, and you can even export it as an API with one click.
By the end of this tutorial, you will:
- Set up Langflow locally in under 5 minutes
- Understand the core nodes and their roles
- Build a complete "Document Retrieval + Conversational Memory Customer Service Chatbot"
- Publish your Flow as a REST API
Prerequisites
| Requirement | Description |
|---|---|
| Python Version | 3.10 ~ 3.14 |
| Package Manager | uv recommended (10x faster than pip) |
| OS | Linux / macOS / Windows |
| LLM API Key | Any OpenAI-compatible endpoint works (OpenAI used in this guide) |
If you haven't installed
uvyet, run:curl -LsSf https://astral.sh/uv/install.sh | sh
Install Langflow in 5 Minutes
Just follow these steps. It only takes two commands.
1. Install Langflow
shell
uv pip install langflow -UWhy recommend
uv? Its dependency resolver is written in Rust, making it typically several times faster than pip. This difference is especially noticeable in projects with heavy dependencies like Langflow.
2. Start the Service
shell
uv run langflow runAfter seeing the logs in the terminal, open your browser to http://127.0.0.1:7860. You'll see the Langflow web UI. The default port is 7860; if it conflicts, add --port 8080 to change it.
If you prefer not to manage Python environments (e.g., restricted company machine), a single Docker command works too:
shelldocker run -p 7860:7860 langflowai/langflow:latestWindows/macOS users can also download the Langflow Desktop App, which comes with all dependencies pre-packaged.
Core Nodes: The Building Blocks You Need
The left panel in Langflow contains categorized components. Before building, understand these 5 most common nodes to save yourself a lot of trial and error.
| Node Type | Function | In Plain English |
|---|---|---|
| Prompt | Defines system prompts and user input templates | Where you write "You are a customer service assistant" |
| LLM | Connects to Large Language Models (OpenAI, DeepSeek, Ollama, etc.) | The actual switch to call the AI |
| Chat Input / Chat Output | Entry and exit points for conversation | The pipes for user messages and AI replies |
| Memory | Stores conversation history | Helps the AI remember your past chats |
| Embeddings / Retriever | Vectorization and knowledge base retrieval | Lets the AI search documents for domain-specific answers |
Hands-On: Build a Customer Service Chatbot
Let's build a complete scenario: a user uploads a product FAQ document. When they ask a question, the system first retrieves relevant document content, then combines it with conversation history to let the LLM generate an answer.
Step 1: Drag in Chat Components
- Search for Chat Input in the left panel and drag it onto the canvas—this is where users send messages.
- Search for Chat Output and drag it in—this is where AI replies are displayed.
Step 2: Configure the Prompt
Drag in a Prompt node and double-click to open the editor. Paste this system prompt:
You are a professional product customer service assistant. Please answer the user's question based on the retrieved document context below.
If the document does not contain relevant information, politely inform the user and suggest they contact the support team.

Retrieved context:
{context}

User question:
{question}
Why write it this way? {context} and {question} are Langflow's input placeholders. Subsequent nodes will automatically inject retrieved documents and user queries into them. This "template filling" design makes prompt management extremely clear—no more string concatenation in code.
Step 3: Configure the LLM
Drag in an OpenAI node (or your preferred model provider):
- Enter your API Key (or set the
OPENAI_API_KEYenvironment variable) - Select a model, e.g.,
gpt-4o-mini(great cost-performance ratio) - Set Temperature to 0.3 (customer service needs stability, not high creativity)
Connect the LLM's input to the Prompt node's output.
Step 4: Add Conversation Memory
Drag in the ConversationBufferMemory node.
Why is this needed? LLMs are inherently stateless. Without memory, if a user says "that question I just asked", the AI won't remember the previous context. The Memory node automatically packages historical dialogue and appends it to each request's context. Place it between the Prompt and LLM nodes.
Step 5: Connect the Output
Chain them together: Chat Input → Prompt → Memory → LLM → Chat Output. Click the Play button in the top-right corner (or press Ctrl+Enter) to test the conversation directly in the right-side panel.
Step 6 (Advanced): Add Knowledge Base Retrieval
Want to make it production-ready? Add retrieval capabilities:
- Drag a File node → Upload your PDF/Markdown FAQ document
- Drag a Split Text node → Set chunk size to 500
- Drag an OpenAI Embeddings node → Handle vectorization
- Drag a Vector Store (In-Memory FAISS) → Store the vectors
- Drag a Retriever node → Link it to the Vector Store
- Connect the Retriever's output back to the Prompt's
{context}input
Once connected, when a user asks a question, the system first retrieves the most relevant snippets from your document, then has the LLM answer based on those snippets. This is the complete RAG (Retrieval-Augmented Generation) pipeline, all done with zero code.
Publish the Flow as an API
Your finished Flow doesn't just stay on the canvas; Langflow lets you export it with one click.
Click the API button in the top-right corner of the canvas, and you'll get:
- A REST endpoint URL
- Auto-generated request examples (curl / Python / JavaScript)
- A JSON definition of the Flow (can be imported into other Langflow instances)
Test your newly published API with curl:
shell
curl -X POST "http://127.0.0.1:7860/api/v1/run/{flow_id}" \
  -H "Content-Type: application/json" \
  -d '{"input_value": "Hello, what payment methods do you support?"}'
Why is this important? Your backend (Java/Spring Boot, Node.js, Go) only needs to call this endpoint to get AI responses. You completely bypass underlying model configurations or prompt engineering. Frontend-backend decoupling doubles team collaboration efficiency.
Common Pitfalls to Avoid
Here are a few issues I encountered while leading my team to implement Langflow, shared in advance:
- API Key Invalid/Expired: Langflow's LLM node saves the API Key into the Flow's JSON. If you used a test key, remember to swap it for a production key before publishing. It's better practice to configure keys via environment variables rather than hardcoding them into nodes.
- Memory Causing Token Explosion:
ConversationBufferMemorysends the entire chat history by default. For long conversations, token usage will skyrocket. For production, switch toConversationSummaryMemory, which uses an LLM to automatically compress history. - Docker Access Issues: Ensure the
-pport mapping is correct. If running Docker in WSL2, uselocalhost:7860in your browser instead of127.0.0.1. - Embedding Model Incompatibility: OpenAI's embedding API isn't directly compatible with some regional models. If you're using Zhipu, Tongyi, etc., use their respective provider nodes, or run an embedding model locally via Ollama.
What's Next?
Congratulations, you've successfully built a complete AI application from scratch! If you want to go deeper, I recommend:
- Try Multi-Agent Orchestration: Langflow supports multiple Agent nodes to implement workflows like "Analysis Agent routes intent → Dispatches to specialized Agents".
- Deploy to the Cloud: Langflow supports Docker deployment. Pair it with an Nginx reverse proxy to expose it publicly. The official docs have detailed deployment guides.
- Custom Nodes: If built-in components aren't enough, Langflow lets you write custom nodes in Python. You can edit the source directly in the canvas without touching the underlying framework code.
- MCP Server Integration: Export your Flow as an MCP Server, making it callable by AI coding tools (like Cursor or Claude Desktop) as a custom tool.
Tools are just the entry point. The real value lies in the problems you solve with them. I hope this tutorial saves you those three days, so you can focus on building what truly matters.
Feel free to share your questions or experiences in the comments! 🤝