A Practical Guide to Kubernetes Backup, Recovery, and Migration with Velero
A step-by-step tutorial on installing Velero, configuring S3-compatible storage, automating backups, recovering from accidental deletions, and performing seamless cross-cluster migrations in Kubernetes.
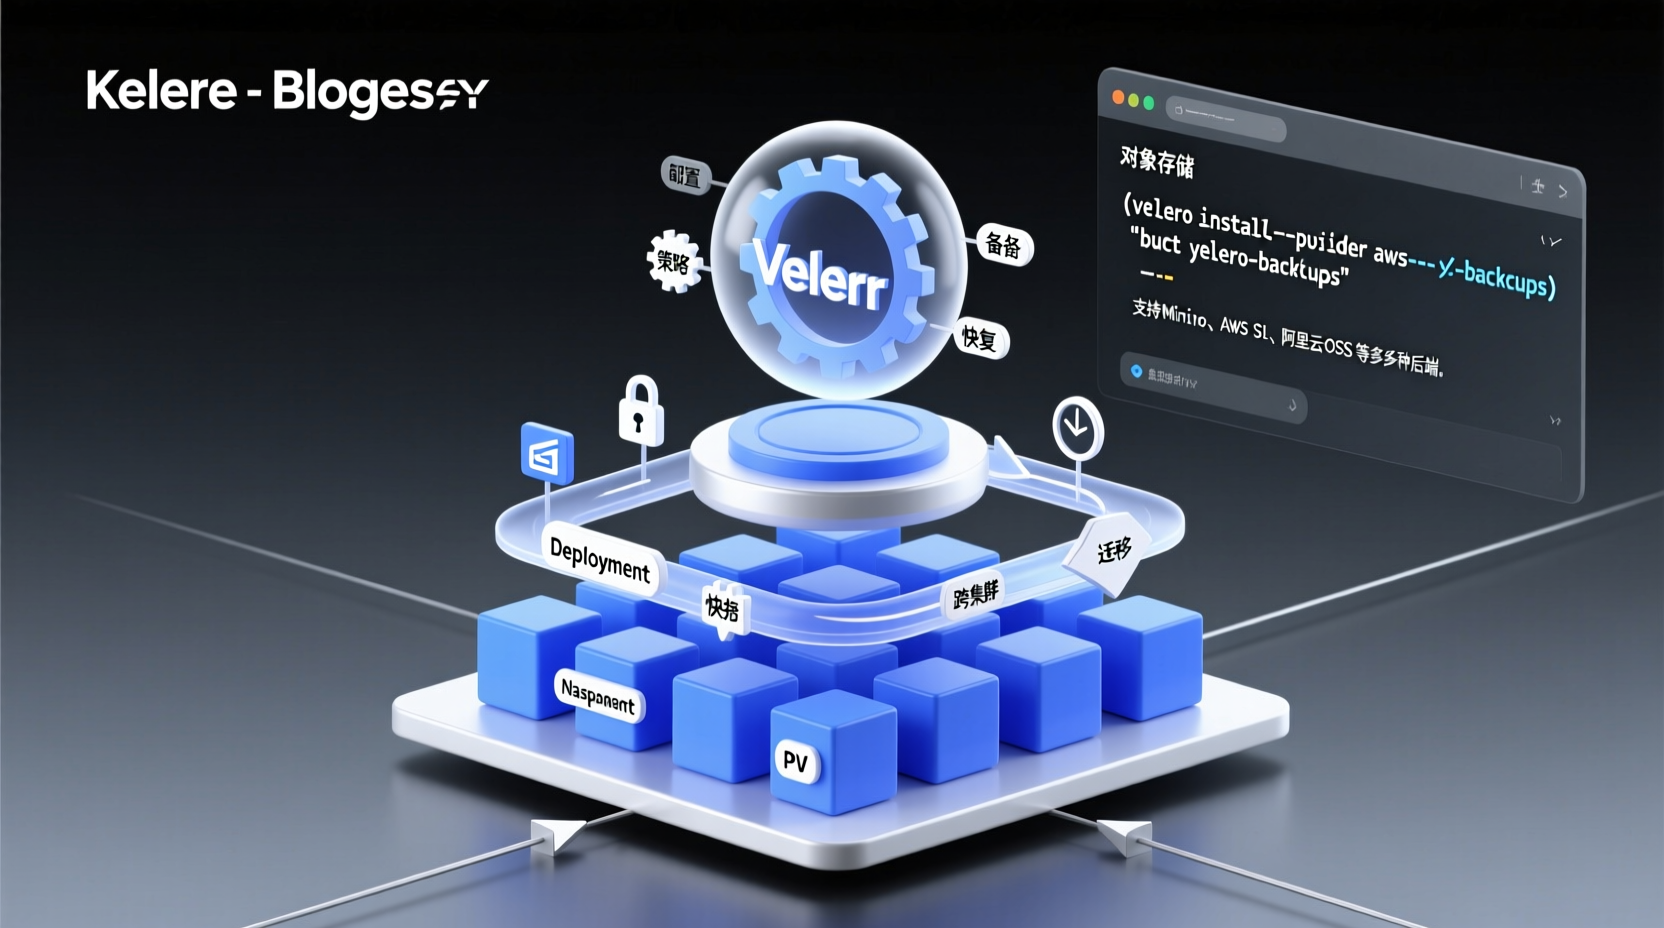
Production incidents aren't scary; what's scary is having no backup. Last month, our team accidentally deleted a namespace during a canary deployment. Three Deployments and a bunch of Persistent Volume (PV) data vanished instantly. While stateless apps were quick to rebuild, we lost two hours of incremental database snapshots, and the ops team didn't let us hear the end of it for a week.
If you're running Kubernetes (self-managed or cloud-hosted), you've likely felt that anxiety caused by a "slip of the hand" or storage failure. Today, I'll walk you through an essential operations tool: Velero. With over 10k GitHub stars and a CNCF Sandbox project, it's purpose-built for Kubernetes resource backup, recovery, and cross-cluster migration.
By the end of this tutorial, you'll have:
- A complete backup strategy covering namespaces, Deployments, PVs, and core resources
- A scheduled backup policy to automate your safety net
- Cross-cluster migration skills for seamless dev/test/prod environment sync
Let's dive in.
Prerequisites
Before we begin, ensure you meet the following requirements:
- A running Kubernetes cluster (v1.23+, validated on 1.31+)
kubectlinstalled with cluster-admin privileges- An object storage backend. I recommend MinIO (launches locally with a single Docker command), but AWS S3 or Alibaba Cloud OSS also work.
- Velero CLI installed on your local machine (instructions below)
Step 1: Install the Velero CLI
Velero consists of two parts: a server running in the cluster and a local CLI client. Let's start with the client.
macOS:
bash
brew install veleroLinux:
bash
wget https://github.com/vmware-tanzu/velero/releases/download/v1.18.0/velero-v1.18.0-linux-amd64.tar.gz
tar -zxvf velero-v1.18.0-linux-amd64.tar.gz
sudo mv velero /usr/local/bin/
Verify the installation:
bash
velero versionIf you see the client version, the CLI is ready.
Step 2: Prepare the Object Storage Backend (MinIO Example)
Velero doesn't store data itself; it snapshots K8s resources and PV data, then pushes them to object storage. Let's set up MinIO locally.
bash
docker run -d \
  --name minio \
  -p 9000:9000 -p 9001:9001 \
  -e "MINIO_ROOT_USER=admin" \
  -e "MINIO_ROOT_PASSWORD=password123" \
  quay.io/minio/minio server /data
Open http://localhost:9001 in your browser, log in with admin/password123, and create a bucket named velero-backups. Record these four parameters for the next step:
| Parameter | Value |
|---|---|
| endpoint | http://minio:9000 (for in-cluster access) |
| access key | admin |
| secret key | password123 |
| bucket | velero-backups |
Step 3: Install Velero Server in Kubernetes
This is the core step. We'll install the Velero server into the cluster and point it to the object storage. While the official docs recommend the velero install command, I prefer YAML for traceability. However, for ease of following along, we'll use the CLI:
bash
velero install \
  --provider aws \
  --bucket velero-backups \
  --secret-file ./credentials-velero \
  --use-volume-snapshots=false \
  --backup-location-config region=minio,s3ForcePathStyle="true",s3Url=http://minio:9000
Key parameters explained:
--provider aws: Don't let the name fool you. Velero uses the AWS S3 SDK under the hood, making it compatible with any S3-compliant storage like MinIO or Alibaba OSS.--secret-file: Points to a credentials file with this format:
ini
aws_access_key_id = admin
aws_secret_access_key = password123--use-volume-snapshots=false: Local MinIO lacks CSI Snapshot capabilities, so we disable it. Enable this in production when integrating with cloud block storage.s3ForcePathStyle=true: MinIO requires path-style addressing, a common pitfall with S3-compatible storage.
After running the command, check the status:
bash
kubectl -n velero get podsOnce the velero-xxx Pod is Running, the server is ready.
Why this approach? The Velero server runs as a Deployment inside the cluster, listening for backup/restore requests. It uses a plugin architecture to interface with various cloud storages and CSI drivers, offering a sidecar-free design that minimizes operational overhead.
Step 4: Create Your First Backup
Assume you have a few applications running in the default namespace. Let's back it up:
bash
velero backup create demo-backup --include-namespaces defaultThis command will:
- Enumerate all K8s resources in
default(Deployments, Services, ConfigMaps, Secrets, etc.) - If PVs exist, package the actual data via Restic/Kopia or CSI snapshots
- Bundle everything into a tarball and upload it to the
velero-backupsbucket
Check backup progress anytime:
bash
velero backup describe demo-backup --detailsWhen you see Phase: Completed, it's done.
Practical Example: Simulate a Disaster and Recover
Let's simulate a disaster by deleting the default namespace:
bash
kubectl delete namespace defaultWait for the namespace to fully terminate (may take ~30 seconds), then restore from Velero:
bash
velero restore create --from-backup demo-backupRestoration reverses the backup process: pulling the snapshot from object storage and recreating K8s resources sequentially. Watch the progress:
bash
velero restore describe demo-backup-xxx --detailsOnce complete, verify the resources:
bash
kubectl -n default get allDeployments, Pods, and Services are all back, with PV data completely intact.
Why it works this way: Velero doesn't just run
kubectl apply. It analyzes resource dependencies, creates them in the correct order (Namespace → PVC → Deployment, etc.), and handles cluster-level resource conflicts like ClusterRoleBindings. This is what makes it production-ready.
Set Up Scheduled Backups
Manual backups are fine for demos, but production requires automation. Velero uses schedule with standard cron syntax:
bash
velero schedule create daily-backup \
  --schedule="0 2 * * *" \
  --include-namespaces default,production \
  --ttl 168h
This schedules a daily backup at 2:00 AM for the default and production namespaces, retaining backups for 7 days (168 hours). Old backups are automatically purged to prevent storage bloat.
Common Pitfalls & Best Practices
- PV Backup Failures: Velero doesn't back up PV data by default unless Restic/Kopia or CSI Snapshots are enabled. Always check the
Volumessection invelero backup describe. - Object Storage Signature Errors: When using Alibaba OSS or Tencent COS, ensure
s3ForcePathStyleandregionmatch the provider's docs. 90% of these issues stem from URL style mismatches. - Resource Conflicts on Restore: If the target cluster already contains resources with the same names, Velero will skip them. Use
--restore-volumes=trueto verify PV restoration behavior. - Slow Backups on Large Clusters: For clusters exceeding 500 nodes, consider
--snapshot-volumes=falseto disable snapshots and implement a tiered backup strategy for core namespaces.
Cross-Cluster Migration (Advanced)
Velero's killer feature is migration. The process is nearly identical to restoration—you just install the Velero server on a different cluster, point it to the same bucket, and run restore. This lets you seamlessly move applications from dev to prod, or from on-prem to cloud, without rebuilding Docker images or tweaking configurations.
Summary
Today, we covered Velero's full lifecycle: installation → manual backup → scheduled backup → disaster recovery. The entire process takes under 30 minutes but can save you hours or days of troubleshooting during critical incidents.
Next steps:
- Practice on your dev cluster with MinIO
- Experiment with label selectors
--selectorinvelero backup createfor business-driven backups - In production, integrate Prometheus + Alertmanager to monitor backup failures and set up alerts
Don't wait for a disaster to install your backup tools. Create your first schedule today.